20
MITERING
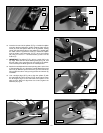
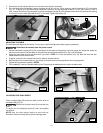
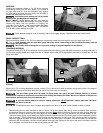
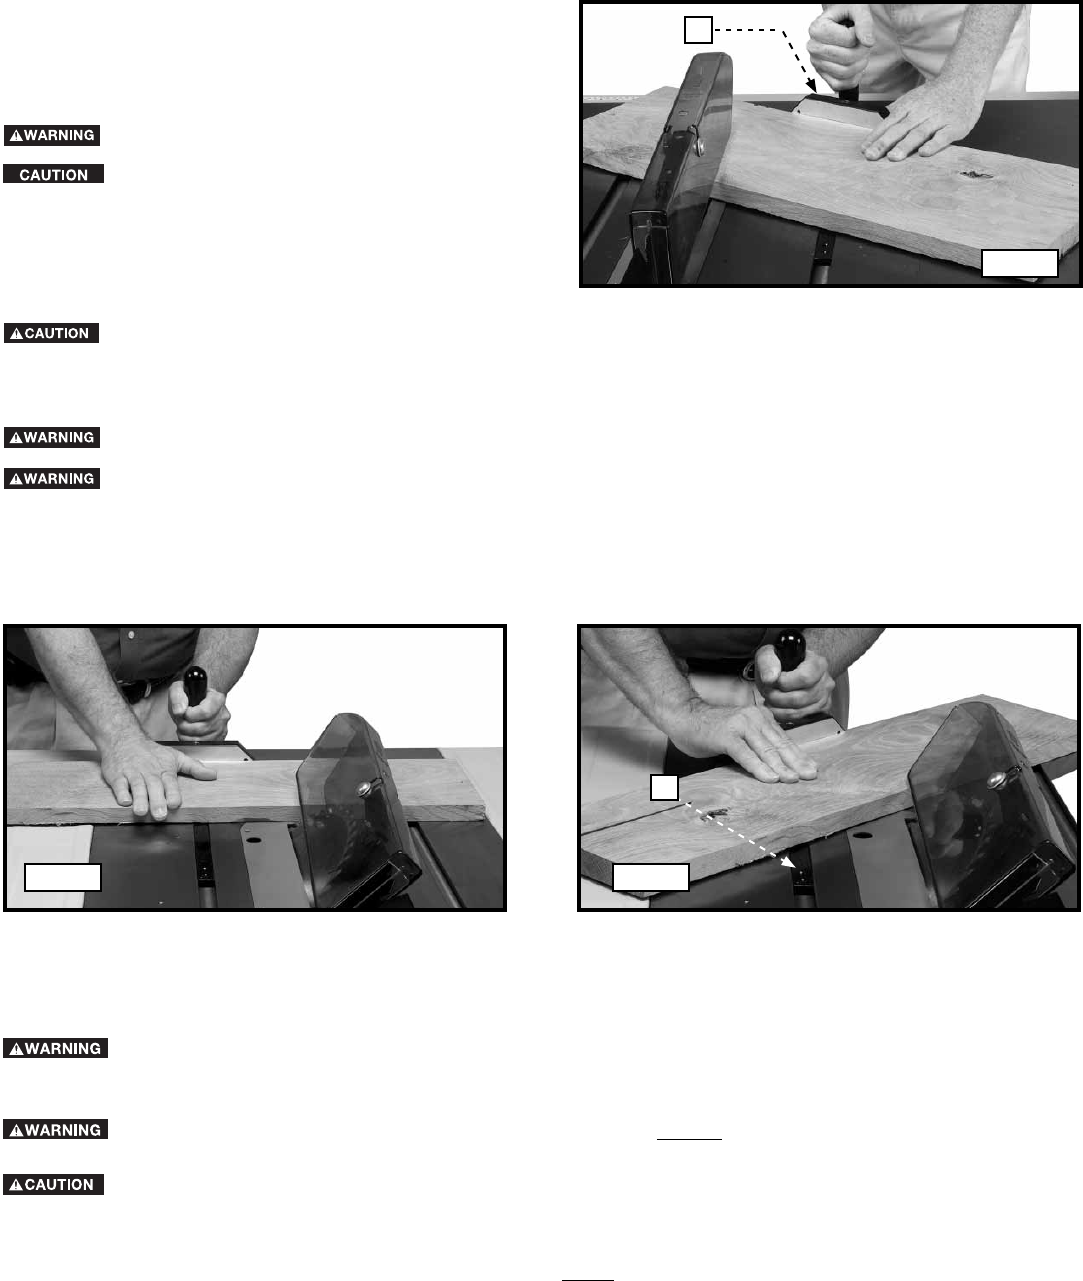
Mitering (the operation shown in Fig. 52) is the same as
crosscutting except that the miter gauge (C) is locked at
an angle other than 0°. Hold the workpiece firmly against
the miter gauge and feed the work slowly into the blade to
prevent the workpiece from moving.
Use caution when starting the cut to prevent
binding of the guard against the workpiece.
Miter angles greater than 45° may force the
guard into the saw blade and damage the guard. Before
starting the motor, test the operation by feeding the
workpiece into the guard. If the guard contacts the blade,
place the work piece under the guard, NOT TOUCHING
THE BLADE, before starting the motor.
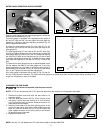
BEVEL CROSSCUTTING
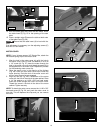
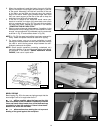
Bevel crosscutting (shown in Fig. 53) is the same as crosscutting except the bevel angle is set to an angle other than 0
°.
When possible, use the right miter gauge slot when bevel crosscutting so that the blade tilts away from the
miter gauge and your hands.
Use caution when starting the cut to prevent binding of the guard against the workpiece.
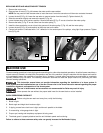
COMPOUND MITERING
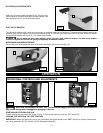
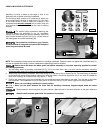
Compound Mitering (Fig. 54) is a combination of bevel crosscutting and mitering, where the blade is beveled to an angle other than 0
°
and the miter gauge is locked at an angle other than 0
°. Always use the miter slot (D) which allows the blade to tilt away from the miter
gauge and hands.
Certain workpiece shapes, such as moulding, may not lift the guard properly. Feed the work slowly to start the cut.
Fig. 52
Fig. 53 Fig. 54
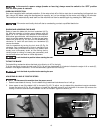
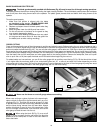
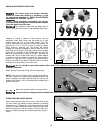
Ripping (Fig. 55) is cutting lengthwise through a board. The rip fence (A) is used to position and guide the work. One edge of
the work rides against the rip fence while the flat side of the board rests on the table.
The saw blade guard must be used. On Delta saws, the guard has anti-kickback PAWLs to prevent
kickback and a splitter to prevent the wood kerf from closing and binding the blade. Be sure to replace or sharpen the
anti-kickback devices when the points become dull.
A rip fence should always be used for ripping operations. NEVER perform a ripping operation free-hand.
Always lock the fence to the rail.
The workpiece must have a straight edge against the fence, and must not be warped, twisted or bowed.
RIPPING
1. Before starting the cut, raise the blade so that it is about 1/8” (3.2mm) higher than the top of the workpiece. Start the motor
and advance the work, holding it down and against the fence. Never stand in the line of the saw cut when ripping. When the
rip width is 6 inches or wider, hold the work with both hands and push it along the fence and into the saw blade (Fig. 48).
Feed force when ripping should always be applied between the saw blade and the fence. Never pull the workpiece from the
back of the saw. The work should then be fed through the saw blade with the right hand. Only use the left hand to guide the
workpiece against the fence, and remove the left hand from the work about 12 inches in front of the blade. Do not feed the
workpiece with the left hand. Continue to feed material with right hand, keeping to the right of the path of the blade. After the
cut is complete, use a push stick to feed cut-off piece past the blade.
C
D


