


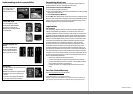
DX-CRDRD
All-in-One Internal Card Reader
Package contents
• Card reader with USB 5-pin cable
• Mounting screws (ISO 3f 4 mm) (4)
• Extra front bezel (1)
• Utility CD (includes AP drivers and User Guide)
• Quick Setup Guide
Minimum system requirements
• IBM-compatible PC
• CD drive
• One available on-board 5-pin USB connector on the computer’s
system board
• One available 3.5-inch drive bay
• Windows® 7, Windows® Vista, Windows® XP, or Windows® 2000
Installing the card reader
Caution: Electrostatic discharge (static electricity) can damage
electronic components. Make sure that you are grounded before you
install your card reader. Turn o your computer, then touch a bare
metal part of your computer, such as the back of the chassis or power
supply, to discharge any static electricity.
To install your card reader:
1 Turn o your computer and disconnect the power cord.
2 Make sure that you are correctly grounded by touching a bare
metal part of your computer, such as the back of the chassis or
power supply.
3 Open your computer’s cover. For more information, see the
documentation that came with your computer.
4 If you want the alternate colored bezel,
change it now by pressing the four plastic
clips on each side of the card reader
with a pen or pencil and pulling the
bezel o.
5 Snap the new bezel into place.
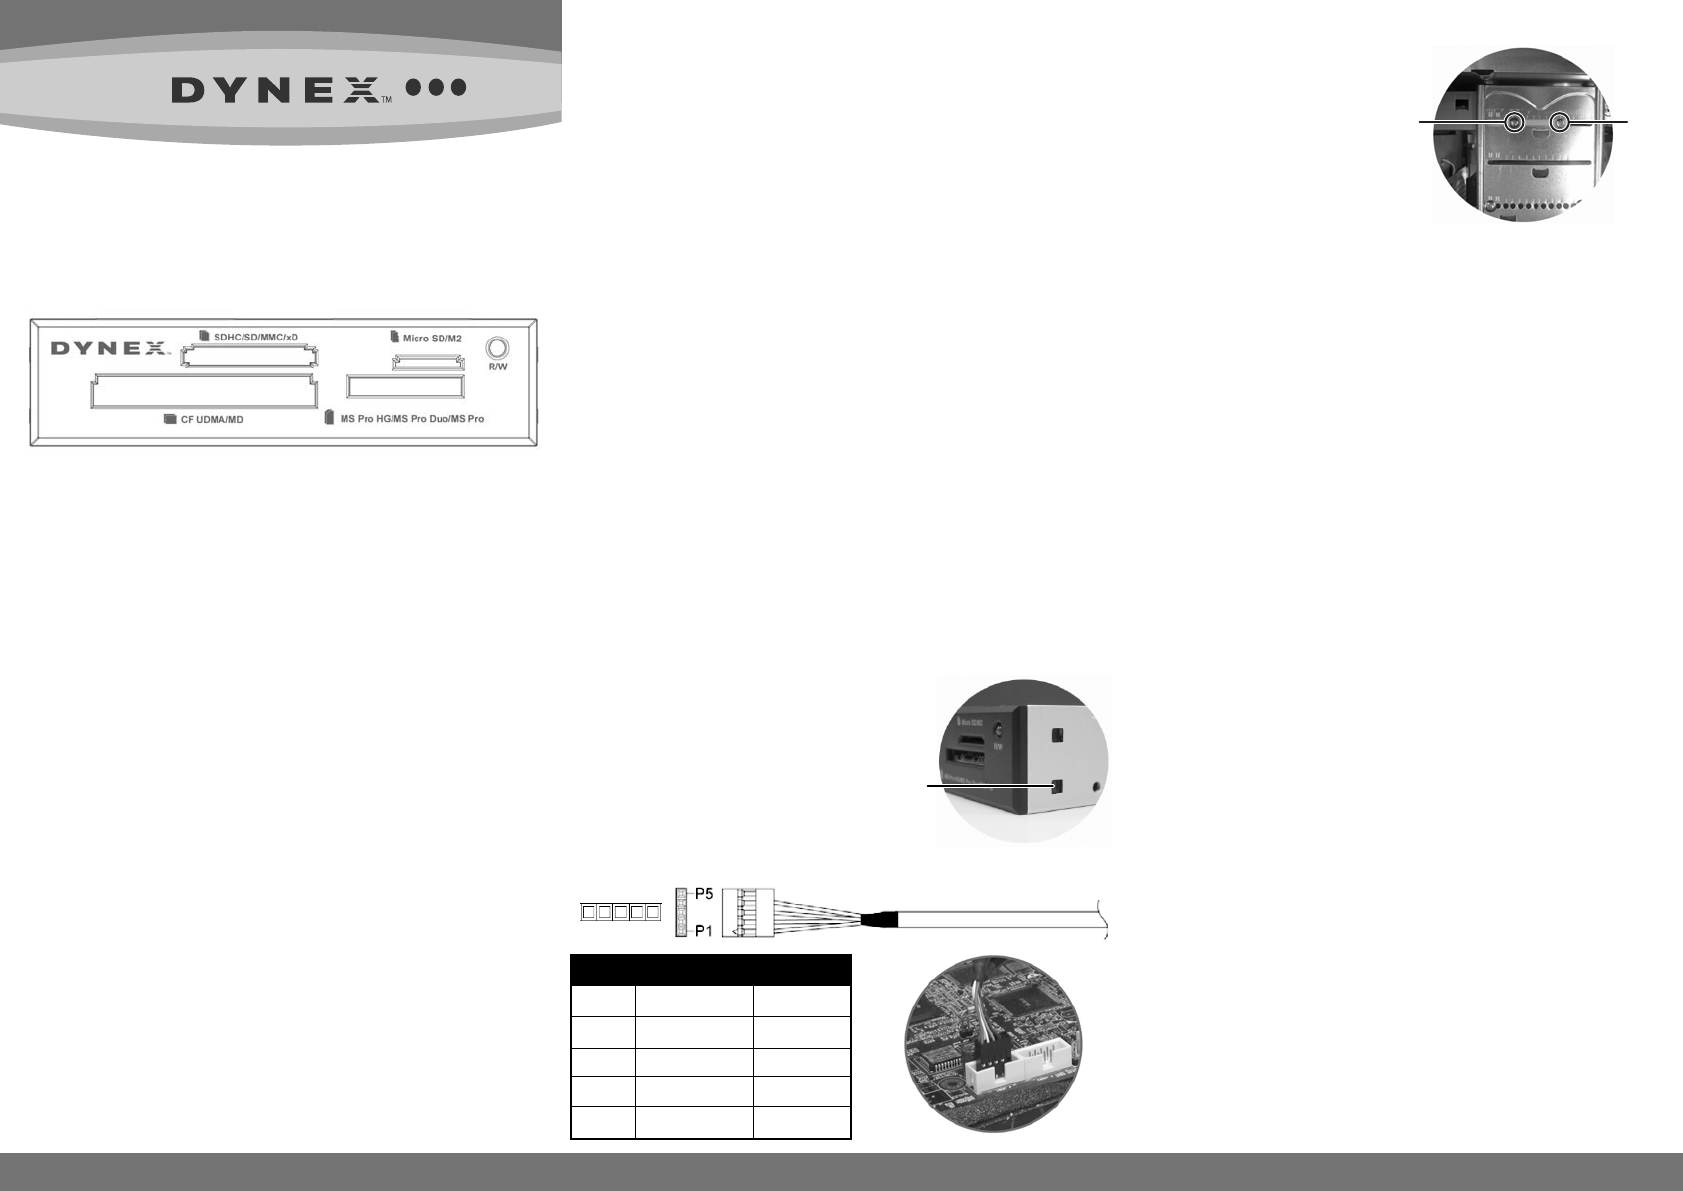
6 Make sure that your computer’s
system board connector is compatible
with your card reader’s USB connector.
QUICK SETUP GUIDE
Pin Wire color Function
P5 No contact No contact
P4 Black/shield Ground
P3 Green D+
P2 White D-
P1 Red Vbus
7 Carefully slide your card reader into the empty 3.5" drive bay.
8 Secure your card reader to the drive
bay with the four mounting screws
(two screws per side).
9 Connect your card reader’s
USB connector to a
compatible USB connector
on your computer’s systemboard.
(See illustration under Step 6.)
10 Make sure that you have removed
any tools or loose screws from inside your computer, then replace
your computer’s cover.
11 Reconnect your computer’s power cord, then turn on your
computer.
Using the card reader
To access a media card:
1 Insert a card into the appropriate slot, as shown in the table on the
next page.
Caution: Cards must be inserted into the correct slot and in the
correct direction. Failure to do so may damage your card and card
reader.
2 Open My Computer or Windows Explorer, then double-click the
drive icon for the slot you are using.
3 To access les and folders on the inserted card, use normal Windows
procedures for opening, copying, pasting, or deleting les and
folders.
4 When you have nished working with the les on a memory card,
right-click the memory card icon in My Computer or Windows
Explorer and click Eject. The R/W LED on the memory card reader
turns o when the card is removed.
Caution: Do not remove memory cards while the data
R/W (read/write) LED on the reader is ashing.
Understanding the LED indicator
The R/W LED indicates when a slot is reading from or writing to a card.
• LED o—Your card reader is not being used.
• LED on—A card is inserted in one of the slots.
• LED ashing—Data is being transferred to or from a card.
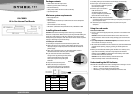
Plastic clip
Screw Screw