


17
Maintenance
1. After the first 10 hours of working, empty the crank case
of oil and refill with clean oil by removing the crank case
oil plug (left hand side of the crank case at the bottom)
Note. Use good quality compressor lubricating oil.
• SAE30 or L-DAB 100 over 10°C
2. After each subsequent 250 hours of operation, again
drain the oil and refill the crank case with clean oil.
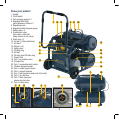
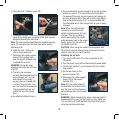
3. After each day of operation unscrew the two drain cocks
(9) under the tanks to drain out any condensation that
is in the tanks. This will protect the tanks from rusting
and prolong the product life. Once the draining has
been completed screw the drain cocks (9)closed and re
assemble the air compressor.
Note. Both tanks have independent drain cocks and both
have to be drained after each day of use.
CAUTION. The top tank must be removed from the
compressor prior to draining every time.
4. Regularly check the air filter insert cartridge inside the
air filter assembly (15) and clean or replace the insert
when necessary.
5. Check daily the operation of the safety valves (7). This
check should be performed when the tank contains close
to max pressure in the tank.
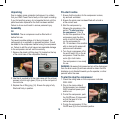
To check the valves, pressurise the tank, and pull the ring
OUTWARDS on the safety valve.
Air should discharge from the valve.
Release the ring of the safety valves. When the ring is
released the air discharge must stop.
WARNINGS.
Safety glasses must be worn when performing this test.
Do not have your face close to the safety valve when
performing this test as air will discharge from the valve at a
high force.
If the safety valve does not operate correctly in any way as
described above, turn off the compressor immediately and
have the compressor and safety valve checked and tested
at an authorised Service centre.
DO NOT CONTINUE TO USE THE COMPRESSOR
IN ANY WAY IF THE SAFETY VALVE DOES NOT
WORK AS ABOVE.
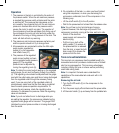
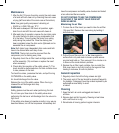
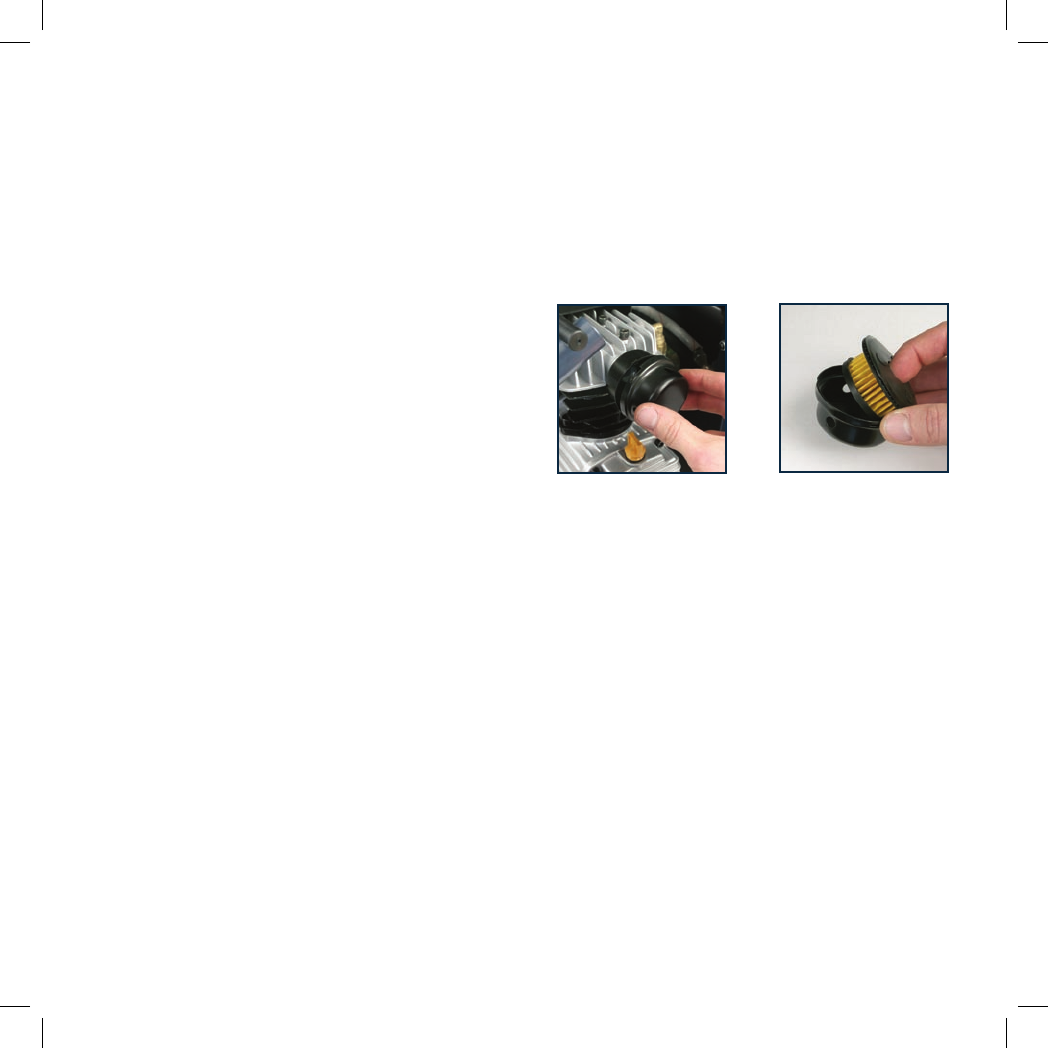
Maintaining the air filter
1. To clean the air filter insert you need to take the air filter
(15) apart first. Remove the cover along by twisting it
anti-clockwise.
2. Pull out the air filter and tap it a few times against a
surface that is dry and clean to loosen up and remove
any dust and build up. Then vacuum it for a minute or so
to draw out the more stubborn particles.
3. Replace the air filter insert cartridge, then re-install the
filter cover back on by firstly lining up the lugs and then
twisting it clockwise, to lock into position.
General inspection
1. Regularly check that all the fixing screws are tight.
2. The supply cord of the tool should be checked frequently
for damage. If damaged, have the cordset replaced by an
authorised service facility to avoid
a hazard.
Cleaning
1. Keep the tool’s air vents unclogged and clean at
all times.
2. Remove dust and dirt regularly. Cleaning is best done
with a soft brush or a rag.
3. Re-lubricate all moving parts at regular intervals.