


11
arm and the support base on the fence. Tap gently on
the pin if needed to insert it through the support base.
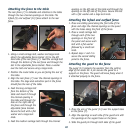
Assembling the mitre gauge
The mitre gauge pivots on the
mitre bar and is secured in
position by a lock knob that
fits into a threaded opening
on the bar. The small post
on the bottom of the mitre
gauge fits into an unthreaded
opening on the bar.
1. Remove the lock knob from the mitre gauge bar.
2. Slide the front of the mitre gauge under the pointer on
the mitre gauge bar.
3. Insert the small post on the mitre gauge into the
unthreaded hole on the mitre gauge bar.
4. Insert and tighten the mitre gauge lock knob bolt
through the mitre gauge and into the threaded hole on
the mitre gauge bar.
5. Place the assembled mitre gauge bar into the channel
that runs the full length of the table. The bar should
run freely in this channel.
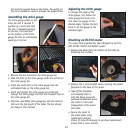
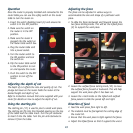
Adjusting the mitre gauge
To change the angle of the
mitre gauge (14) loosen the
mitre gauge lock knob (15)
and move the gauge to the
desired angle. Tighten the lock
knob to set the gauge at the
selected angle.
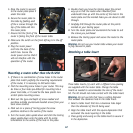
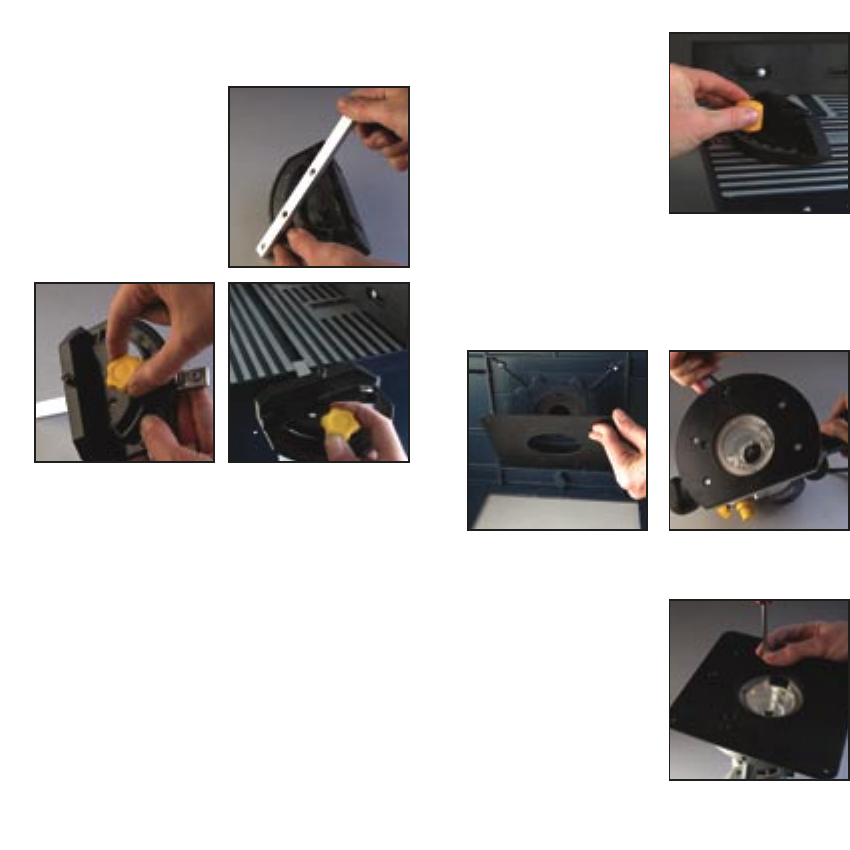
Mounting an R1250 router
The router plate supplied has been designed to suit the
GMC R1200, R1250 and R2050 routers.
1. Remove the plate from the bottom of the table by
loosening the 4 screws.
2. Remove the 5 cross-headed screws securing the plastic
faceplate to the base of the router.
3. Take off the faceplate
and carefully store it
with the fixing screws for
eventual replacement when
the router is next used
independent of the power
tool table.
4. Secure the router to
the router plate using
replacement (longer)
screws. It may be necessary to purchase replacement
screws from a screw stockist.