


30 308584
Service
Tools Included with the Gun
D Multi-tool
D Ball-end Wrench
D 2 mm Hex Key Allen Wrench
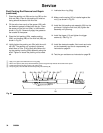
Prepare the Gun for Service
NOTE:
D Check all the possible remedies in Troubleshoot-
ing before disassembling the gun.
D If the plastic parts of the gun must be held in a vise,
use padded vise jaws to avoid damaging parts.
D Lightly lubricate o-rings and seals with petroleum
jelly. Do not over-lubricate.
D Only use genuine Graco parts. Do not mix or use
parts from other PRO Gun models.
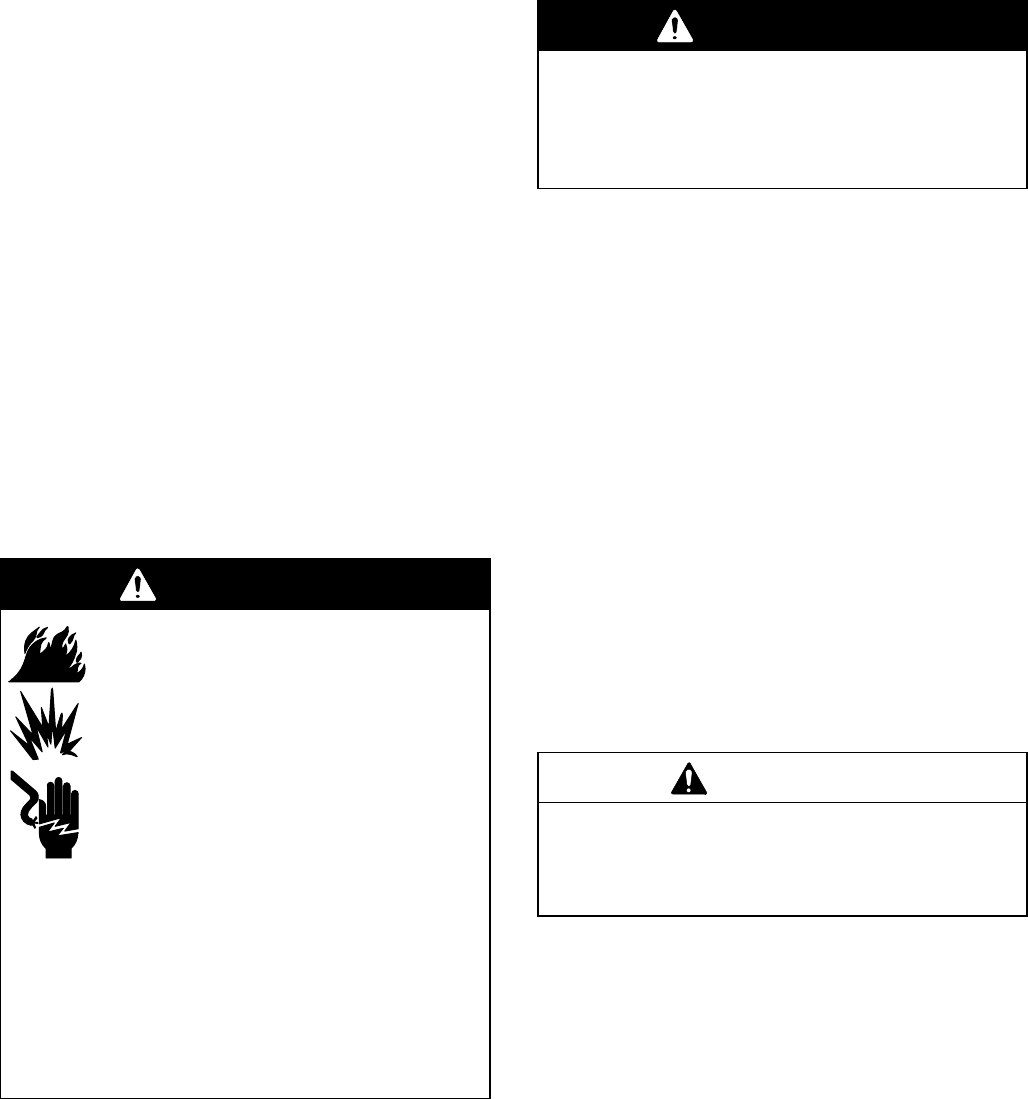
WARNING
FIRE, EXPLOSION, AND ELECTRIC
SHOCK HAZARD
To reduce the risk of a fire, explosion, or
electric shock:
D Follow the Fluid Voltage Discharge
and Grounding Procedure on page
16 and be sure the ES ON-OFF lever
is turned to OFF before flushing,
checking, or servicing the system and
whenever you are instructed to dis-
charge the voltage.
D Clean all the parts with a non-flammable fluid as
defined on the front cover of this manual.
D Do not service this equipment unless you are
trained and qualified.
D Do not touch the gun nozzle or come within 4
inches (101.6 mm) of the nozzle during gun op-
eration or until after following the Fluid Voltage
Discharge and Grounding Procedure.
WARNING
PRESSURIZED EQUIPMENT HAZARD
To reduce the risk of an injury, follow the Pressure
Relief Procedure on page 16 before checking or
servicing any part of the system and whenever you
are instructed to relieve the pressure.
1. Discharge the voltage as instructed on page 16.
2. Flush the gun with a non-flammable cleaning fluid
as instructed on page 21.
3. Purge the fluid out of the lines with air
4. Relieve the system pressure as instructed on page
16.
5. Disconnect the air and fluid hoses from the gun,
and remove the gun from the worksite for service.
The service area must be clean.
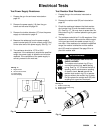
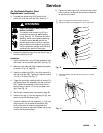
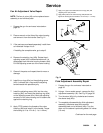
Air Cap/Nozzle/Resistor Stud
Replacement
Removal
1. Prepare the gun for service as instructed at left.
2. Remove the air cap assembly (1, 2, 8). See Fig.
16, page 31.
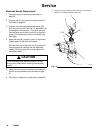
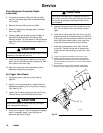
CAUTION
Hold the front end of the gun up, and trigger the gun
while removing the nozzle and resistor stud to help
drain the gun and prevent any fluid left in the gun
from entering the air passages.
3. Point the front end of the gun up and squeeze the
trigger while removing the fluid nozzle/resistor stud
(21, 22) assembly with the nozzle wrench (70).
NOTE: If the resistor stud (22) remains in the gun
when the fluid nozzle is removed, start the nozzle
thread onto the stud and pull the stud out.
Continued on the next page.