Model G0740 (Mfg. Since 11/12)
-23-
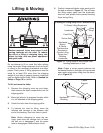
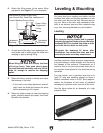
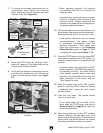
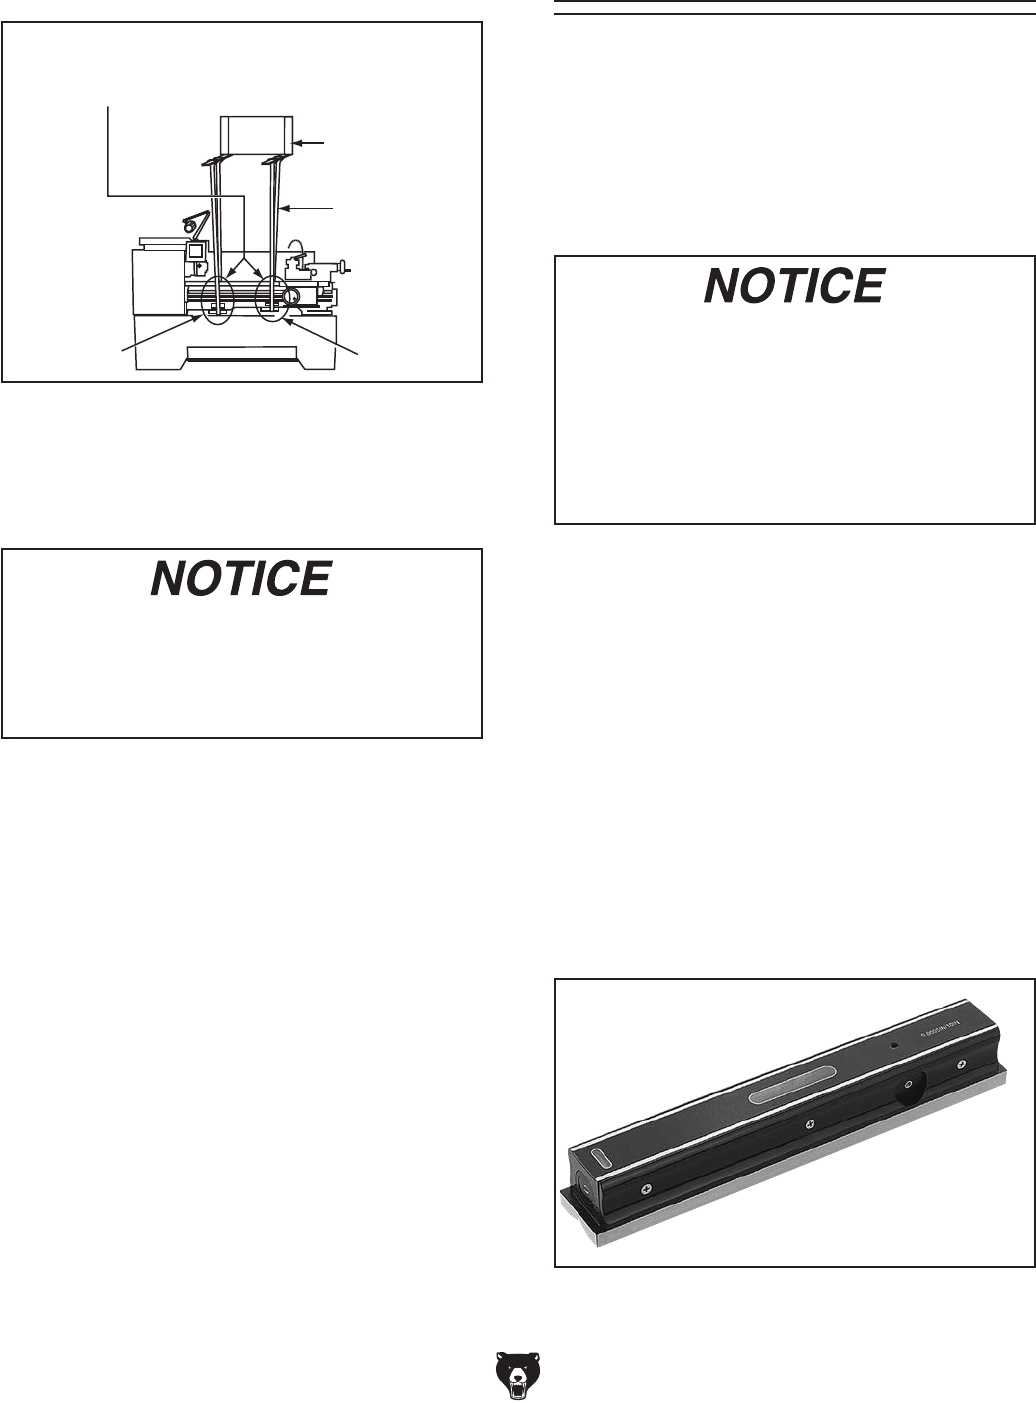
6. Attach the lifting straps to the power lifting
equipment (see Figure 17 for an example).
Power Lifting
Equipment
Lifting
Straps
Use Blocks to Space Straps Away
from Control Rod, Feed Rod, Leadscrew &
Prevent Bending During Lifting
Hardwood
Blocking
Hardwood
Blocking
Figure 17. Example of lathe setup for lifting.
7. At each end of the lathe, have assistants con-
nect guide rods to safely keep the lathe from
swaying or tipping during lifting.
8. Raise the lathe a couple of inches and check
the balance of the load.
— If the load is not safely balanced, immedi-
ately lower the lathe and resolve the issue
before attempting to lift it again.
9. Raise the lathe enough to clear the shipping
pallet, carefully remove the pallet, then lower
the lathe into position.
When lifting the lathe with straps, the load
will be top heavy. Take extra care to keep
the load balanced vertically and only lift the
lathe far enough to remove the shipping
pallet.
You must level your machine and either use the
included foot pads and leveling hardware or bolt
and shim your lathe to the floor. Because mount-
ing your lathe to the floor with permanent hard-
ware is an optional step and floor materials may
vary, floor mounting hardware is not included.
Leveling & Mounting
Leveling machinery helps precision components,
such as bedways, remain straight and flat during
the lifespan of the machine. Components on a
machine that is not level may slowly twist due to
the dynamic loads placed on the machine during
operation.
For best results, use a precision level that is at
least 12" long and sensitive enough to show a
distinct movement when a 0.003" shim (approxi-
mately the thickness of one sheet of standard
newspaper) is placed under one end of the level.
See the figure below for an example of a high
precision level.
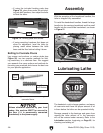
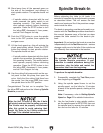
Figure 18. Model H2683 precision level.
Leveling
For accurate turning results and to prevent
warping the cast iron bed and ways, the lathe
bedways MUST be leveled from side-to-side
and from front-to-back on both ends.
Re-check the bedways 24 hours after
installation, two weeks after that, and then
annually to make sure they remain level.


