


Sharpening
The mortising bit and chisel must be periodically re-sharp-
ened. Sharpen mortising chisels with a round slipstone,
working from the inside of the chisel to the edge. Do not
sharpen the outside edge. Any burr on the outside edge
of the chisel caused by sharpening the inside must be
removed with a flat stone. Sharpen the mortising bit with
a flat stone or triangular file.
Securing Mortising Attachment to Drill
Press
1. Swing the drill press table away, lower the quill and
lock in place. Slide the chisel holder onto the quill and
tighten the bolt on the chisel holder split casting.
2. Slide a desired mortising chisel into the end of the
chisel holder and secure.
3. Slide the matching mortising bit through the chisel
and into the drill chuck. The tip of the mortising bit
should be at least
1
⁄16" below the edge of the chisel.
NOTE: It may be necessary to cut or grind the end of
the bit that fits into the chuck so there will be proper
clearance below the edge of the chisel. Secure the bit
in the drill chuck.
4. Fasten the fence assembly to the table. Ensure that
the fence is positioned so it is square to the side of
the chisel and set at the desired distance from the
back of the chisel.
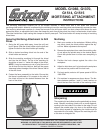
The mortising attachment enables you to cut square mortises in wood stock with a drill press and matched
mortising chisel and bit. Material is removed by the mortising bit and the mortising chisel simultaneously squares the hole.
The mortising attachment consists of a fence that mounts to the drill press table, two hook clamps that secure the work
against the fence, an adjustable hold–down that keeps the work from raising when the chisel is raised and a chisel holder.
The chisel holder has a split casting that clamps to the drill press quill. The chisel holder will accept a variety of mortising
chisel sizes.
Mortising
1. Mark your mortise on the workpiece. Without drilling
any stock, check the chisel position against the lay
-
out line. Make adjustments as required.
2. Remove the workpiece from under the mortising chis-
el and adjust the spindle stop to the desired depth.
Crank the spindle down to make sure everything is
clear.
3. Position the hook clamps against the side o the
workpiece.
4. Adjust he hold-down so it is just above the workpiece
and secure into position with the lock knob.
5. For best results, select a drill press speed of 650 to
1000 RPM.
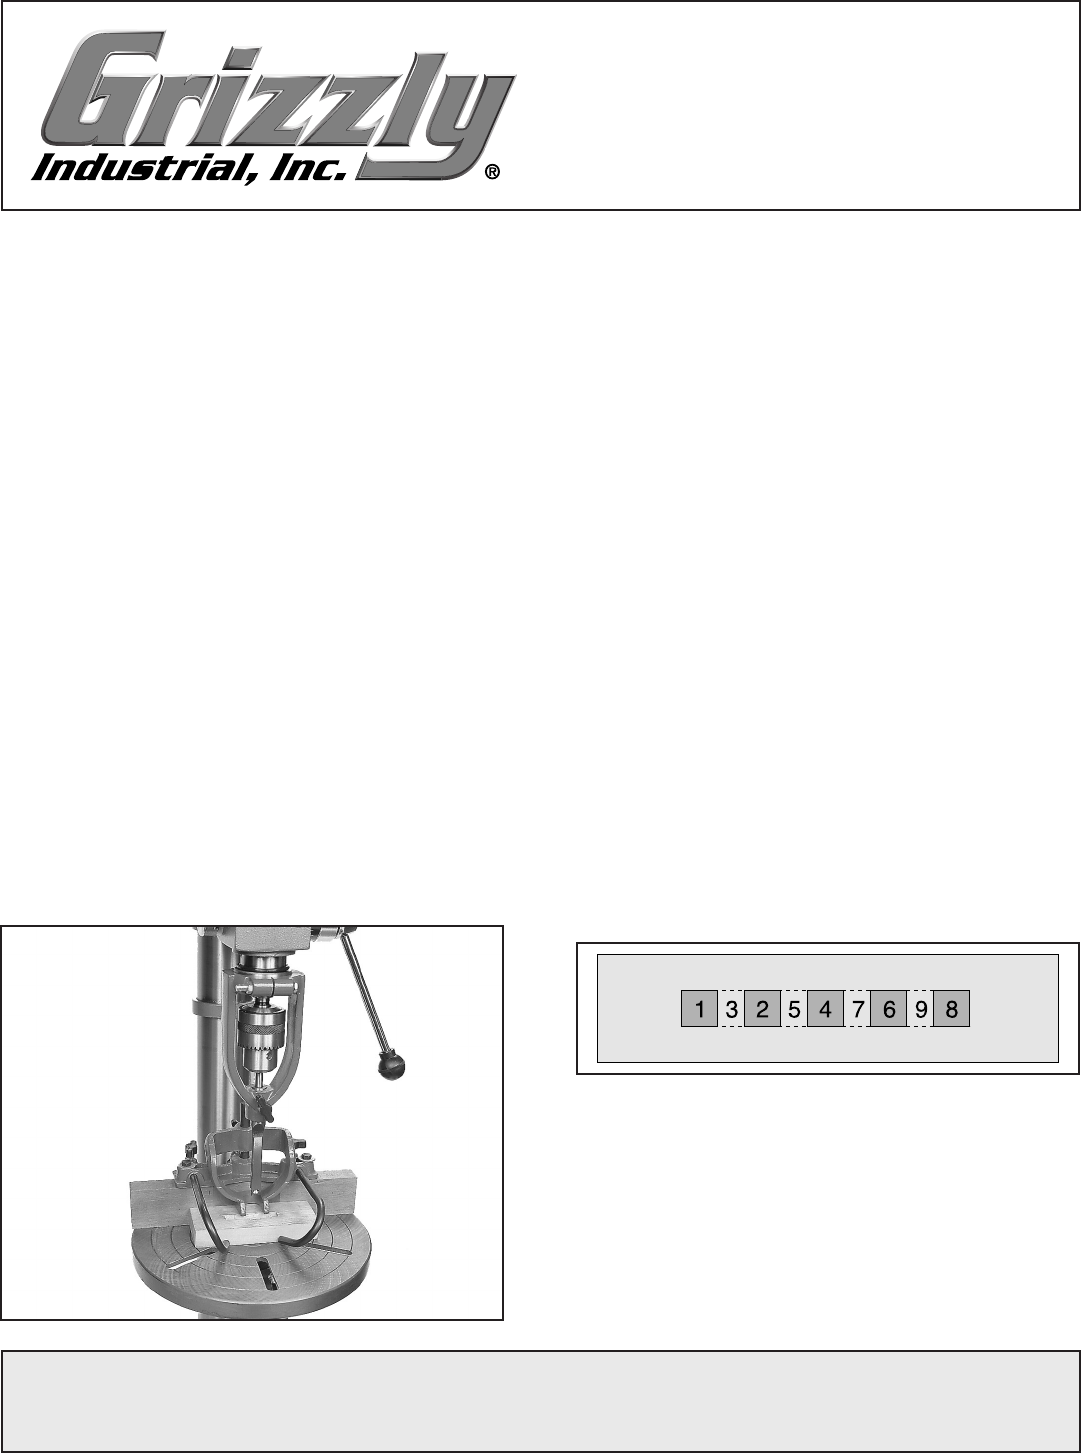
6. Cut mortises in sequence as shown above. The dis-
tance between position 1 and 2, 2 and 4 and so on
should be less than the width of the mortising chisel.
MODEL G1083, G1370,
G1514, G1515
MORTISING ATTACHMENT
INSTRUCTIONS
COPYRIGHT © 1999 BY GRIZZLY INDUSTRIAL, INC. REVISED OCTOBER, 2007 (TR)
WARNING: NO PORTION OF THIS MANUAL MAY BE REPRODUCED IN ANY SHAPE
OR FORM WITHOUT THE WRITTEN APPROVAL OF GRIZZLY INDUSTRIAL, INC.
#BA0520 PRINTED IN TAIWAN