


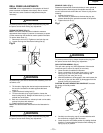
d. Never do any work freehand (hand-holding the
workpiece rather than supporting it on the table),
except when polishing.
e. Securely lock the head and support to the column, the
table arm to the support, and the table to the table
arm, before operating the drill press.
f. Never move the head or table while the tool is running.
g. Before starting an operation, jog the motor switch to
make sure the drill or other cutting tool does not
wobble or cause vibration.
h. If a workpiece overhangs the table so it will fall or tip if
not held, clamp it to the table or provide auxiliary
support.
i. Use fixtures for unusual operations to adequately hold,
guide, and position workpieces.
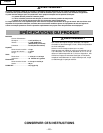
j. Use the SPINDLE SPEED recommended for the
specific operation and workpiece material. Check the
panel on the inside pulley cover or the chart below for
drilling speed information. For accessories, refer to the
instructions provided with each accessory.
5. Never climb on the drill press table, it could break or pull
the entire drill press down on you.
6. Turn the motor switch “OFF”, and put away the switch key
when leaving the drill press.
7. To avoid injury from thrown work or tool contact, do not
perform layout, assembly, or set up work on the table
while the cutting tool is rotating.
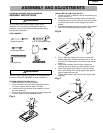
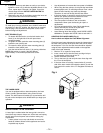
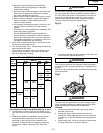
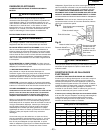
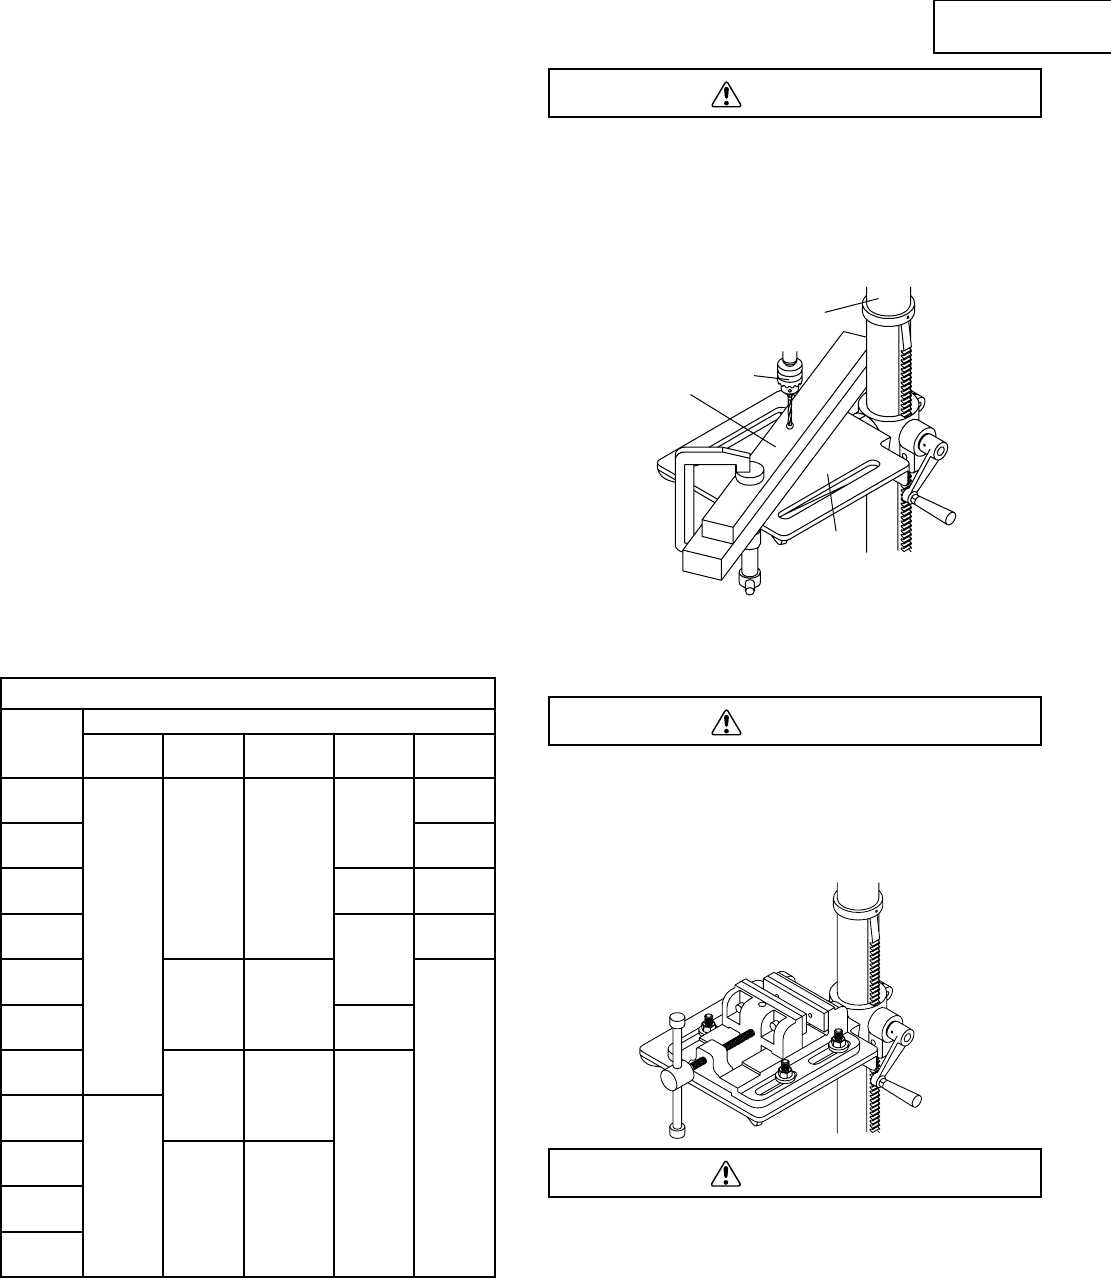
POSITIONING THE TABLE AND WORKPIECE (Fig. S and T)
1. Lock the table (1) to the column (2) at a position so the
tip of the drill bit (3) is just above the top of the workpiece
(4).
2. ALWAYS place BACK-UP MATERIAL (scrap wood) on
the table beneath the workpiece. This will prevent
splintering or heavy burring on the underside of the
workpiece. To keep the back-up material from spinning
out of control, it MUST contact the LEFT side of the
column.
To prevent the workpiece or back-up material from being torn
from your hands while drilling, you MUST position it against
the LEFT side of the column. If the workpiece or the back-up
material is not long enough to reach the column, use the
fence provided with the drill press to brace the workpiece.
Failure to do this could result in personal injury.
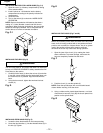
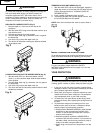
3. For small pieces that cannot be clamped to the table, use
a drill press vise (optional accessory)
The drill press vise MUST be clamped or bolted to the table
to avoid injury from a spinning workpiece, or damaged vise or
bit parts.
Remove the drill press fence when it interferes with other drill
press accessories.
To avoid injury from spinning work or tool breakage, always
clamp workpiece and back-up material securely to the table
before operating the drill press with the table tilted.
FEEDING
1. Pull down the feed handles with only enough effort to
allow the drill bit to cut.
2. Feeding too slowly might cause the drill bit to burn.
Feeding too rapidly might stop the motor, cause the belt
or drill to slip, or tear the workpiece loose and break the
drill bit.
3. When drilling metal, it may be necessary to lubricate the
drill bit tip with motor oil, to prevent burning.
WARNING
WARNING
WARNING
English
– 17 –
Fig. S
1
3
4
2
Fig. T
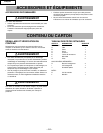
DRILLING SPEED TABLE (RPM )
Drill Bit
Diam.
(Inches)
Material
Wood
Alumi-
num
Plastic
Mild
Steel
Stain-
less
1/32
3000 3000 3000 3000 3000
1/16
1780
2380
1/8
1780
2380
1160
1160
3/16
1160
1160
680
680
1/4
1780
2380
1780
2380
5/16
680
680
3/8
1160
1160
1160
1160
7/16
1780
2380
1/2
680
680
680
680
9/16
5/8