


English
8
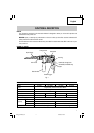
APPLICATIONS
⅜
By combined actions of ROTATION and IMPACT:
Boring holes in hard surfaces (concrete, marble,
granite, tiles, etc.)
⅜
By ROTATIONAL action:
Boring holes in metal, wood and plastic.
PRIOR TO OPERATION
1. Power source
Ensure that the power source to be utilized
conforms to the power source requirements
specified on the product nameplate.
2. Power switch
Ensure that the switch is in the OFF position. If the
plug is connected to a receptacle while the switch
is in the ON position, the power tool will start
operating immediately and can cause serious
injury.
3. Extension cord
When the work area is far away from the power
source, use an extension cord of sufficient
thickness and rated capacity. The extension cord
should be kept as short as practicable.
WARNING:
Damaged cord must be replaced or
repaired.
4. Check the receptacle
If the receptacle only loosely accepts the plug, the
receptacle must be repaired. Contact a licensed
electrician to make appropriate repairs.
If such a faulty receptacle is used, it may cause
overheating, resulting in a serious hazard.
5. Check your work environment
Confirm that the work site is placed under
appropriate conditions conforming to prescribed
precautions.
6. Side handle attachment
Attach the side handle to the mounting part.
Rotate the side handle grip in a clockwise direction
to secure it.
Set the side handle to a position that is suited to
the operation and then securely tighten the side
handle grip.
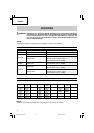
7. Selecting the appropriate drill bit
⅜
When boring concrete or stone
Use the drill bits specified in the Optional
Accessories.
ASSEMBLY AND OPERATION
⅜
When boring metal or plastic
Use an ordinary metalworking drill bit.
⅜
When boring wood
Use an ordinary woodworking drill bit.
However, when drilling 1/4" (6.5 mm) or smaller
holes, use a metalworking drill bit.
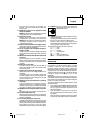
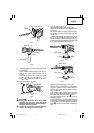
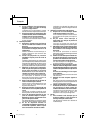
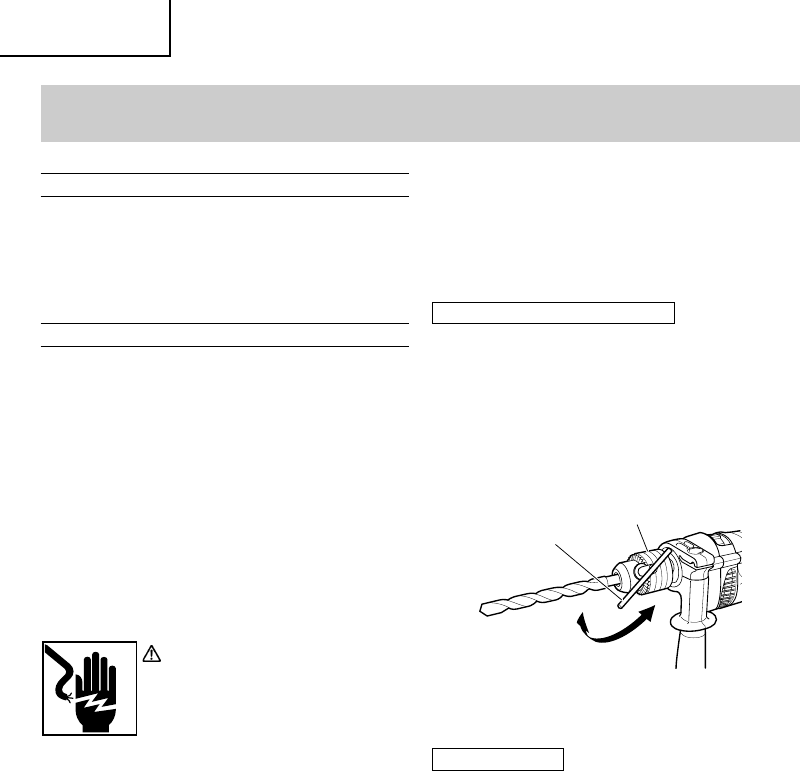
8. Mounting and dismounting of the bit
For Drill chuck with chuck wrench (Fig. 2)
(1) Open the chuck jaws, and insert the bit into the
chuck.
(2) Place the chuck wrench in each of the three holes
in the chuck, and turn it in the clockwise direction
(viewed from the front side). Tighten securely.
(3) To remove the bit, place the chuck wrench into one
of the holes in the chuck and turn it in the
counterclockwise direction.
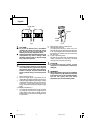
For keyless chuck (Fig. 3)
(1) Open the chuck jaws, and insert the bit into the
chuck.
To open the chuck jaws, hold the retaining ring
while turning the sleeve in the counterclockwise
direction (viewed from the front side).
(2) Firmly grasp the retaining ring and turn the sleeve
in the clockwise direction. Tighten securely.
(3) To remove the bit, firmly grasp the retaining ring
and turn the sleeve in the counterclockwise
direction.
NOTE:
When the sleeve does not become loose any
further, fix the side handle to retaining ring, hold
side handle firmly, then turn the sleeve to loosen
by hand. (Fig. 4)
Fig. 2
Drill chuck
Chuck
wrench
Tighten
Loosen
01Eng_DV13SS_US 10/29/08, 18:088