


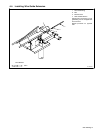
OM-1588 Page 18
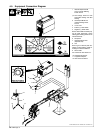
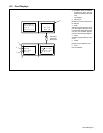
5-3. Front Panel Controls
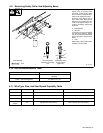
ST-162 127
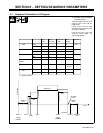
1 Display
2 Parameter Select Button
Press button to move > (the cursor) on the
display.
3 Display Control
Turn control to change value pointed to by >.
Turning control one click causes Trim (arc
length) to increase/decrease by one or Volts
to increase/decrease by 0.1.
When IPM is selected, turning control one
click causes wire feed speed (IPM) to in-
crease/decrease by one.
When MPM is selected, turning control three
clicks causes wire feed speed (MPM) to in-
crease by 0.1.
When Prg # is selected, turning control one
click causes program number (Prg #) to in-
crease/decrease by one.
The program number cannot be changed
while welding, with exception of Dual Sched-
ule Mode (see Section 7).
SharpArc™ is “Arc” on the display (see Sec-
tion 12). It is used to adjust arc cone width and
arc characteristics.
Pulse is a default setting. To change type of
process (Pulse, Adaptive Pulse, or MIG) use
side panel controls (see Section 5-4).
4 Active Side Indicator Light
5 Trigger Hold Button And Indicator Light
Trigger Hold can be set on a per program ba-
sis. Indicator light comes on for programs
where this feature is active.
To weld without holding gun trigger through-
out weld cycle, press and release button to
turn feature on (indicator light turns on).
To start weld cycle, press and release gun
trigger within three seconds after an arc has
been struck. To end weld cycle, press and re-
lease gun trigger.
6 Side Select Button
The feeder remembers the last used program
for each side and returns to that program
when the active side is changed.
. The gun trigger may be used to change
active side of the feeder.
7 Jog Button
Push to momentarily feed welding wire with-
out energizing welding circuit or shielding gas
valve.
Jog speed is varied using the Display Control
while Jog button is pressed. Default setting is
200 IPM.
8 Purge Button
Push to momentarily energize gas valve with-
out energizing the welding circuit.
. Jog and Purge only work on the active
side of the feeder.
Holding the Jog and Purge buttons at the
same time displays pulse parameters on
the side panel display and voltage on front
panel display.
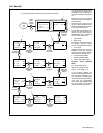
1
2
3
4
5
6
5
4
7
8
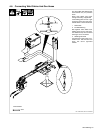
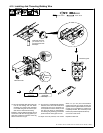
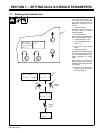
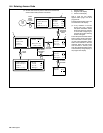
5-4. Side And Rear Panel Controls
Ref. ST-162 128 / Ref. ST-162 133
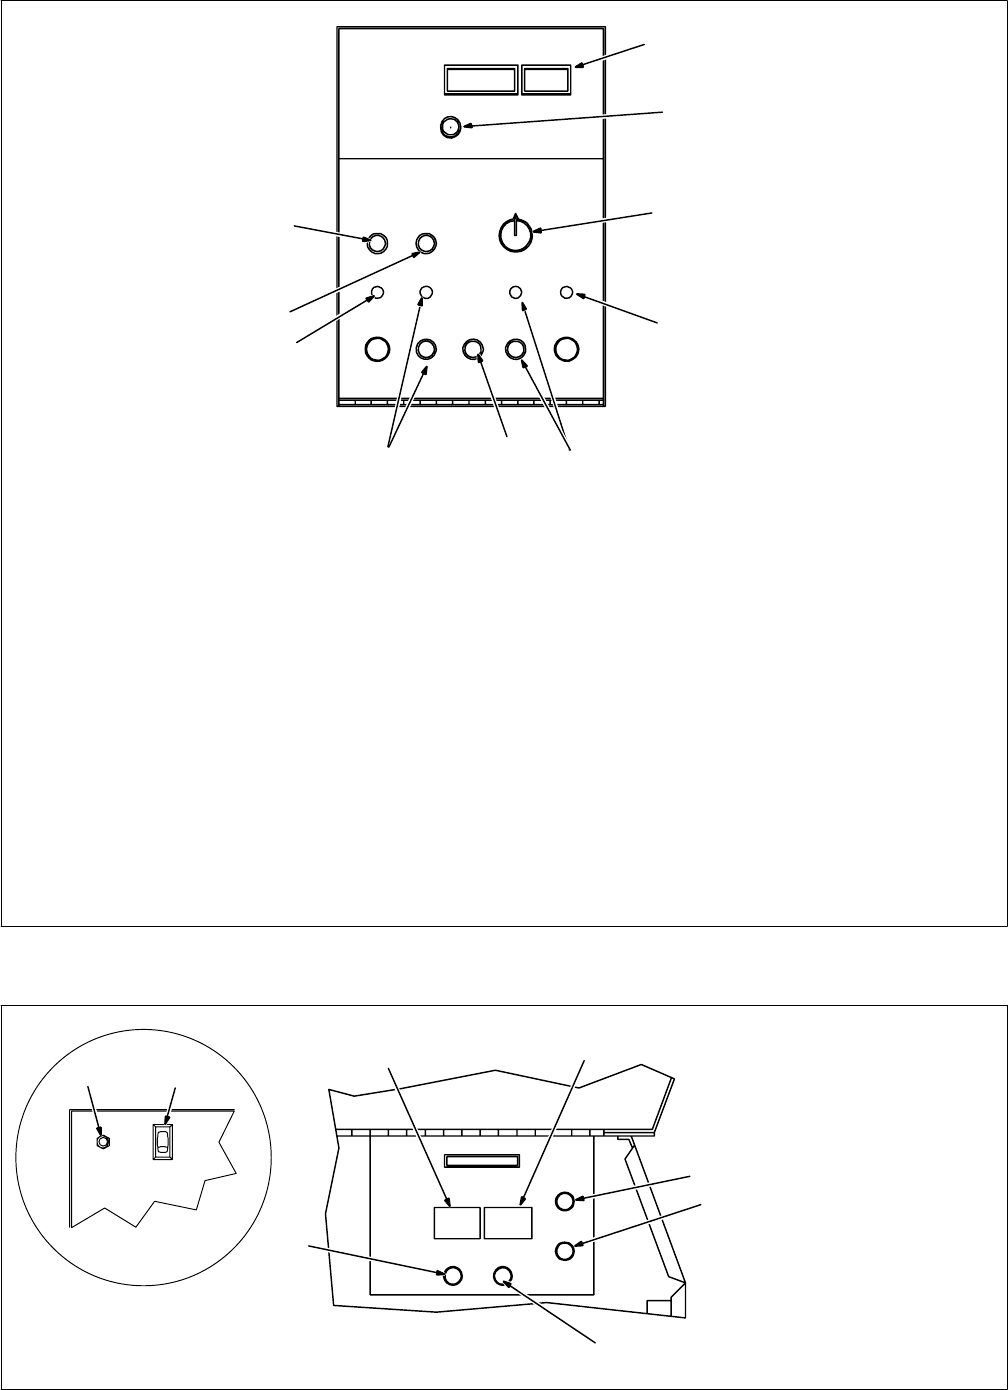
1 Mode Display
2 Mode Select Button
Press button to move > in display.
3 Parameter Display
4 Parameter Select Button
Press button to move > in display.
5 Parameter Increase Button
6 Parameter Decrease Button
7 Power Switch
8 Circuit Breaker CB1
CB1 protects the wire feeder from
overload.
Rear Panel
8 7
5
1
2
6
4
3