– 23 –
BASIC SAW OPERATIONS
NOTE: The table top surfaces should be cleaned to
remove the protective coating that it is shipped with
before using the saw.
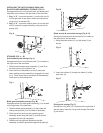
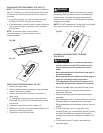
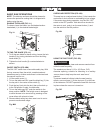
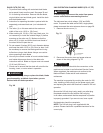
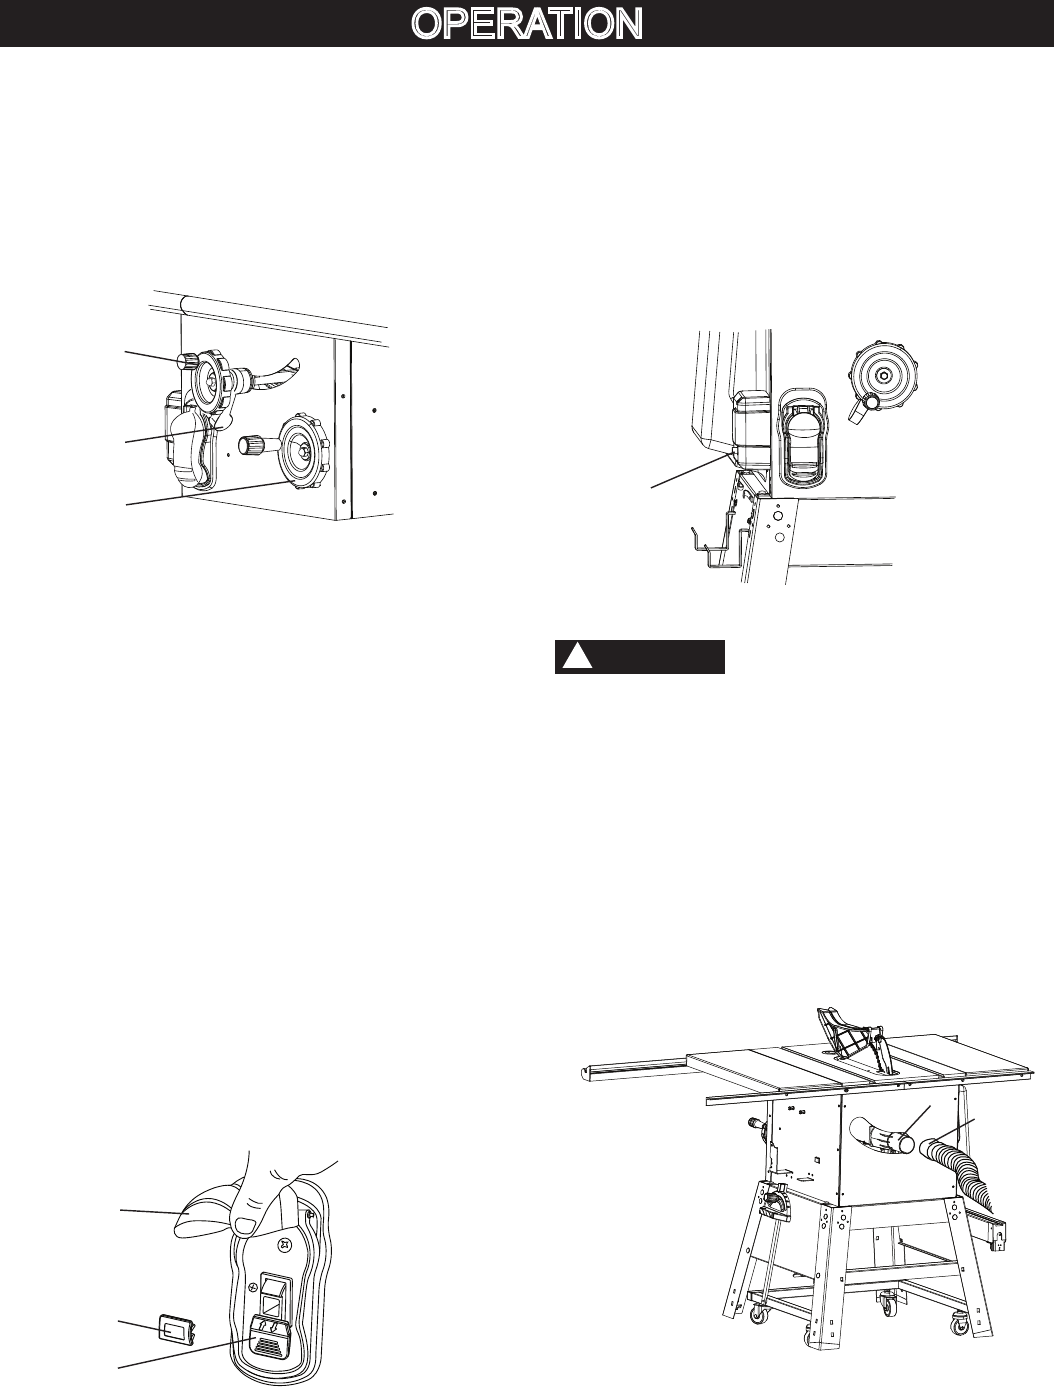
RAISING THE BLADE (FIG. LL)
To raise or lower the blade, turn the blade elevation
handwheel (1) to the desired blade height.
Fig. LL
TILTING THE BLADE (FIG. LL)
1. To tilt the saw blade for bevel cutting, loosen the lock
handle (2) by turning clockwise and turn the tilting
hand wheel (3).
2. Tighten the lock handle (2) counterclockwise to
secure.
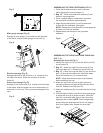
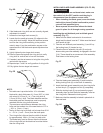
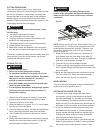
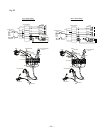
ON/OFF SWITCH (FIG. MM)
The ON / OFF switch has a removable safety key. With
the key removed from the switch, unauthorized and
hazardous use by children and others is minimized and
the saw will not turn on.
1. Lift the switch cover (1).
2. To turn the table saw ON, insert the black key (2) into
the key slot in the center of the switch (3).
3. Push the key firmly into the slot, then pull switch up
to the ON position to start the table saw.
4. To turn the table saw OFF push the switch to the
down position. NOTE: The switch cover is designed
to allow the saw to be turned off by pressing on the
cover either with a hand or knee.
5. Remove black safety key when saw is not in use to
prevent unauthorized usage.
Fig. MM
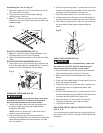
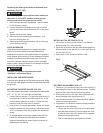
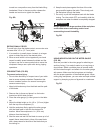
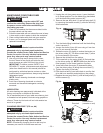
OVERLOAD PROTECTION (FIG. NN)
This saw has an overload reset button (1) that resets the
motor after it shuts off due to overloading or low voltage.
If the motor stops during operation, turn the ON / OFF
switch to the OFF position. Wait about five minutes for
the motor to cool, push in on the reset button (1) and
turn the switch to the ON position.
Fig. NN
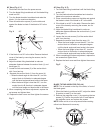
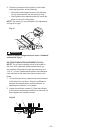
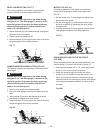
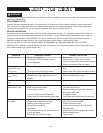
USING THE DUST PORT (FIG. OO)
To prevent fire hazard, clean and remove sawdust from
under the saw frequently.
The sawdust port has a 2-1/2 in. (63.5 mm, O.D.)
diameter opening, suitable for attaching to a wet/dry
vacuum hose to help keep the work area free of
sawdust.
To prevent sawdust buildup inside the saw housing,
attach a vacuum hose (1) to the dust port (2) at the rear
of the table saw. DO NOT operate the saw with the hose
in place unless the vacuum is turned on.
Fig. OO
OPERATION
1
2
3
1
2
3
1
WARNING
!
1
2


