9
INSPECTION
Before putting power to the machine, check that all
screws are tight, that all mechanical functions work
freely and that the cutterhead turns freely without knife
contact with the chipbreaker or pressure bar.
ADJUSTMENTS
Tools required
Philips screwdriver
Hex wrenches (provided)
Open-end wrench (provided)
DEPTH OF CUT
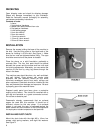
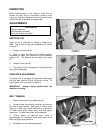
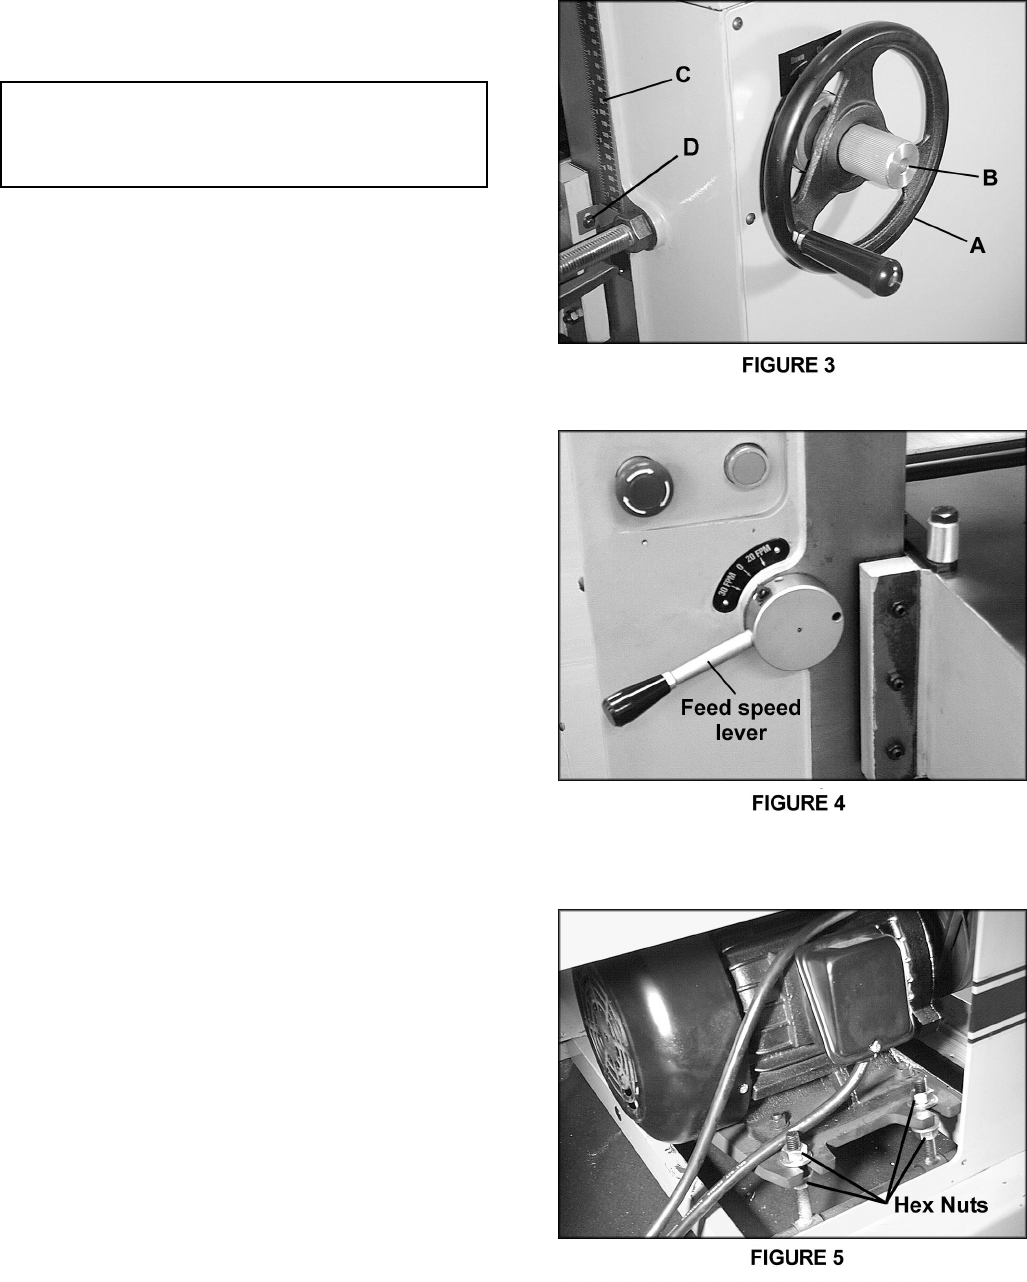
Depth of cut is controlled by raising or lowering the
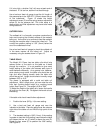
table. This is done by using the handwheel (A), shown
in Figure 3.
1. Loosen the lock knob (B).
2. Raise or lower the table to the desired position
(clockwise to raise). One revolution of the handwheel
equals 1/16". The distance can be read on the scale
(C).
3. Retighten lock knob (B).
4. The pointer (D) can be adjusted if the scale should
ever need recalibrating.
FEED RATE ADJUSTMENT
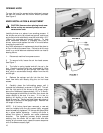
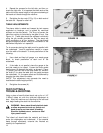
The Model 201 is equipped with selectable feed speed
rolls that feed stock at 20 and 30 feet per minute. To
adjust speed, turn lever shown in Figure 4.
IMPORTANT: Always change speeds while the
machine is running.
BELT TENSION
1. Disconnect machine from power source.
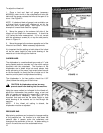
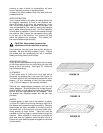
2. Remove lower rear panel of machine, and use the
hex nuts to adjust tension. See Figure 5. Adjust motor
plate up or down until correct belt tension is achieved.
To lower motor plate, loosen lower nuts and tighten
upper nuts. To raise motor plate, do the opposite.
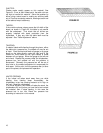
3. Correct tension is obtained when there is
approximately 1/4" deflection in the center span of the
belts using light finger pressure.
4. Re-tighten the nuts and replace panel.


