Page 14
WARNING:
Before connecting saw to power source, make sure the
saw blade or blade guard will not hit the work clamp or
table extensions when cutting 35° to 45° angles.
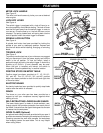
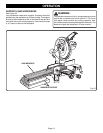
STOP BLOCK (Optional)
The optional stop block is included with the Table exten-
sions and is useful as a stop for making repetitive cuts to
the same length. It can be installed on either side of the
saw base:
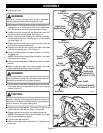
■ Loosen the thumb screw and adjust the stop block the
desired distance from the blade for the cut to be made.
For accurate placement of the stop block, measure the
distance from the teeth set on the blade to the stop
block.
■ Tighten thumb screw securely.
■ Make a test cut in scrap material and measure the
length of the workpiece.
■ Make any necessary adjustments.
■ Replace the lower blade guard and blade bolt cover.
■ Retighten phillips screw securing blade bolt cover.
WARNING:
Make sure the spindle lock button is not engaged before
reconnecting saw into power source. Never engage
spindle lock button when blade is rotating.
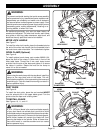
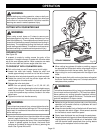
DUST BAG (Optional)
An optional dust bag, part number 4090001, is available for
use on your miter saw. It fits over the exhaust port on the
upper blade guard. To install it, remove dust guide from
exhaust port. Then, squeeze the two metal clips to open
the mouth of the bag and slide it on the exhaust port.
Release the clips. The metal ring in the bag should lock in
between the grooves on the exhaust port.
To remove the dust bag for emptying, simply reverse the
above procedure.
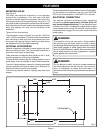
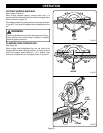
TABLE EXTENSIONS (Optional)
To install optional table extensions, part number 982022-001,
insert the ends of extensions into the holes in the sides of the
base. Adjust the extensions to the desired length. To secure
them in place, screw the two thumb screws provided into the
holes in the front of the base and tighten them securely.
WARNING:
When using the work clamp with the stop block, install the
clamp on the same side as the stop block. This will
eliminate the possibility of trapping the workpiece, resulting
in the saw blade and workpiece kicking up. Failure to
heed this warning can result in serious personal injury.
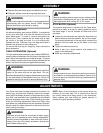
ASSEMBLY
WARNING:
Always make sure your miter saw is securely mounted to
a workbench or an appropriate workstand. Failure to do
so could result in an accident resulting in possible serious
personal injury.
Your Ryobi miter saw has been adjusted at the factory for
making very accurate cuts. However, some of the compo-
nents might have been jarred out of alignment during ship-
ping. Also, over a period of time, readjustment will probably
become necessary due to wear. After unpacking your saw,
check the following adjustments before you begin using
saw. Make any readjustments that are necessary and peri-
odically check the parts alignment to make sure that your
saw is cutting accurately.
WARNING:
Your saw should never be connected to power supply
when you are assembling parts, making adjustments,
installing or removing blades, or when not in use. Discon-
necting your saw will prevent accidental starting that
could cause serious injury.
NOTE: Many of the illustrations in this manual show only
portions of your miter saw. This is intentional so that we
can clearly show points being made in the illustrations.
Never operate your saw without all guards securely in
place and in good operating condition.
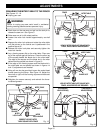
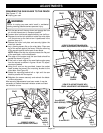
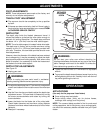
ADJUSTMENTS


