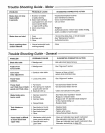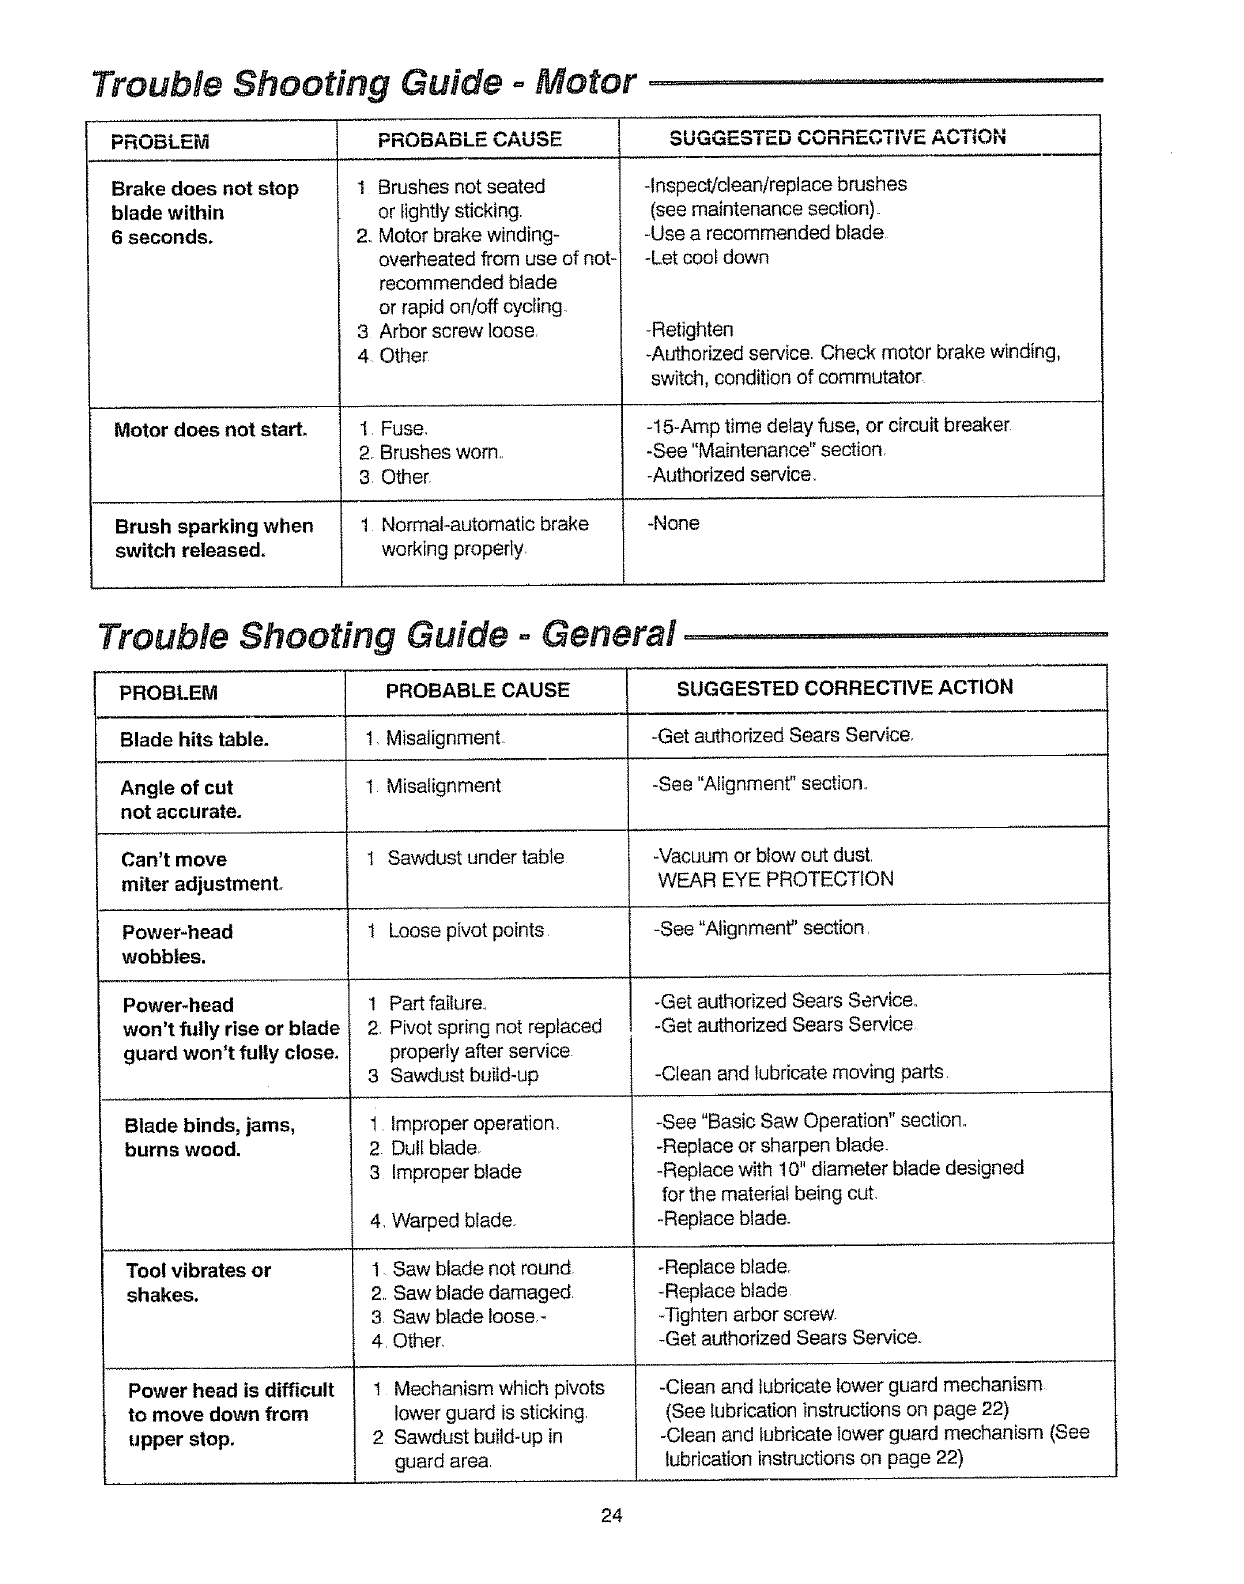
Trouble Shooting Guide ° Motor ........................
PROBLEM PROBABLECAUSE SUGGESTED CORRECTIVEACTION
Brake does not stop 1
blade within
6 seconds. 2..
Motor does not start.
Brush sparking when
switch released.
Brushes not seated
or lightly sticking.
Motor brake winding-
overheated from use of not-
recommended blade
or rapid on/off cycling
3 Arbor screwlooser
4 Other
1 Fuse,
2 Brushes worn.,
3. Other,
1 Normal-automatic brake
working properly
-Inspect/clean/replace brushes
(see maintenance section).
-Use a recommended blade
-Let cool down
-Retighten
-Authorized service. Check motor brake winding,
switch, condition of commutator,
-15-Amp time delay fuse, or circuit breaker
-See "Maintenance" section,
-Authorizedservice
-None
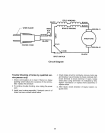
Trouble Shooting Guide o General .............
PROBLEM
Blade hits table.
Angle of cut
not accurate.
Can't move
miter adjustment°
Power-head
wobbles.
Power-head
won't fully rise or blade
guard won't fully close,
Blade binds, jams,
burns wood.
Tool vibrates or
shakes.
Power head is difficult
to move down from
upper stop.
PROBABLE CAUSE
1 MisalignmenL
1 Misalignment
1 Sawdust under table
1 Loose pivot points
1 Part failure.,
2, Pivot spring not replaced
properly after service
3 Sawdust build-up
1 improper operation.
2 Dull blade
3 improper blade
4, Warped blade
1. Saw blade not round
2. Saw blade damaged.
3 Saw blade loose,-
4 Other.
t Mechanism which pivots
lower guard is sticking,
2 Sawdust build-up in
guard area,
SUGGESTED CORRECTIVE ACTION
-Get authorized Sears Service,
-See "Alignment" section.,
-Vacuum or blow out dust
WEAR EYE PROTECTION
-See "Alignment" section,
-Get authorized Sears Service,,
-Get authorized Sears Service
-Clean and lubricate moving parts,
-See "Basic Saw Operation" section,,
-Replace or sharpen blade.
-Replace with 10" diameter blade designed
for the material being cut,
-Replace blade.
-Replace blade.
-Replace blade
_Tighten arbor screw.
-Get authorized Sears Service.
-Clean and lubricate lower guard mechanism
(See lubrication instructions on page 22)
-Clean and lubricate lower guard mechanism (See
lubrication instructions on page 22)
24


