•
– 2 – – 3 – – 4 –
– 5 – – 6 –
– 7 –
– 8 –
www.trimble.com/spectra
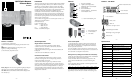
QM75 Quick Measure
Distance Meter
User Guide
Introduction
Thank you for choosing the Spectra Precision QM75 from the Trimble
family of precision products. This easy-to-use distance measuring tool
will allow you to measure distances quickly, accurately and reliably.
Before using the Quick Measure, read this operator’s manual carefully.
Included is information about operation, safety and maintenance. Also
included are CAUTIONs and NOTEs to highlight important
considerations. CAUTION indicates a hazard or unsafe practice that
could result in a minor injury or property damage. A NOTE indicates
important information to help the user employ the product efficiently.
Ensure that the operating instructions are with the laser distance meter
when it is given to other persons.
Your comments and suggestions are welcome; please contact us at:
Trimble Spectra Precision Division
8261 State Route 235
Dayton, Ohio 45424 USA
Phone: +1 (937) 203-4419
+1 (800) 527-3771
Fax: +1 (937) 482-0030
Internet: www.trimble.com/spectra
General Operation
Single distance measurement
1) Switch on the laser beam by pressing the Measure Button.
2) Point the laser dot to the surface to be measured. (Distance is
measured from bottom of the tool).
3) Press the Measure Button once again. The measured distance will
be displayed.
4) Press the Power On/Off Button to switch off.
Continuous measurement
1) Press and hold the Measure Button for 2 seconds to activate
continuous measuring mode. The tool beeps during continuous
measure mode if beeper is turned on.
2) Press the Measure Button again to stop continuous measure.
(It does not matter if the Quick Measure is On or Off. It will always
switch to continuous measurement). During continuous measurement,
the distances are recalculated and displayed about 8 to 15 times per
second, depending upon the reflectivity of the target surface. When
continuous measure is stopped, the last valid distance measurement is
displayed on the result line.
Power on/off options
1) The Quick Measure is designed to allow quick measurements by
pressing the Measure Button to switch on the tool and activate the
laser. In this case, measurement is accomplished when the Measure
Button is pressed the second time.
2) It is also possible to use the power button to switch on the tool. In
this case, the Measure Button must be pressed once to activate the laser
and a second time to accomplish a measurement.
Settings menu (to change sound and unit of measure)
1) With the tool switched off, press and hold the Power On/Off Button
for approximately 2 seconds to enter menu mode.
2) Press the Measure Button to switch the beep signal On or Off.
3) Press the Power On/Off Button to access the measuring units
settings.
4) Press the Measure Button repeatedly to scroll through the choice of
units. Available measure units:
mm m in ft yd 1/8 ft 1/16 ft 1/8 in 1/16 in
5) To close the menu, press and hold the Power On/Off Button for
approximately 2 seconds. The tool is switched off and settings saved.
Batteries - Installation
1. Open the battery compartment.
2. Remove the batteries from the packaging and insert them in the
tool.
NOTE
When installing batteries note the positive (+) and
negative (-) markings on the housings
3. Close the battery compartment cover.
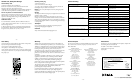
Features
2
4
1
3
6
1. Protective overmolding
2. Liquid Crystal Display (LCD) -
Illuminated with 20 second shutoff
3. Measure Button
4. Power On/Off Button
5. Measuring Reference - measurements
are from bottom of unit
6. Laser Exit and Receiving Lens
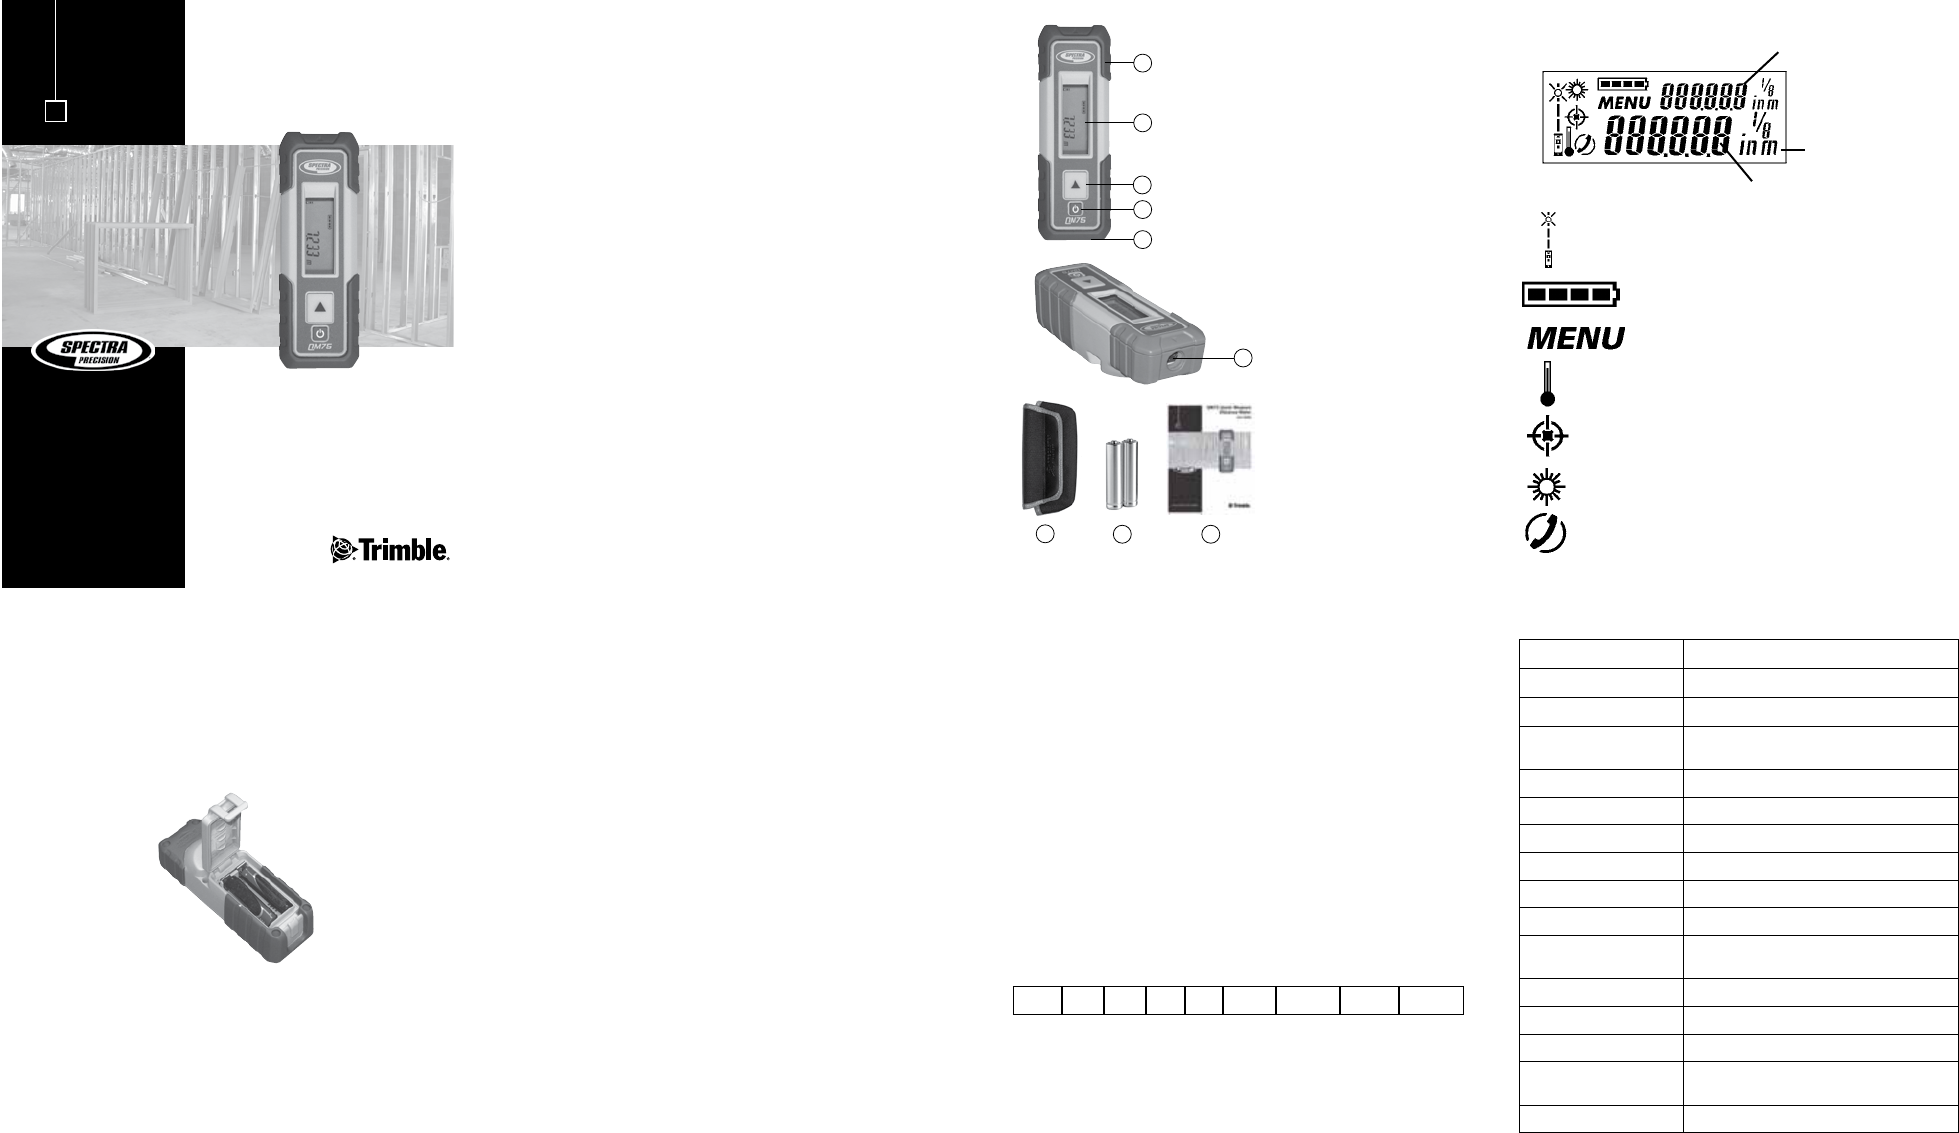
Features - LCD Detail
Temperature too high or too low
Unfavorable signal conditions
Ambient light at target too bright
Laser switched on
Battery status
Result measurement value
Units of measure
Menu On
Contact service
Previous measurement value
7. Pouch with belt loop
8. 2 x AAA batteries
9. User Guides
Battery disposal - Some areas have regulations regarding the disposal
of batteries. Be sure to dispose of discharged batteries properly.
CAUTION: The batteries should be removed when storing the laser
more than 30 days.
5
Specifications
Measuring Range 0.3 to 70 m (1 to 230 feet)
Accuracy ± 1.5 mm typical (± 1/16 inch)
Functions Individual measure and continuous measure
Display Illuminated LCD showing distance, operating
and battery status
Automatic cut o laser - 1 minute, product 10 minutes
Battery life 8000 measures
Operating temperature -10⁰C to +50⁰C (14⁰F to 122⁰F)
Storage temperature -30⁰C to +70⁰C (-22⁰F to 158⁰F)
Power supply 2 x AAA 1.5V
Power indication LCD 4 segments - 100%, 75%, 50%, 25%
Laser Safety Class II as per EN 60825-1:2007; IEC 60825-
1:2007 CFR 21 § 1040 (FDA)
Laser Type / Power 635nm visible red / < 1 mW
Dimensions 34 x 42 x 125 mm (1.34 x 1.65 x 4.92 in)
Weight 144 g (5.0 oz) with batteries
Dust and Water resistance IP 55 protection against dust and water jets
IEC 529
Drop Performance 1.5 m (5 ft) onto concrete
7
8 9