


9
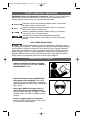
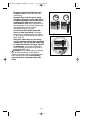
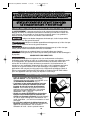
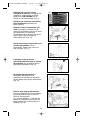
The depth to which a nail is driven is controlled by the depth adjustment knob (A) Fig.
29. The depth of drive is factory adjusted to a nominal setting. Test fire a fastener and
check depth. If a change is desired, rotate the adjustment knob (A) Fig. 29. The
adjustment knob has detents every
1
/4 turn. Rotate the knob (A) Fig. 29 clockwise to
increase the depth of drive, rotate the knob counterclockwise to decrease the depth of
drive. Test fire another fastener and check depth. Repeat as necessary to achieve
desired results. The amount of air pressure required will vary depending on the size of
the fastener and the material being fastened. Experiment with the air pressure setting to
determine the lowest setting that will consistently perform the job at hand. Air pressure
in excess of that required can cause premature wear and/or damage to the tool.
Fig. 29
A
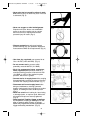
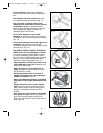
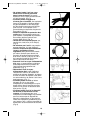
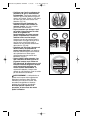
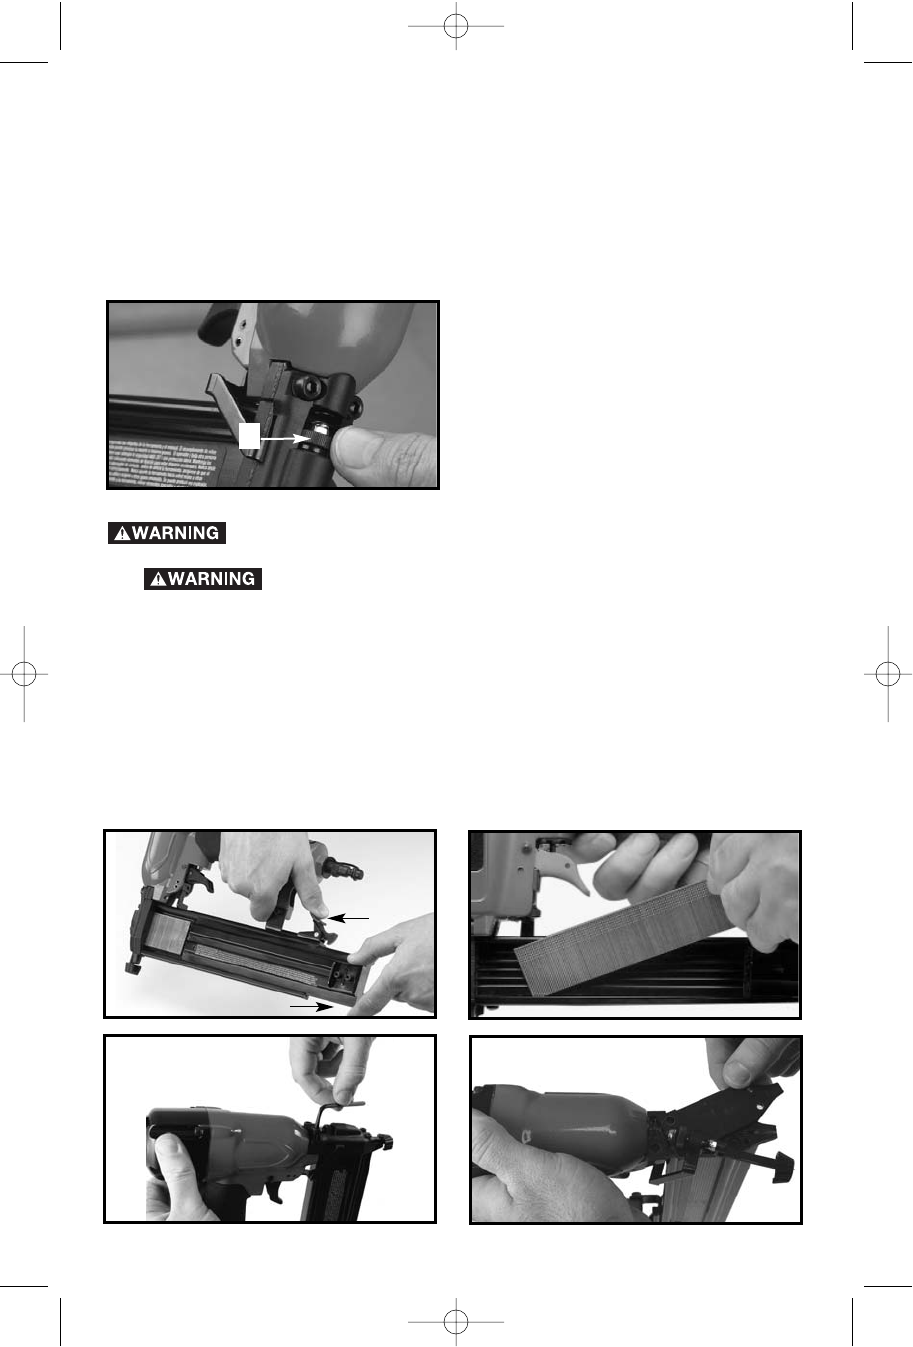
CLEARING A JAMMED FASTENER
Disconnect tool from air supply.
1. Open magazine and remove remaining fasteners. (Fig. 30 and Fig. 31)
Remove fasteners from tool before opening the fastener guide
plate. Fasteners are under pressure and may shoot out of magazine which could
cause injury.
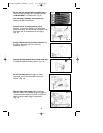
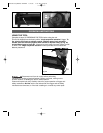
2. Remove the four screws from the fornt plate using the #3 and #4 hex head
wrenches provided. (Fig. 32)
3. Remove the cover.
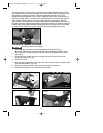
4. Move the spring loaded arm to the side and remove the steel plate to allow access
to the jammed fastener. (Fig. 33)
5. Remove the jammed fastener using needle nose pliers if necessary.
6. Replace the steel plate, cover and 4 hex head screws.
Fig. 31
Fig. 32
Fig. 33
Fig. 30
492848-00,BDN200 NAILER 2/2/06 1:35 PM Page 9