


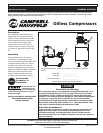


5
HU500000, HU502000
www.chpower.com
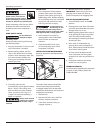
Installation
LOCATION
It is extremely important to install the
compressor in a clean, dry, and well
ventilated area. The compressor must
be placed on a firm, level surface where
the surrounding air temperature will
not be more than 100°F.
A minimum clearance of 18 inches
between the compressor and a wall is
required because objects could obstruct
air flow.
Do not locate the
compressor air inlet
near steam, paint spray, sandblast areas
or any other source of contamination.
This debris will damage the motor.
ELECTRICAL INSTALLATION
All wiring
and
electrical connections should
be performed by a qualified
electrician. Installation must
be in accordance with local codes and
national electrical codes.
WIRING
1. Local electrical wiring codes
differ from area to area. Source
wiring, plug and protector must
be rated for at least the amperage
and voltage indicated on motor
nameplate, and meet all electrical
codes for this minimum.
2. Use a slow blow fuse or a circuit
breaker.
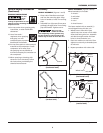
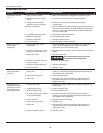
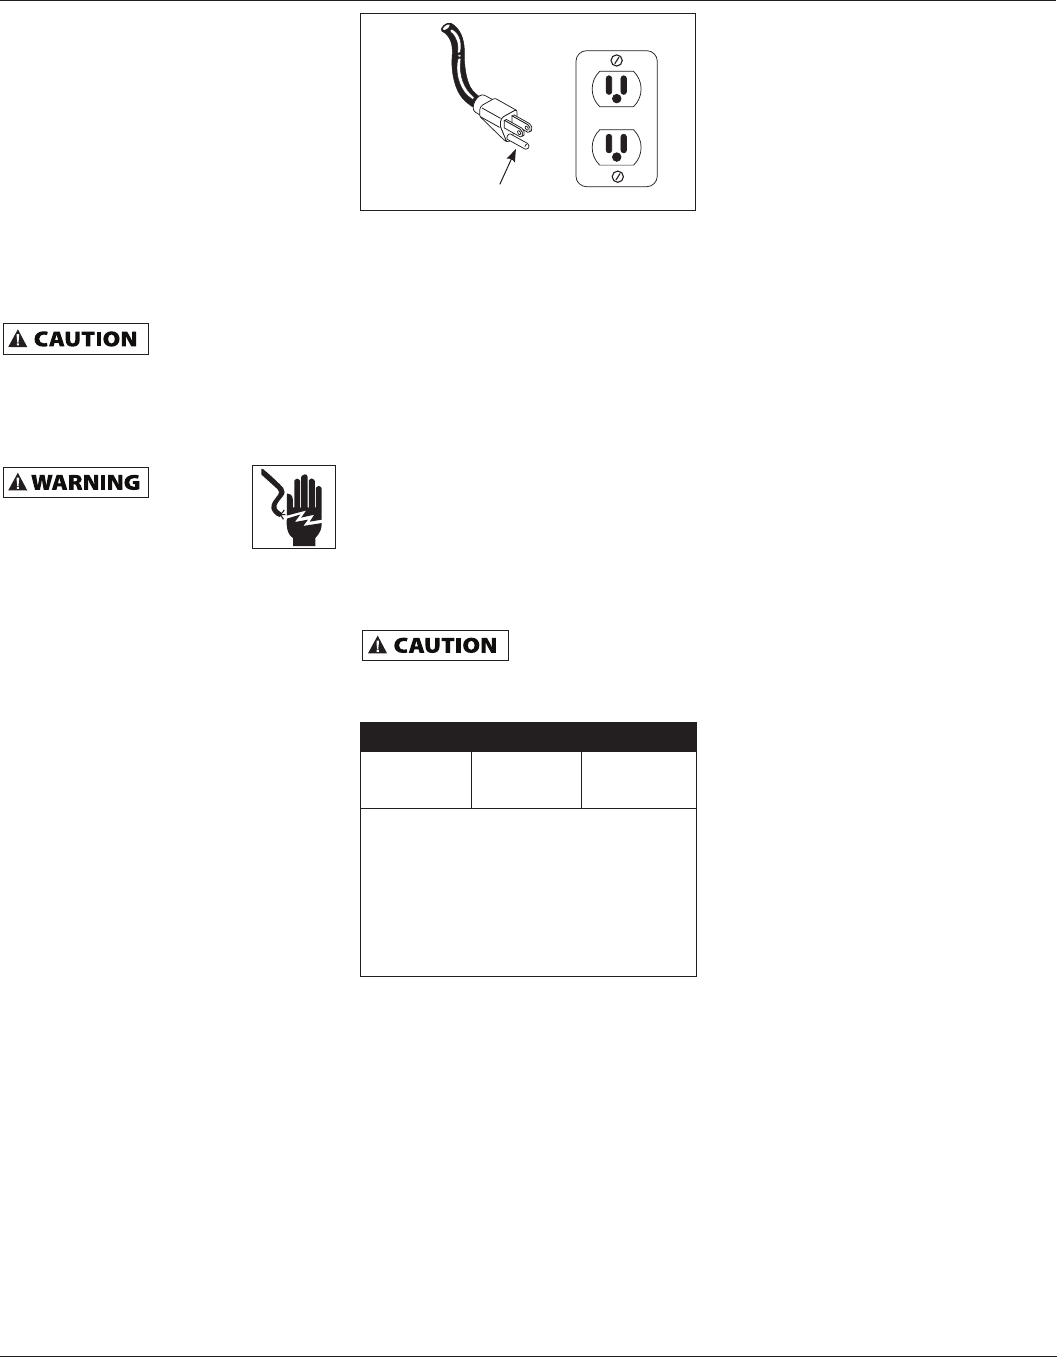
3. This product is for use on a
nominal 120 volt circuit and has
a grounding plug that looks like
the plug illustrated in Figure 6.
Make sure the product is connected
to an outlet having the same
configuration as the plug. This
product must be grounded. In the
event of an electrical short circuit,
grounding reduces risk of electrical
shock by providing an escape wire
for electric current. This product
is equipped with a cord having a
grounding wire with an appropriate
grounding plug. Plug must be
plugged into an outlet that is
properly installed and grounded in
accordance with all local codes and
ordinances.
Overheating, short
circuiting and fire
damage will result from inadequate
wiring.
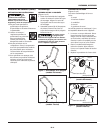
TEST
RESET
Figure 6 - Grounding Method
Grounded Outlet
Grounding Pin
Operation
BEFORE FIRST START-UP
BREAK-IN PROCEDURE
(Complete this procedure before using
compressor for the first time. Once
completed, it is not necessary to repeat.)
1. Open drain valve located on bottom
of tank.
2. Turn ON / OFF switch to OFF
position.
3. Plug in power cord.
4. Turn ON / OFF switch to ON position
and run compressor for 30 minutes.
5. Turn ON / OFF switch to OFF
position.
6. Unplug power cord.
7. Close drain valve.
The compressor is now ready for use.
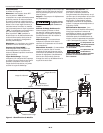
OPERATING PROCEDURE
1. Turn switch to OFF position and plug
in power cord.
2. Turn regulator knob
counterclockwise to close air flow.
3. Turn switch to AUTO position.
4. Compressor will build to maximum
pressure and shut off.
5. With hose attached to outlet of
compressor, attach tire chuck or
other tool to open end of hose.
6. Adjust regulator to proper pressure
for tool or tire. Operate tool per
instructions.
As air is depleted from the tank by
use of a tire chuck, tool, etc., the
compressor will restart automatically
at its preset “cut-in” pressure. When
a tool is being used continuously,
the compressor will cycle on and off
automatically.
7. Turn switch to OFF position, unplug
power cord and drain tank of air
when finished using compressor.
Minimum Gauge of Extension Cord
25 ft. 50 ft. 100 ft.
14 12 10
Use of an extension cord may cause excess
heat to motor. This could lead to tripped
breaker (at electrical panel) or tripped
thermal overload (on compressor motor).
If this occurs, eliminate extension cord and
plug compressor directly into electrical
outlet. Avoid using extension cords; use
longer air hose(s) instead.