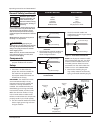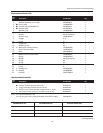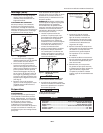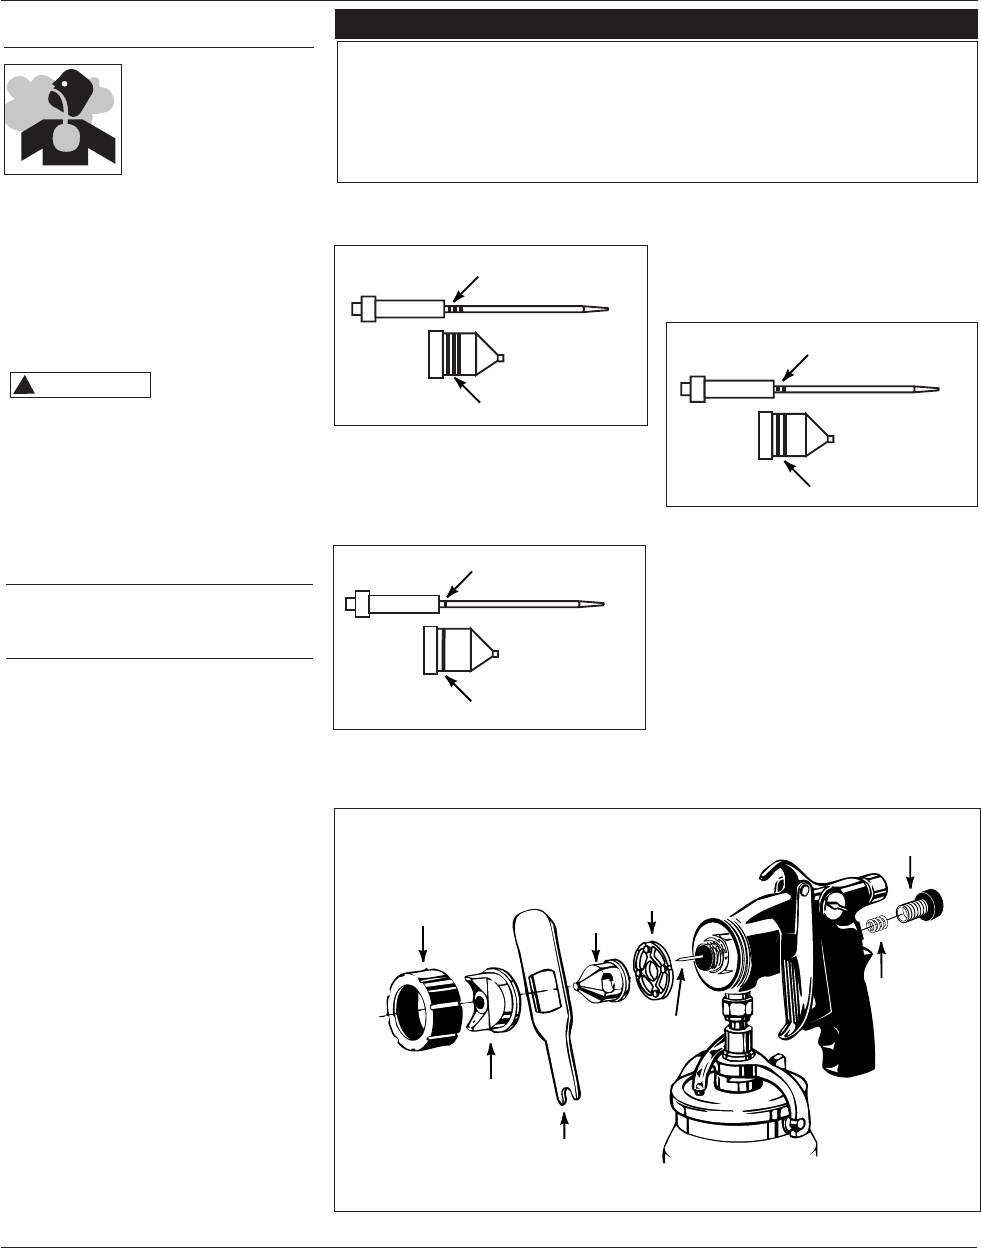
Figure 2 - Thin Material Needle And
Nozzle Kit
3. The all purpose material needle and
noz zle have three groove rings as
shown in Figure 3 below.
Figure 3 - All Purpose Material Needle
And Nozzle Kit
2
Operating Instructions and Parts Manual
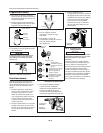
Hazardous vapors: Paints,
solvents, insecticides, and
other materials may be
harmful if inhaled, causing
severe nausea, fainting, or
poisoning.
Use a respirator or mask whenever there is
a chance that vapors may be inhaled. Read
all instructions with the mask to ensure
that the mask will provide the necessary
protection against the inhalation of harmful
vapors.
NEVER point the spray gun at any part of
the body, or at anyone else.
!
CAUTION
Tipping the gun
causes the gun to clog. Dried spray material
also clogs the pressure delivery tube and
fittings. The spray gun does not function
when clogging occurs.
When not in use, be sure to disconnect the
hose and place the gun on a solid, level
surface to avoid tipping.
Components
(1) Gun - fully assembled, with all
purpose needle/nozzle installed
Setup
NEEDLE AND NOZZLE ASSEMBLY
1. Use Chart 1 to determine the
proper size nozzle and needle for
the material to be applied. The
all purpose needle and nozzle are
installed at the factory.
IMPORTANT: The needle and nozzle
are a matched as sem bly. It is very
important that both the needle and
nozzle are correctly selected and
installed. The nee dle/nozzle kits are
identified by groove rings ma chined
into both the needle, and the nozzle.
Make sure that the number of rings
in the noz zle and the needle match.
Failure to match these two com po nents
prop er ly results in poor finish quality.
2. The thin material needle and nozzle
have a single groove ring as shown
in Figure 2 below.
4. The thick material needle and
nozzle have 2 groove rings as shown
in Figure 4 below.
Figure 4 - Thick Material Needle Kit
Note: The all-purpose material needle
kit is included with the unit. The thick
and thin material needle kits are not
included, however these kits can be
purchased from the retail outlet that
sold the unit or call 1-800-626-4401.
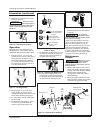
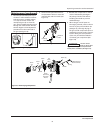
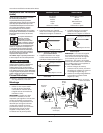
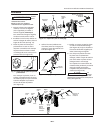
5. Remove the retaining ring, air
cap, noz zle, ma te ri al control knob,
spring, and needle as sem bly (Fig. 5).
Chart 1 - Material Needle/Nozzle Combination
SPRAYING MATERIAL NEEDLE/NOZZLE
Acrylics All purpose or Thin
Stains Thin
Sealers Thin
Lacquers Thin
Latex Paint All purpose
Oil Base Paint All purpose or Thick
(1) Groove Ring
(1) Groove Ring
(3) Groove Rings
(3) Groove Rings
(2) Groove Rings
(2) Groove Rings
Figure 5 - Needle/Nozzle Installation
Wrench
(located inside
storage
compartment)
Air Cap
Retaining
Ring
Nozzle
Air Flow
Ring
Needle
Assembly
Material Flow
Control Knob
Spring
General Safety (continued)
www.chpower.com


