


6
Operating Instructions and Assembly Instructions
Airless Paint Sprayers
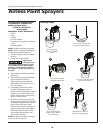
Preparation
Airless painting systems, unlike most
other power tools, require additional
care to ensure proper working order.
Following these instructions will
significantly increase the likelihood
of having a positive paint experience.
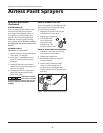
It is important that the painting
equipment is flush/tested EACH
time a new job is started. Each
pump is tested at the factory with a
fluid that must be flushed from the
system prior to painting. It is also
required prior to each successive use
to flush the storage lubricant from
the system. Use the solvent which
will be used to clean the equipment.
Refer to the paint manufacturer’s
recommendations for cleaning fluids.
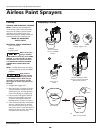
Pump Assembly
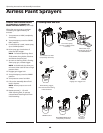
Assembly Instructions
TOOLS REQUIRED:
u 3/4 in. or Adjustable Wrench
u 5/8 in. or Adjustable Wrench
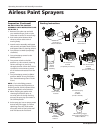
ASSEMBLY
1. Open packaging and check contents.
2. Remove the equipment and all parts
from the carton.
3. If sprayer is on stand, no further
frame assembly is necessary.
If sprayer is on a cart, install handle
in position shown on cover and
tighten knobs.
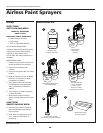
4. Attach high pressure hose to pump
and spray gun using a 3/4 inch
wrench (See Figure Below). Do not
attach suction assembly at this time.
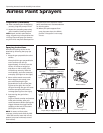
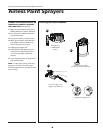
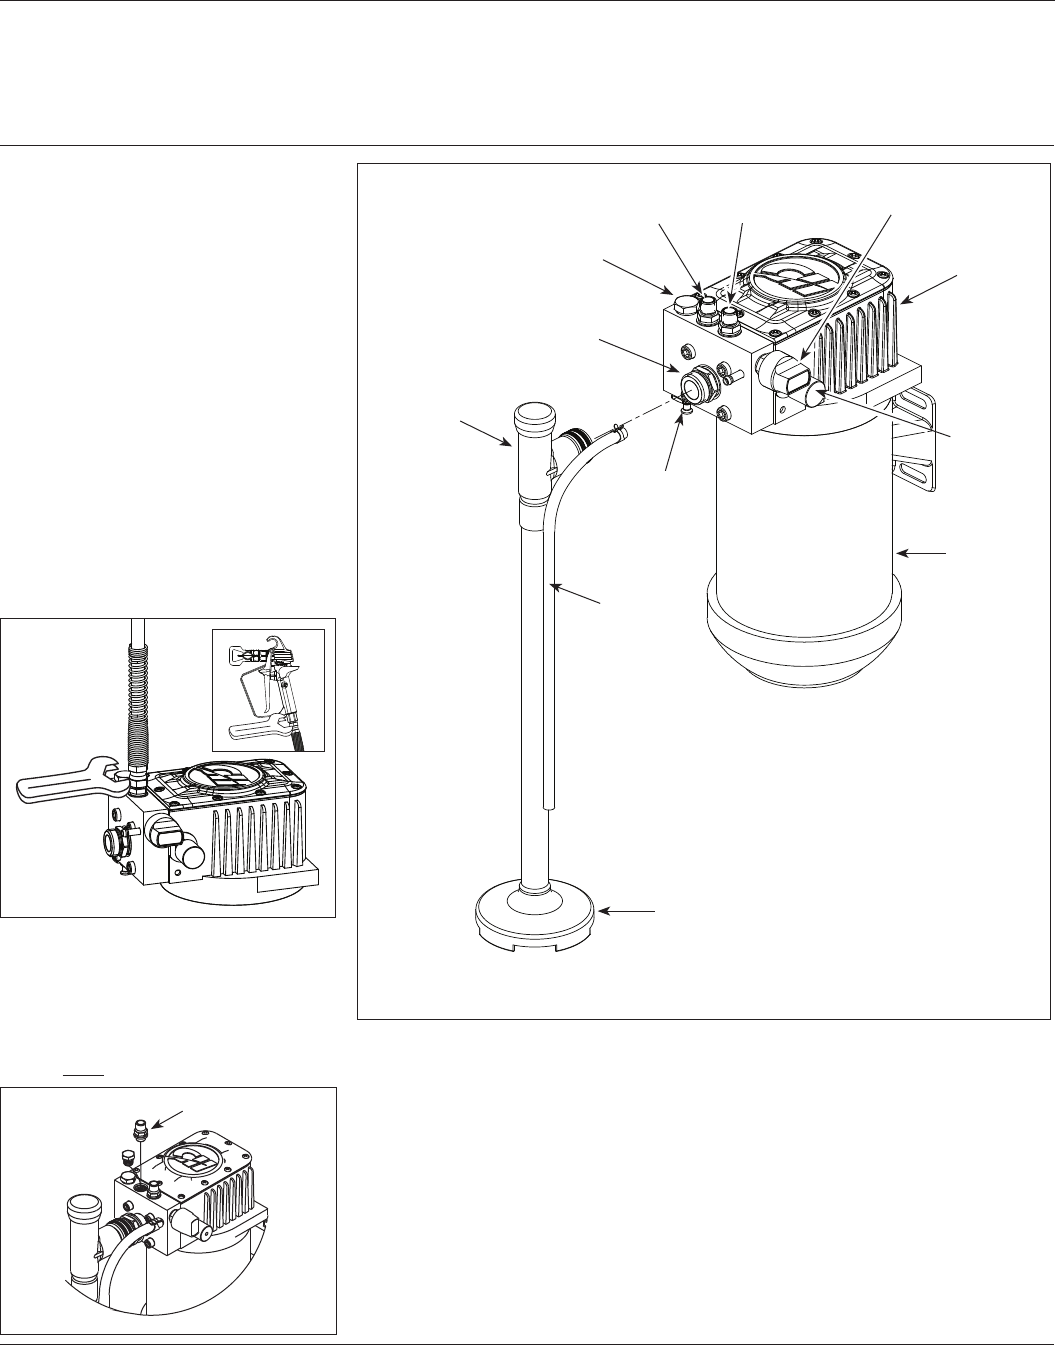
TWO GUN ASSEMBLY
NOTE: Second gun and hose not
included.
Replace plug with second hose adapter
(included with sprayer). Copper seal
washer must remain in place.
www.chpower.com
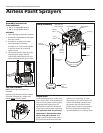
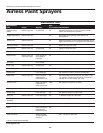
Suction
Assembly
Motor
Pressure
Valve
Housing
Outlet
Valve
Hose Adapter
Prime/Spray
Valve
Suction
Bell
Assembly
Inlet
Valve
Outlet
Prime
Button
By-pass
Hose
Plug Removal
Optional 2nd
Hose Adapter