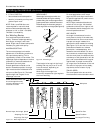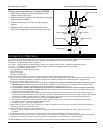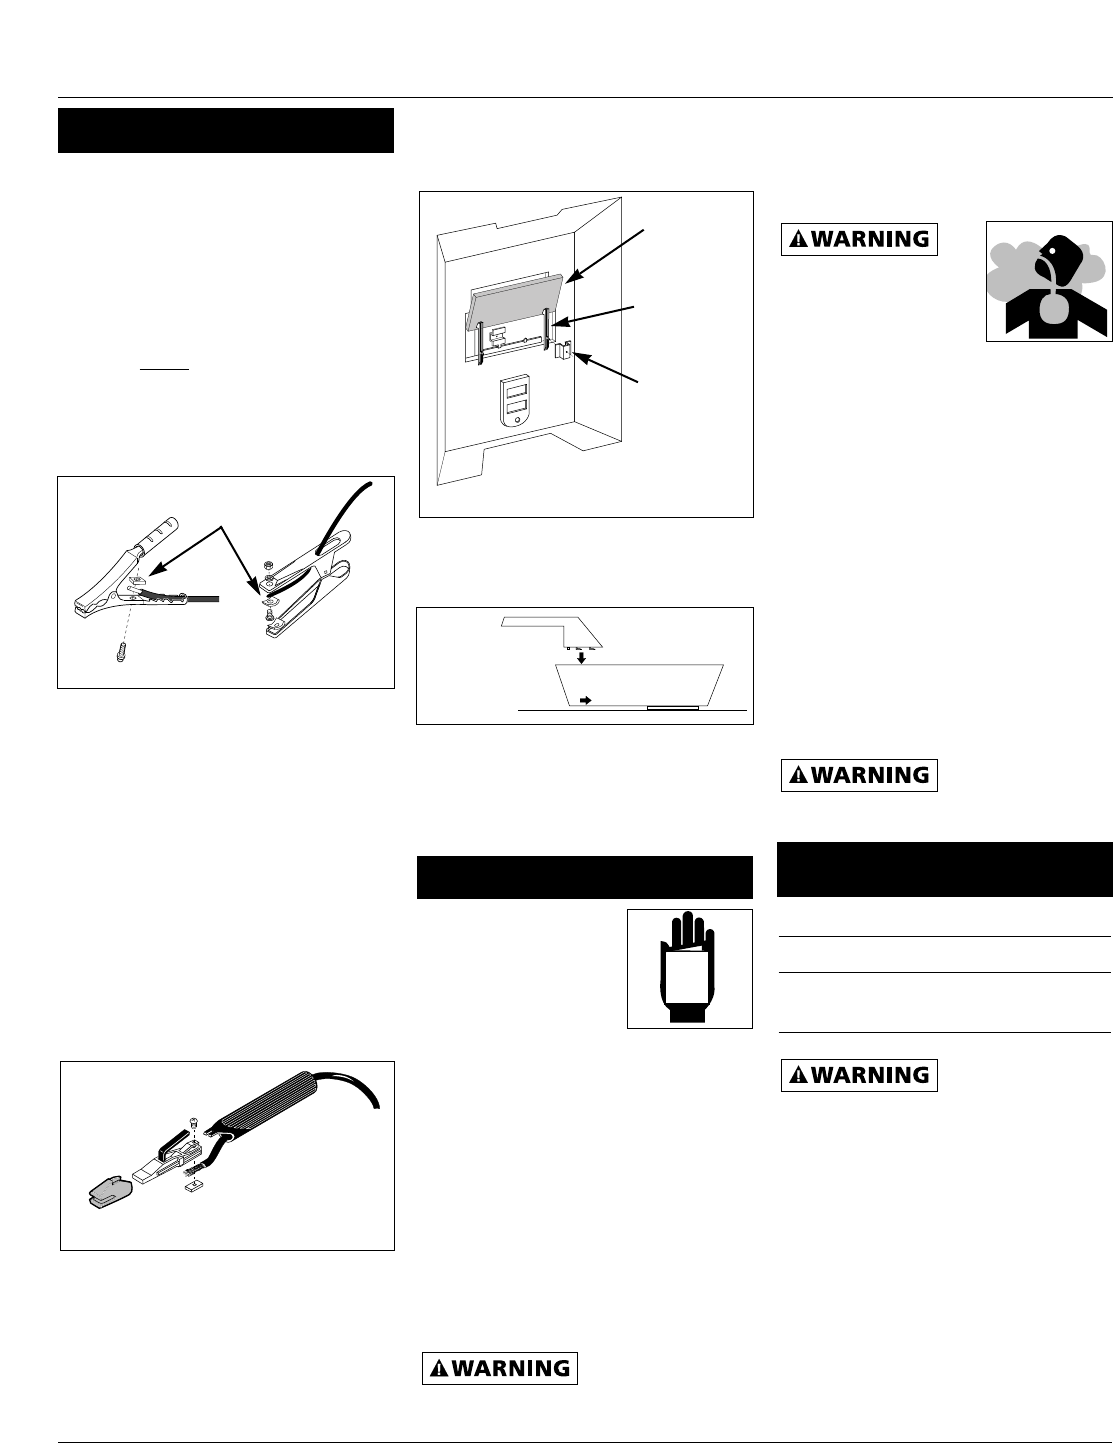
2. Insert filter lens.
3. Attach the stiffeners over the pins on
the lens retainers (See Figure 5).
4. To attach the handle, place shield on
a flat surface and press handle into
place (See Figure 6).
NOTE: If you have never welded before
or have little experience, a full face
helmet is recommended. Both hands
are needed to stabilize and control the
angle and arc length of the electrode.
1. Be sure to read,
understand, and
comply with all
precautions in the
General Safety
Information section.
Be sure to read the entire section
entitled Welding Guidelines prior to
using this equipment.
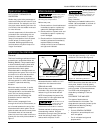
2. Turn welder off and plug into
appropriate receptacle:
115v-15 amp - 1/16 electrodes
115v-20 amp - 5/64 electrodes
3. Verify that the surfaces of metals to
be joined are free from dirt, rust,
paint, oil, scale or other contaminants.
These contaminants make welding
difficult and cause poor welds.
All persons
operating this
equipment or in the area while
equipment is in use must wear
4
Shielded Metal Arc Welder
2. Push forward and snap front of
handle in cutout in cabinet.
3. Fasten screw through handle and
into cabinet (See Figure 2).
WORK CLAMP (ALL MODELS)
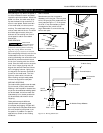
1. Loosen hex bolt or nut on work
clamp.
2. Insert either
cable from the welder
through the clamp handle and slide
bare wire under the clamp block.
Tighten hex bolt or nut making sure
bare wire is clamped securely.
ELECTRODE HOLDER (ALL MODELS)
1. Remove insulation handle from the
holder body by pulling the two
pieces apart.
2. Slide the other weld cable through
the handle.
3. Loosen the wire clamping screw and
slide the bare cord wire under the
clamp block. Tighten the clamping
screw making sure the wire is secure.
4. Slide the handle over the electrode
holder body and press to stop. Make
sure the handle is secure and there
is no exposed metal on the holder.
HANDSHIELD (ALL MODELS EXCEPT
WS1020)
1. Cut retainer stiffeners and
detachable handle away from shield.
Trim the excess plastic to remove
sharp edges.
protective welding gear including: eye
protection with proper shade as
specified in the following chart, flame
resistant clothing, leather welding
gloves, and full foot protection.
If heating, welding, or
cutting materials that
are galvanized, zinc
plated, lead, or
cadmium plated refer to the General
Safety Information Section for
instructions. Extremely toxic fumes are
created when these metals are heated.
4. Connect the work clamp to the
work piece. Make sure the contact is
on bare metal and not obstructed
by paint, varnish, corrosion, or non-
metallic materials.
5. Insert the exposed part of the
electrode rod (the end with no flux)
into the jaws of the electrode holder.
6. Set the amperage adjustment knob
to the proper amperage for the
electrode rod diameter. Refer to
the following chart for proper
electrode current settings.
The electrode
holder and rod are
electrically “live” (current potential)
when the welder is on.
Grounding against
any metallic
surface may produce an arc which
could cause sparks and damage
eyesight.
7. Hold the electrode rod away from
the grounded work piece or
workbench. Turn on the welder.
8. Position the electrode to begin weld,
lower the welding helmet or position
the hand shield, and strike an arc.
Adjust weld amperage as needed.
9. When finished welding, turn welder
off and store properly.
Clamping
block
Figure 3 - Work Clamp Assemblies
Figure 4 - Electrode Holder Assembly
Operation
MANUAL
Electrode Current
Diameter Setting (Amps)
1/16" (1.6 mm) 35-80
5/64" (2 mm) 45-100
For specific settings, see weld guide
marked on welder
Assembly (Con’t)
Lens
Lens
Retainer
Retainer
Stiffener
Figure 5
Figure 6


