3-4
Cisco ASA 5500-X Series Hardware Installation Guide
Chapter 3 Installing and Connecting the ASA 5500-X
Rack Mounting the Chassis
Rack Mounting the ASA 5500-X Chassis with Slide Rail Mounting System
The slide rail mounting system provides a quick, convenient, and secure method for rack mounting the
chassis. While the 5545-X and 5555-X chassis ship with the slide rail mounting system and can be
mounted using this system only, you can use the slide rail mounting system for any of the other
ASA 5500-X series chassis, as well.
• Preparing the ASA 5512-X, ASA 5515-X, or ASA 5525-X to Use an Optional Slide Rail Rack
Mount System, page 3-4
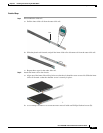
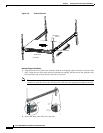
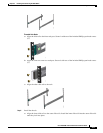
• Rack Mounting the Chassis with the Slide Rail Mounting System, page 3-5
Preparing the ASA 5512-X, ASA 5515-X, or ASA 5525-X to Use an Optional Slide Rail Rack Mount
System
These instructions show how to prepare an ASA 5512-X, ASA 5515-X, or ASA 5525-X chassis for
mounting with the slide rail rack mount system. These chassis models ship with preinstalled fixed
rack-mount brackets, which must be replaced with the die-cast brackets that ship in the slide rail rack
mount kit.
Detailed Steps
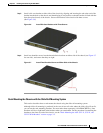
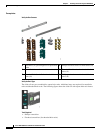
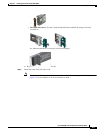
Step 1 From the slide rail rack mount kit, locate the two die-cast brackets, the six screws, and the four shoulder
screws that you need to prepare your chassis for installation in the side rail rack.
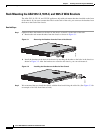
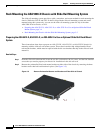
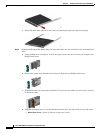
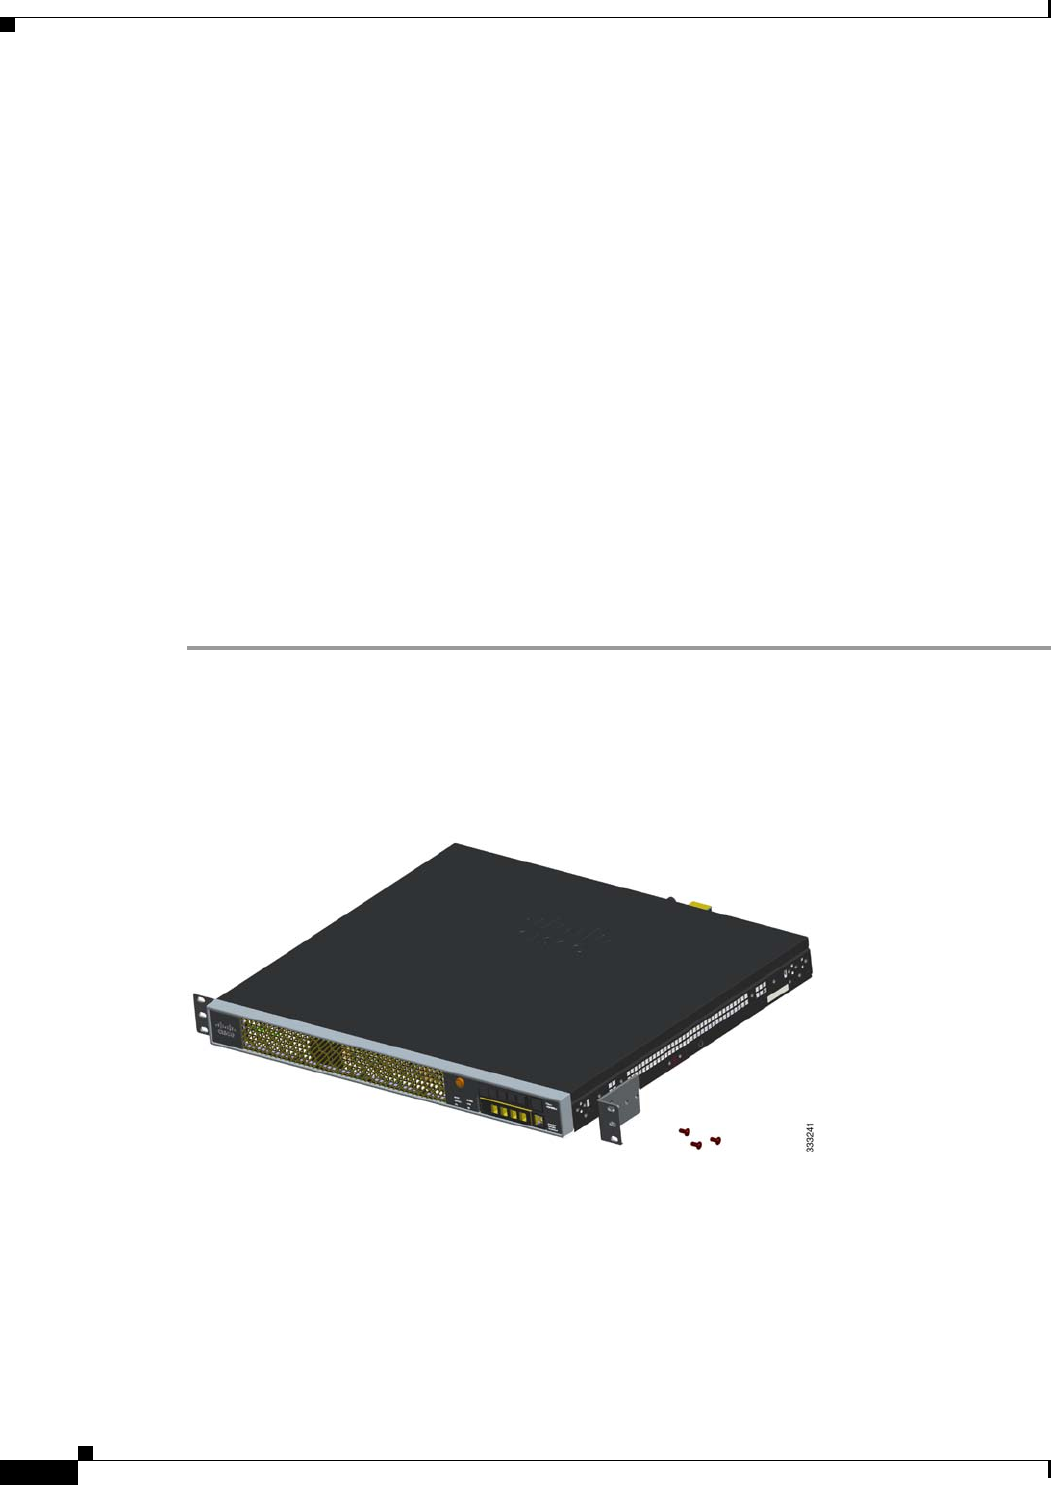
Step 2 Remove the preinstalled fixed rack-mount bracket on either side of the chassis by removing the three
bracket screws that hold each bracket in place. (See Figure 3-5.)
Figure 3-5 Remove Preinstalled Screws and Brackets on Either Side of Chassis


