


Page -12 - Clarke
®
American Sanders Operator's Manual - Sander 1600DC
Figure 1
Figure 2
Figure 3
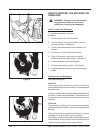
HOW TO PREPARE THE MACHINE FOR
OPERATION
WARNING: Always remove the electrical
plug from the electrical outlet before
installing or changing the sandpaper.
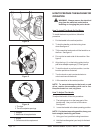
How To Install The Sandpaper
To install the sandpaper, follow this
procedure:
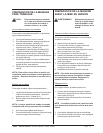
1. Put the handle in the vertical position.
2. Lock the handle. To lock the handle, push the
locking lever down. See figure 1.
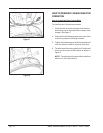
3. Tilt the machine backward until the handle is on
the floor.
4. Put one foot on each side of the machine.
5. Using a 7/8 wrench, remove the nut and the
washer that hold the paper holder. See figure 2.
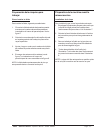
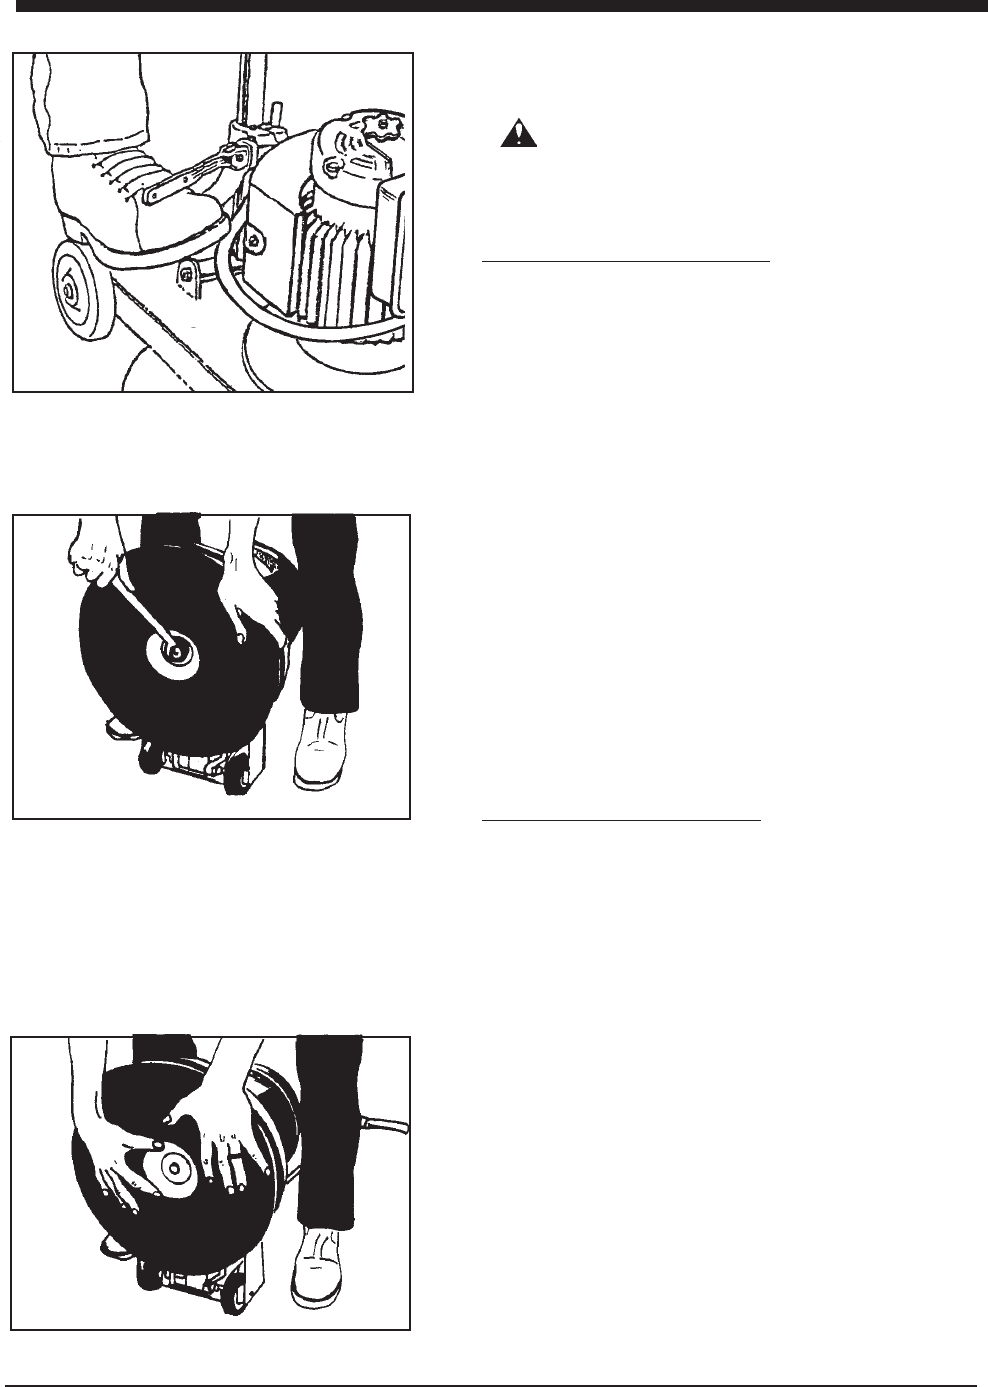
6. Put the sandpaper on the sanding pad.
7. Put the paper holder in position. See figure 3.
8. Install the washer and the nut that hold the paper
holder.
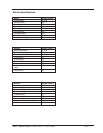
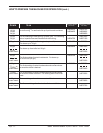
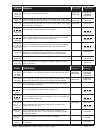
Sanding Cuts and Sandpaper
(See chart on page 14)
Initial Cut
The purpose of the initial cut is to remove old finish and
gross imperfections on the floor surface. A coarse abrasive
should be used.
If glazing, loading, or burning takes place immediately into
an initial cut, select a coarser abrasive. If this should occur
during an initial cut, the abrasive has dulled and must be
replaced.
Final Cuts
The purpose of a finishing cut is to remove the scratches
produced during the initial cut. Use a fine (60-80 grit) grain
abrasive.
If the surface remains rough after a finishing cut, it may be
necessary to use an even finer grain of abrasive
(80-100 grit). Care should be taken in selecting the grit size
of the abrasive. A very fine grain will close the pores on a
wood floor making admission of a stain difficult.