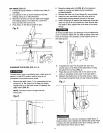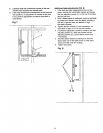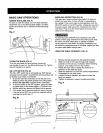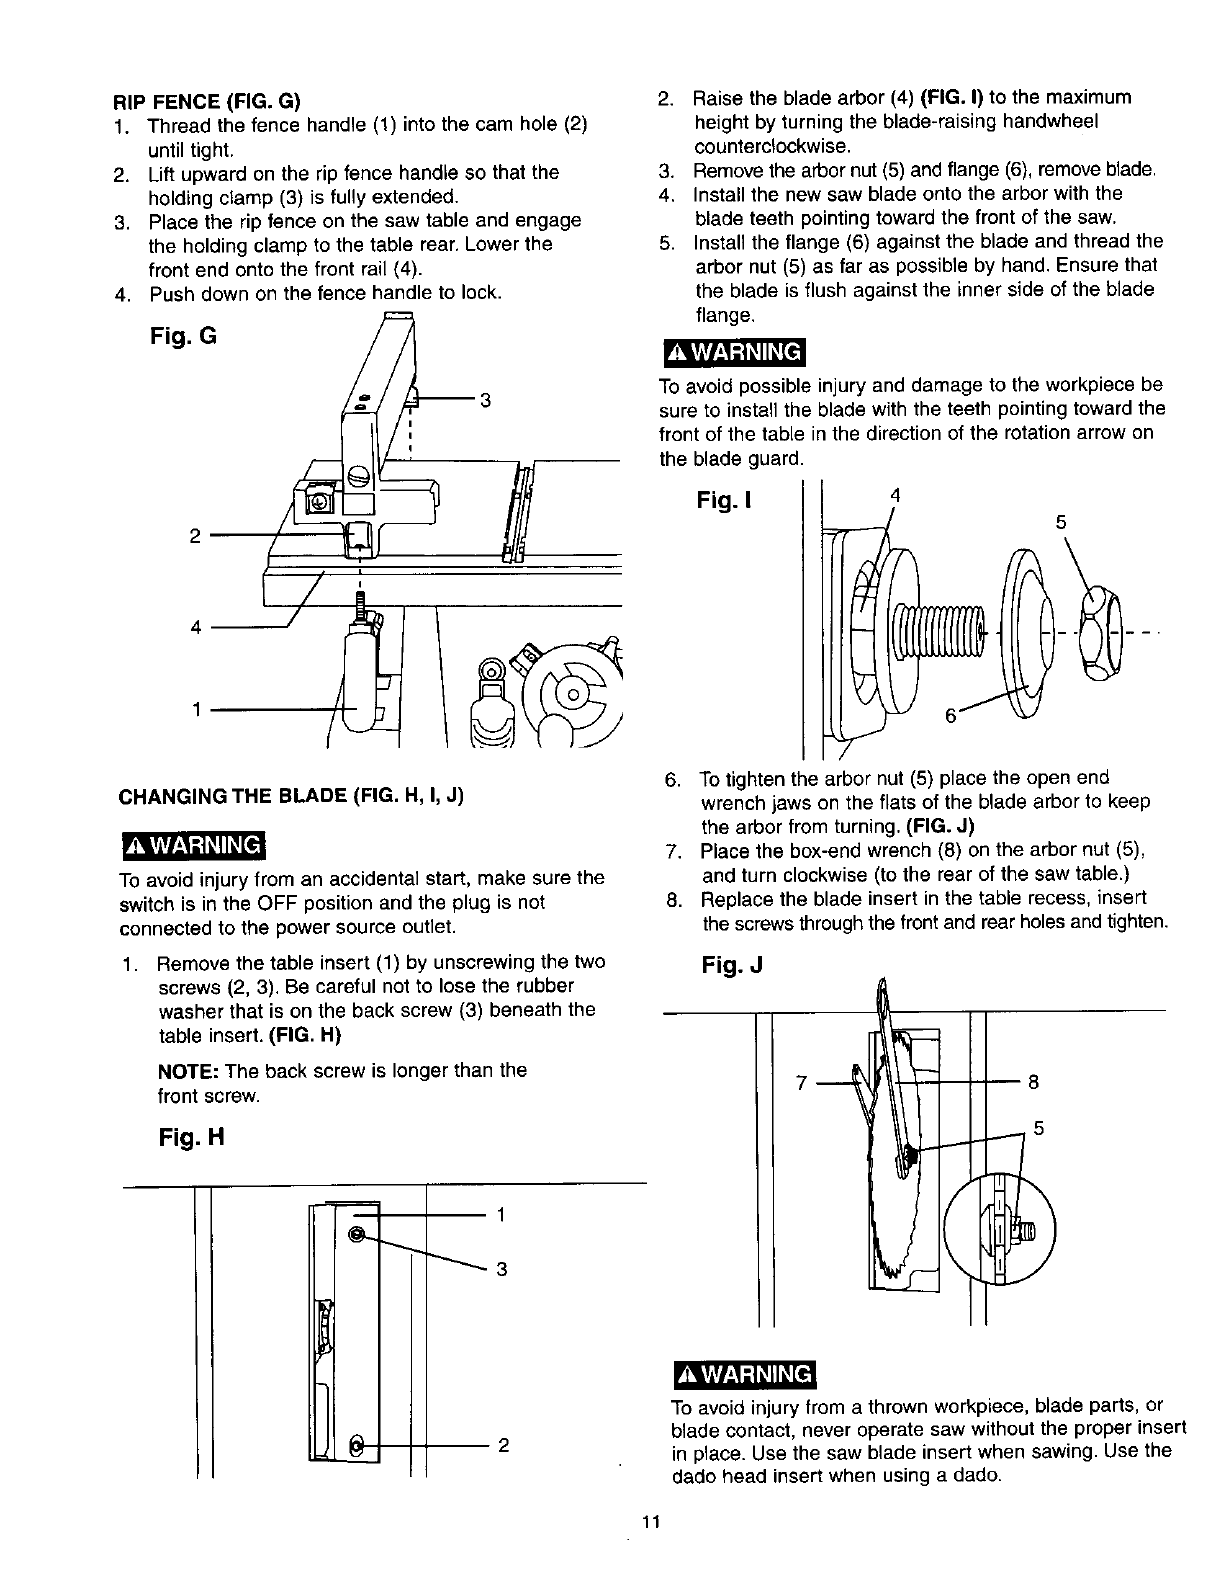
RIP FENCE (FIG. G)
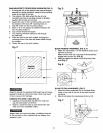
1. Thread the fence handle (1) into the cam hole (2)
until tight.
2. Lift upward on the rip fence handle so that the
holding clamp (3) is fully extended.
3. Place the ripfence on the saw table and engage
the holding clamp to the table rear. Lower the
front end onto the front rail (4).
4. Push down on the fence handle to lock.
CHANGING THE BLADE (FIG. H, I, J)
To avoid injury from an accidental start, make sure the
switch is in the OFF position and the plug is not
connected to the power source outlet.
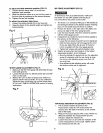
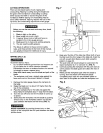
1. Remove the table insert (1) by unscrewing the two
screws (2, 3). Be careful not to lose the rubber
washer that is on the back screw (3) beneath the
table insert. (FIG. H)
NOTE: The back screw is longer than the
front screw.
Fig. H
3
2
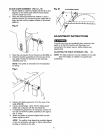
2. Raise the blade arbor (4) (FIG. I) to the maximum
height by turning the blade-raising handwheel
counterclockwise.
3. Remove the arbor nut (5) and flange (6), remove blade.
4. Install the new saw blade onto the arbor with the
blade teeth pointing toward the front of the saw.
5. Install the flange (6) against the blade and thread the
arbor nut (5) as far as possible by hand. Ensure that
the blade is flush against the inner side of the blade
flange.
To avoid possible injury and damage to the workpiece be
sure to install the blade with the teeth pointing toward the
front of the table in the direction of the rotation arrow on
the blade guard.
4
Fig. I
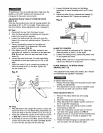
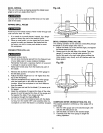
6. To tighten the arbor nut (5) place the open end
wrench jaws on the flats of the blade arbor to keep
the arbor from turning. (FIG. J)
7. Place the box-end wrench (8) on the arbor nut (5),
and turn clockwise (to the rear of the saw table.)
8. Replace the blade insert in the table recess, insert
the screws through the front and rear holes and tighten.
Fig. J
• 8
To avoid injury from a thrown workpiece, blade parts, or
blade contact, never operate saw without the proper insert
in place. Use the saw blade insert when sawing. Use the
dado head insert when using a dado.
11


