3.Chargeforatleast1hour.
4.TheLEDwillglowredwhenthe
batteryischargingandgreenwhen
itisreadytouse.IftheLEDdoesnot
illuminatewhenthehandleisplacedin
thechargerack,checktomakesure
thatthereispropercontactbetween
thehandleandthechargerbase.
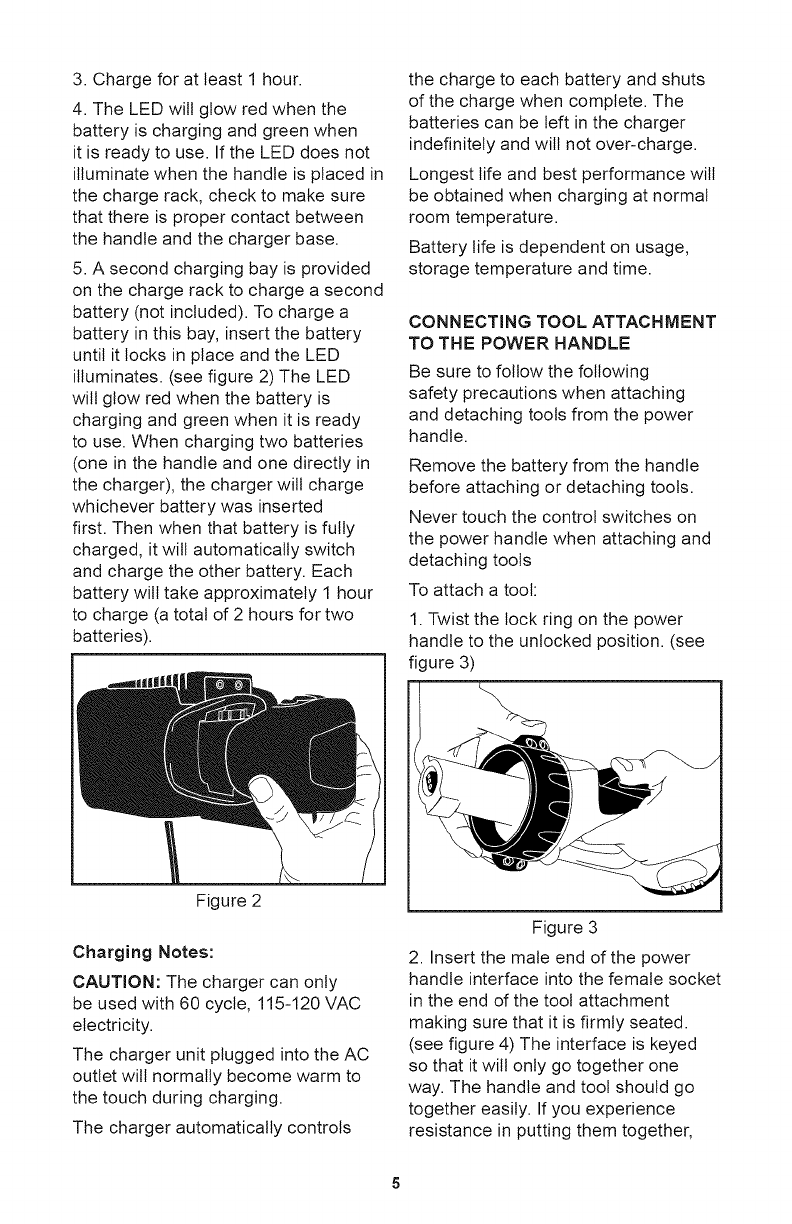
5.Asecondchargingbayisprovided
onthechargeracktochargeasecond
battery(notincluded).Tochargea
batteryinthisbay,insertthebattery
untilitlocksinplaceandtheLED
illuminates.(seefigure2)TheLED
willglowredwhenthebatteryis
chargingandgreenwhenitisready
touse.Whenchargingtwobatteries
(oneinthehandleandonedirectlyin
thecharger),thechargerwillcharge
whicheverbatterywasinserted
first.Thenwhenthatbatteryisfully
charged,itwillautomaticallyswitch
andchargetheotherbattery.Each
batterywilttakeapproximately1hour
tocharge(atotalof2hoursfortwo
batteries).
thechargetoeachbatteryandshuts
ofthechargewhencomplete.The
batteriescanbeleftinthecharger
indefinitelyandwillnotover-charge.
Longestlifeandbestperformancewilt
beobtainedwhenchargingatnormal
roomtemperature.
Batterylifeisdependentonusage,
storagetemperatureandtime.
CONNECTINGTOOL ATTACHMENT
TO THE POWER HANDLE
Be sure to follow the following
safety precautions when attaching
and detaching tools from the power
handle.
Remove the battery from the handle
before attaching or detaching tools.
Never touch the control switches on
the power handle when attaching and
detaching tools
To attach a toot:
1. Twist the lock ring on the power
handle to the unlocked position. (see
figure 3)
Figure 2
Charging Notes:
CAUTION: The charger can only
be used with 60 cycle, 115-120 VAC
electricity.
The charger unit plugged into the AC
outlet wilt normally become warm to
the touch during charging.
The charger automatically controls
Figure 3
2. Insert the male end of the power
handle interface into the female socket
in the end of the tool attachment
making sure that it is firmly seated.
(see figure 4) The interface is keyed
so that it will only go together one
way. The handle and tool should go
together easily. If you experience
resistance in putting them together,


