


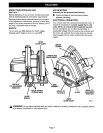
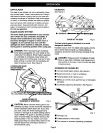

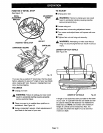
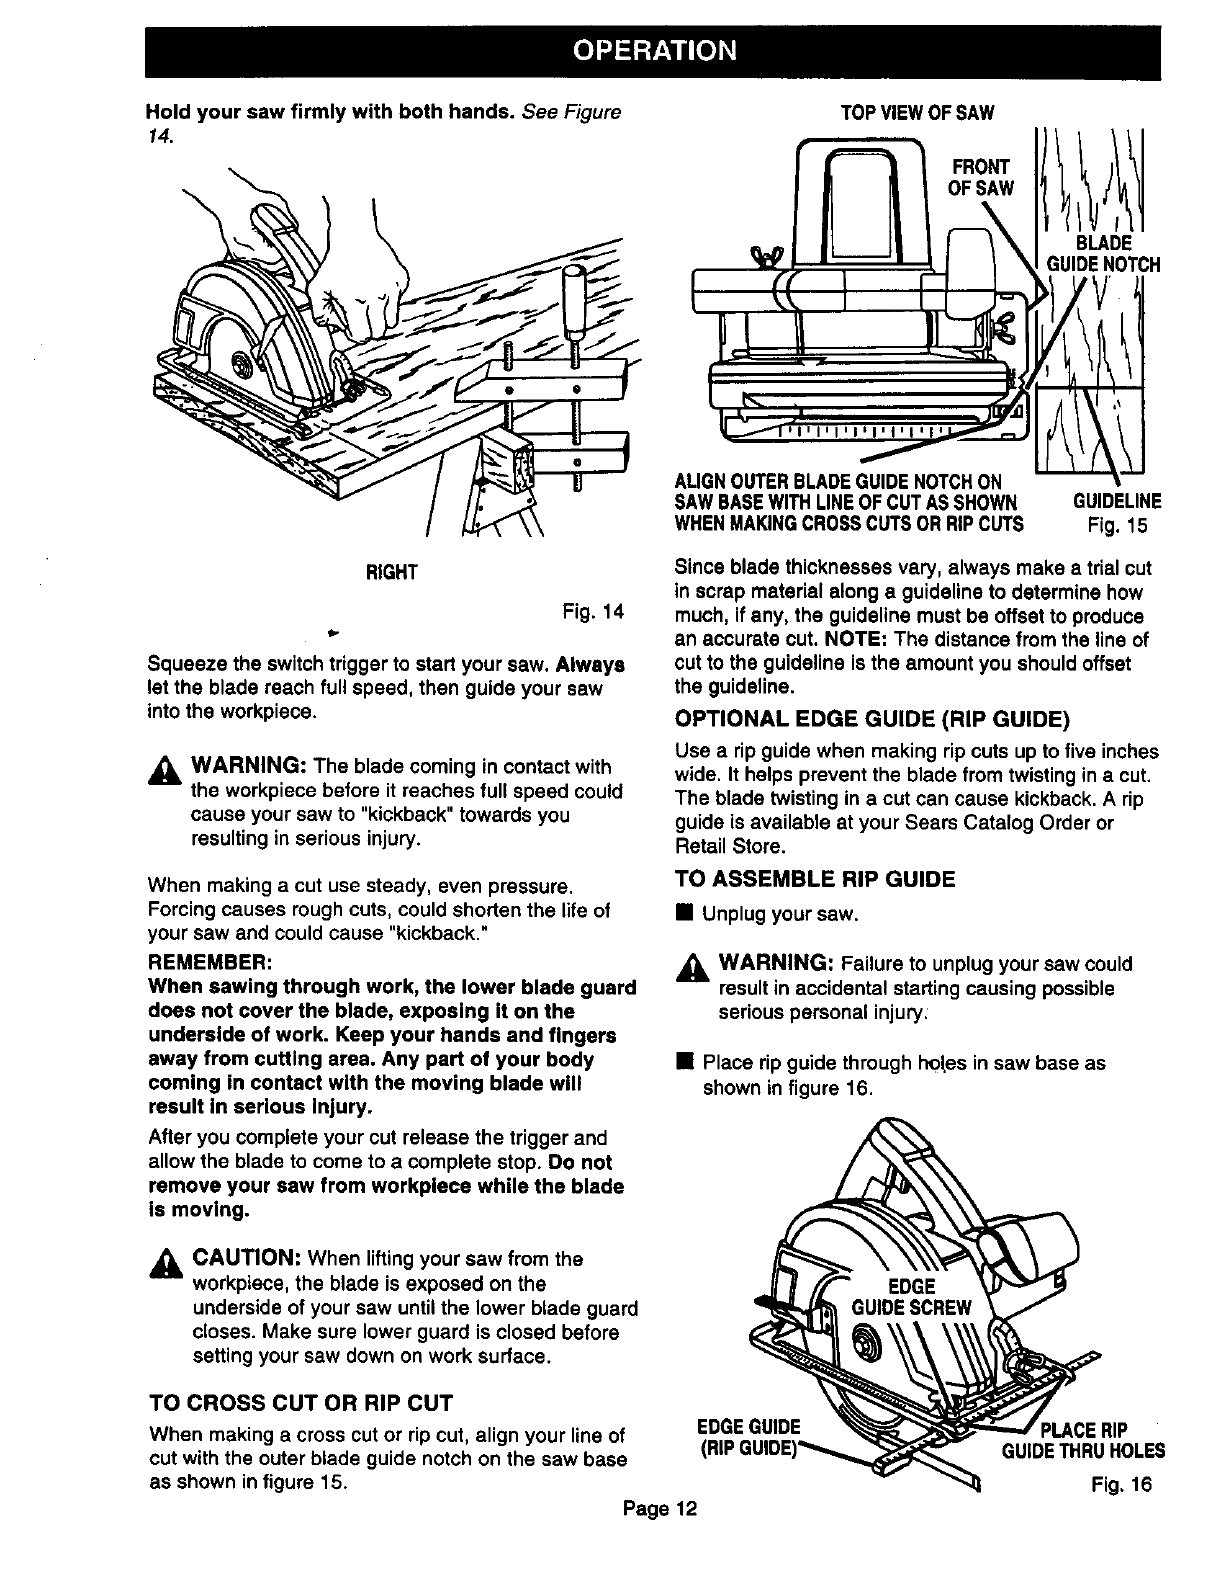
Holdyoursawfirmly with both hands.See Figure
14.
TOPVIEWOFSAW
OFSAW
BLADE
GUIDENOTCH
RIGHT
Fig. 14
Squeeze the switch trigger to start your saw. Always
let the blade reach full speed, then guide your saw
into the workpiece.
_IL WARNING: The blade coming in contact with
the workpiece before it reaches full speed could
cause your saw to "kickback" towards you
resulting in serious injury.
When making a cut use steady, even pressure.
Forcing causes rough cuts, could shorten the life of
your saw and could cause "kickback."
REMEMBER:
When sawing through work, the lower blade guard
does not cover the blade, exposing it on the
underside of work. Keep your hands and fingers
away from cutting area. Any part of your body
coming in contact with the moving blade will
result in serious injury.
After you complete your cut release the trigger and
allow the blade to come to a complete stop. Do not
remove your saw from workplece while the blade
is moving.
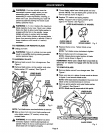
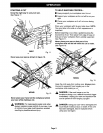
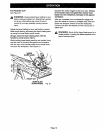
ALIGNOUTERBLADEGUIDENOTCHON
SAWBASEWITHLINEOFCUTAS SHOWN GUIDELINE
WHENMAKINGCROSSCUTSORRIPCUTS Fig. 15
Since blade thicknesses vary, always make a trial cut
in scrap material along a guideline to determine how
much, if any, the guideline must be offset to produce
an accurate cut. NOTE: The distance from the line of
cut to the guideline is the amount you should offset
the guideline.
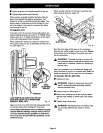
OPTIONAL EDGE GUIDE (RIP GUIDE)
Use a ripguide when making rip cuts up to five inches
wide. It helps prevent the blade from twisting in a cut.
The blade twisting in a cut can cause kickback. A rip
guide is available at your Sears Catalog Order or
Retail Store.
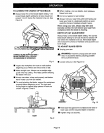
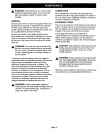
TO ASSEMBLE RIP GUIDE
• Unplug your saw.
_1= WARNING: Failure to unplug your saw could
result in accidental starting causing possible
serious personal injury;
• Place rip guide through holes in saw base as
shown in figure 16.
_l, CAUTION: When lifting your saw from the
workpiece, the blade is exposed on the
underside of your saw until the lower blade guard
closes. Make sure lower guard is closed before
setting your saw down on work surface.
TO CROSS CUT OR RIP CUT
When making a cross cut or rip cut, align your line of EDGEGUIDE
cut with the outer blade guide notch on the saw base
as shown in figure 15.
Page 12
PLACERIP
GUIDETHRUHOLES
Fig. 16