


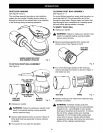


ATTACHING SANDER TO VACUUM
See Figures 8 and 9.
_ WARNING: When sander is not connected to
vacuum, always reinstall dust bag assembly back
on sander. Failure to do so could cause sanding
dust or foreign objects to be thrown into your face
or eyes which could result in possible serious
injury.
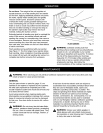
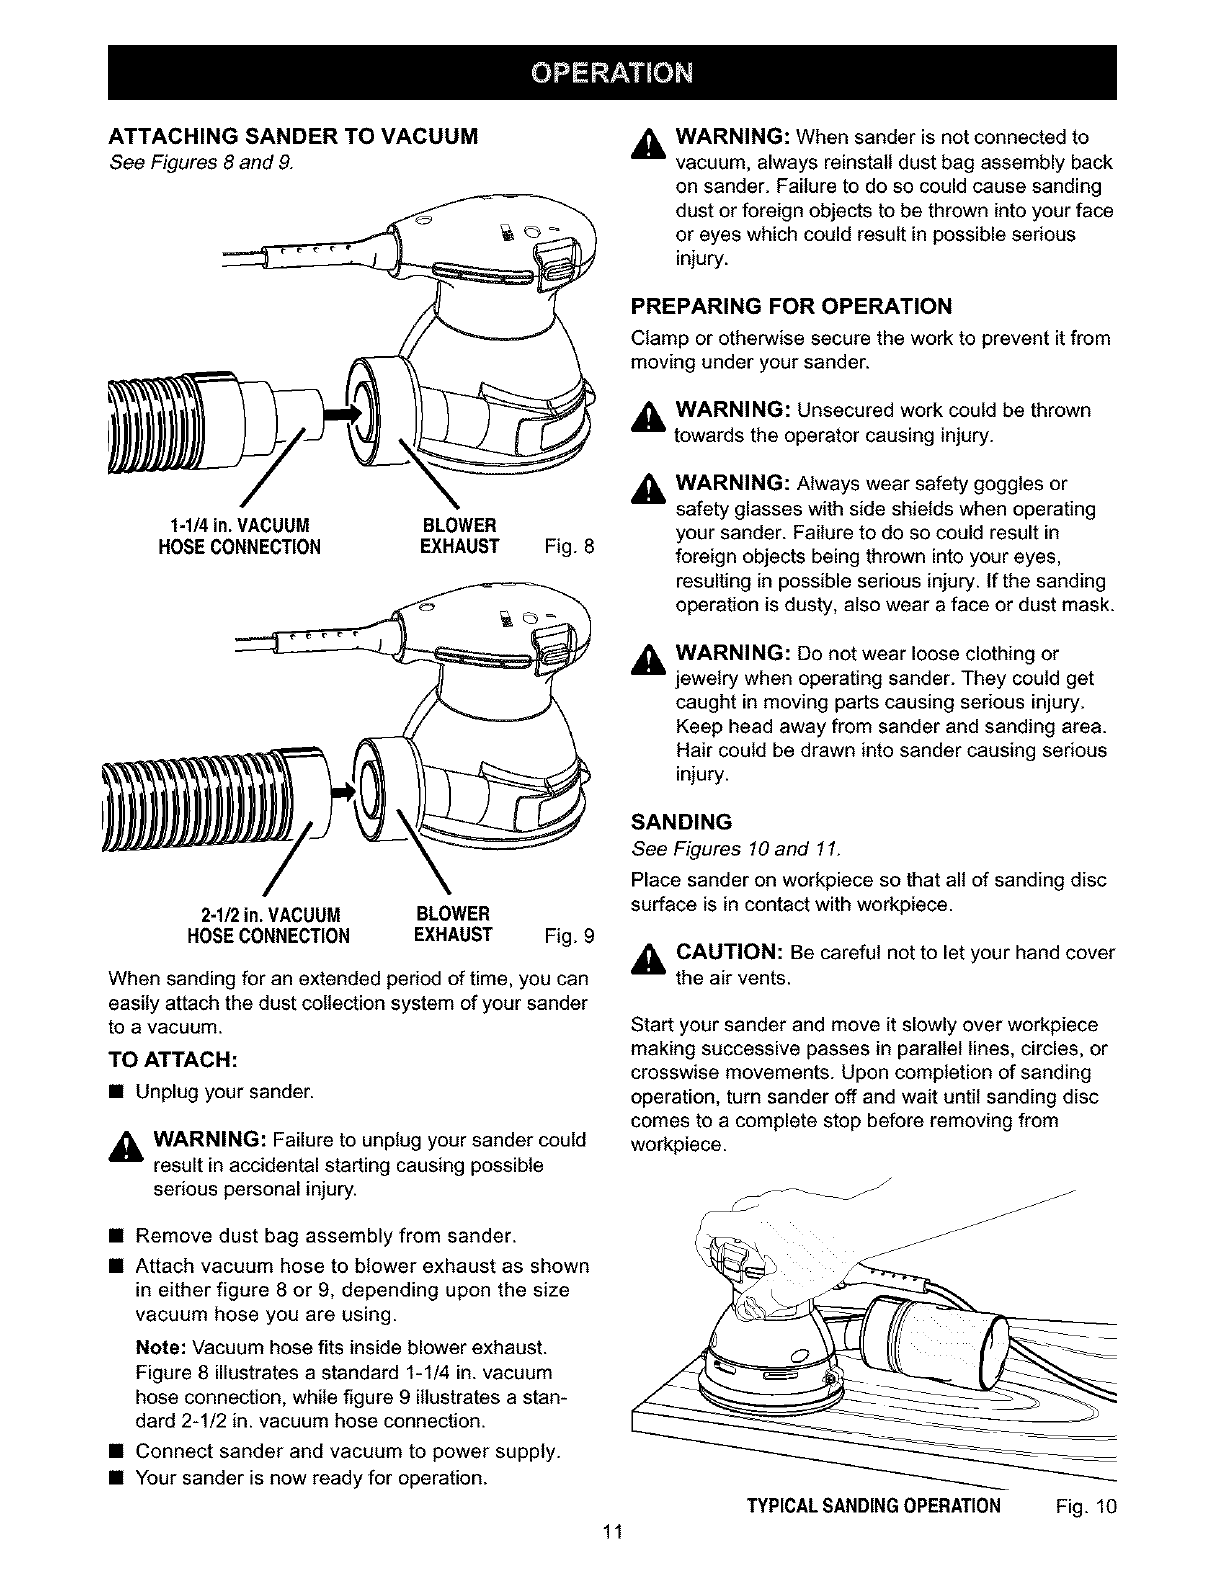
1-1/4in. VACUUM BLOWER
HOSECONNECTION EXHAUST Fig. 8
2-1/2 in.VACUUM BLOWER
HOSECONNECTION EXHAUST
Fig. 9
When sanding for an extended period of time, you can
easily attach the dust collection system of your sander
to a vacuum.
TO ATTACH:
• Unplug your sander.
_k WARNING: Failure to unplug your sander could
result in accidental starting causing possible
serious personal injury.
• Remove dust bag assembly from sander.
• Attach vacuum hose to blower exhaust as shown
in either figure 8 or 9, depending upon the size
vacuum hose you are using.
Note: Vacuum hose fits inside blower exhaust.
Figure 8 illustrates a standard 1-1/4 in. vacuum
hose connection, while figure 9 illustrates a stan-
dard 2-1/2 in. vacuum hose connection.
• Connect sander and vacuum to power supply.
• Your sander is now ready for operation.
PREPARING FOR OPERATION
Clamp or otherwise secure the work to prevent it from
moving under your sander.
_ WARNING: Unsecured work could be thrown
towards the operator causing injury.
A
WARNING: Always wear safety goggles or
safety glasses with side shields when operating
your sander. Failure to do so could result in
foreign objects being thrown into your eyes,
resulting in possible serious injury. If the sanding
operation is dusty, also wear a face or dust mask.
A
WARNING: Do not wear loose clothing or
jewelry when operating sander. They could get
caught in moving parts causing serious injury.
Keep head away from sander and sanding area.
Hair could be drawn into sander causing serious
injury.
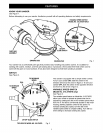
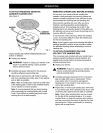
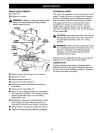
SANDING
See Figures 10 and 11.
Place sander on workpiece so that all of sanding disc
surface is in contact with workpiece.
CAUTION: Be careful not to let your hand cover
the air vents.
Start your sander and move it slowly over workpiece
making successive passes in parallel lines, circles, or
crosswise movements. Upon completion of sanding
operation, turn sander off and wait until sanding disc
comes to a complete stop before removing from
workpiece.
11
TYPICALSANDINGOPERATION Fig. 10