


3. Now is a good time to clean the lens and housing. If lenses are in bad shape a new set is
recommended.
If you are installing this kit into a 67-68 Camaro skip ahead to step 5. For the 70-73 Camaro,
some of the hardware will need to be changed out for proper mounting bracket
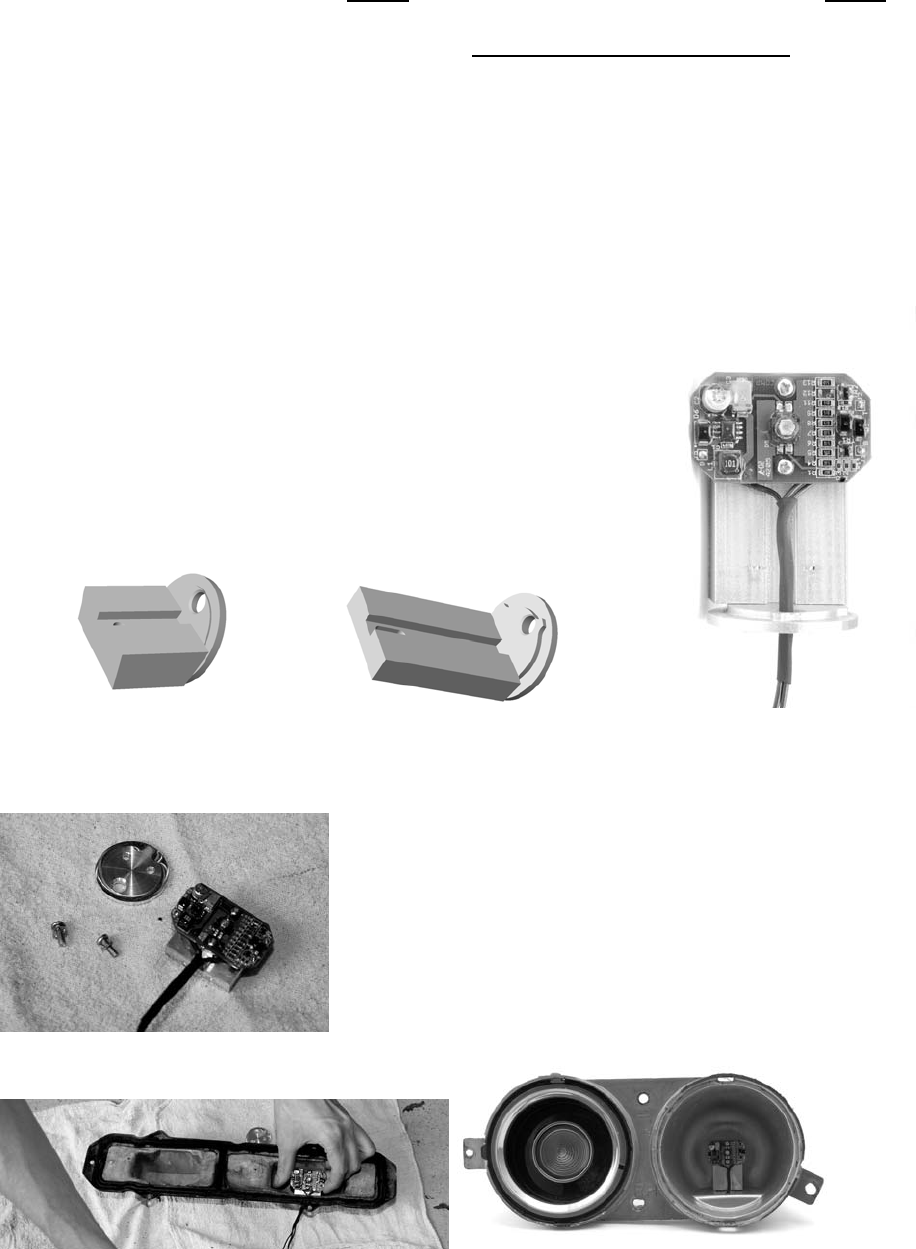
4. Changing the installed 67-68 mount bracket to the 70-73 mounting bracket.
a. Note how the current assembly is attached and notice how the wires are routed for re-
assembly. ENSURE THE WIRES ARE NOT PINCHED IN THE NEW ASSEMBLY.
b. Remove the screw at the back of the LED assembly; it is a 5/8” 6-32 machine screw.
This will remove the mounting bracket that will need to be changed.
c. Locate the supplied longer mount bracket and reattach using the shorter supplied 1/2”
6-32 machine screw. The shorter screw must be used since the taller mount is thinner.
Tighten the screw down in the center of the slot. The LED assembly can be moved up
or down to adjust the height of the light.
d. Note: NOT FOLLOWING THESE STEPS CAN DAMAGE THE CIRCUIT BOARD!
1967-1968 Camaro mount 1970-1973 Camaro mount 1970-1973 Camaro LED Assembly
5. Remove the mounting plate from the bottom of the assembly which is attached with two 3/8” 6-
32 machine screws.
6. Pass the wires through the tail light housing where the original bulb and socket were.
MAN# 650153