


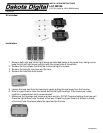
8. DO NOT remove the backing from the tape yet! Place the LED assembly in the housing. The
wide black bar on the wire side of the LED assembly is marked to show which end of the
assembly should be up. Note the places where the tape touches the housing.
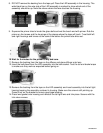
9. Squeeze the primer tube to break the glass bulb and wet the brush end with primer. Rub the
primer on the lenses and the housings at the places where the tape will touch. Treat both left
and right housings and lenses at the same time before the primer tube dries out.
10. Wait for 5 minutes for the primer to dry and cure.
11. Remove the backing from the tape on the diffuser and place diffuser onto lens.
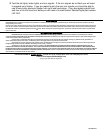
12. Insert the bulb base from the LED assembly into the bulb socket. Test the tail and brake lamps
to make sure they work as expected before going on.
13. Remove the backing from the tape on the LED assembly and insert assembly into the tail light
housing keeping the assembly centered in housing. Make sure the arrow is still pointing up.
Press firmly on the bracket to ensure good tape bonding.
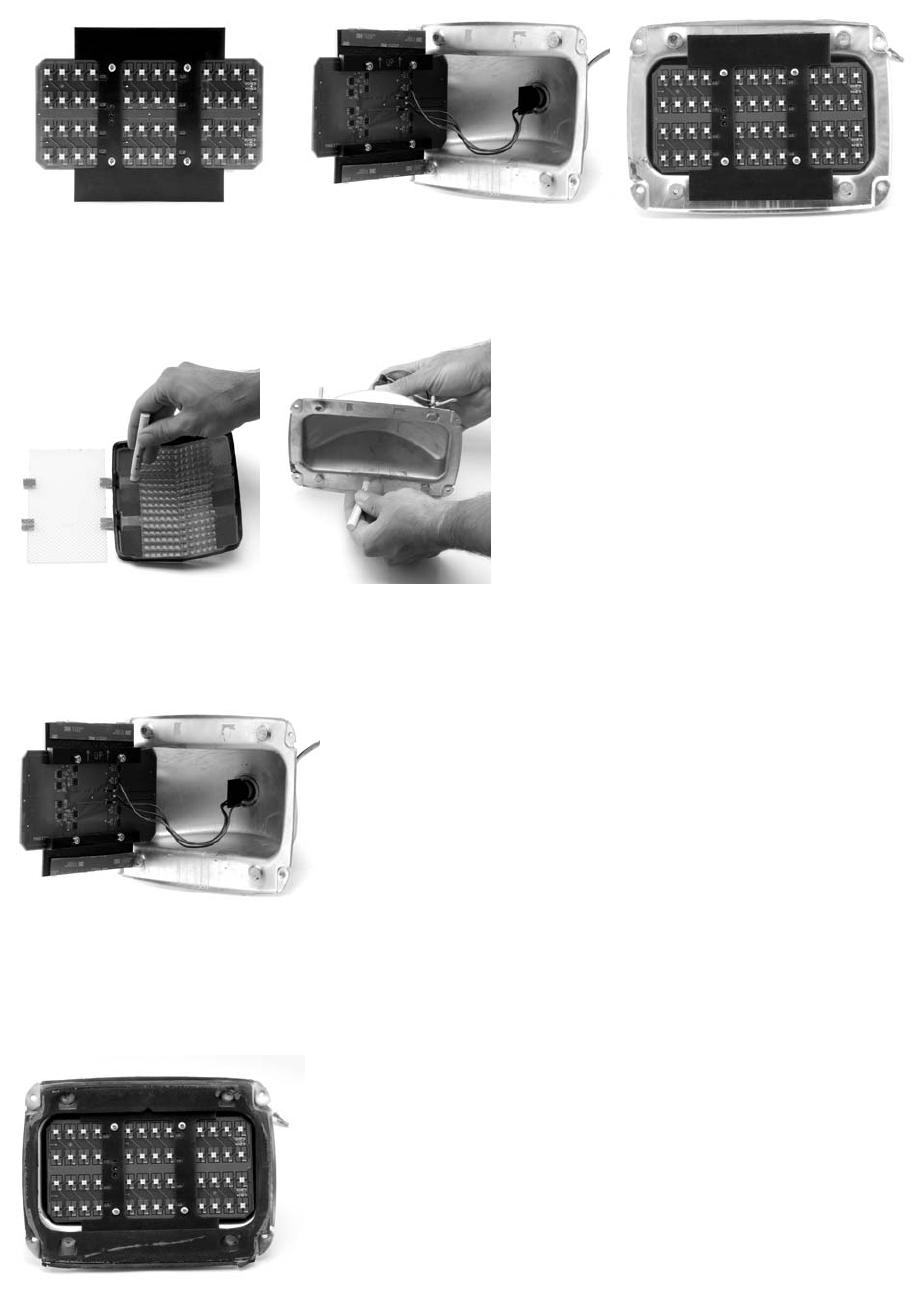
14. Place lens gasket onto housing and reinstall the tail light lens and trim piece. Secure with the
trim piece screws.
MAN#650204