10
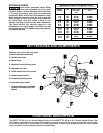
TOOL STORAGE
CONFIRM TIGHTNESS OF ARBOR NUTS
Your DELTA
®
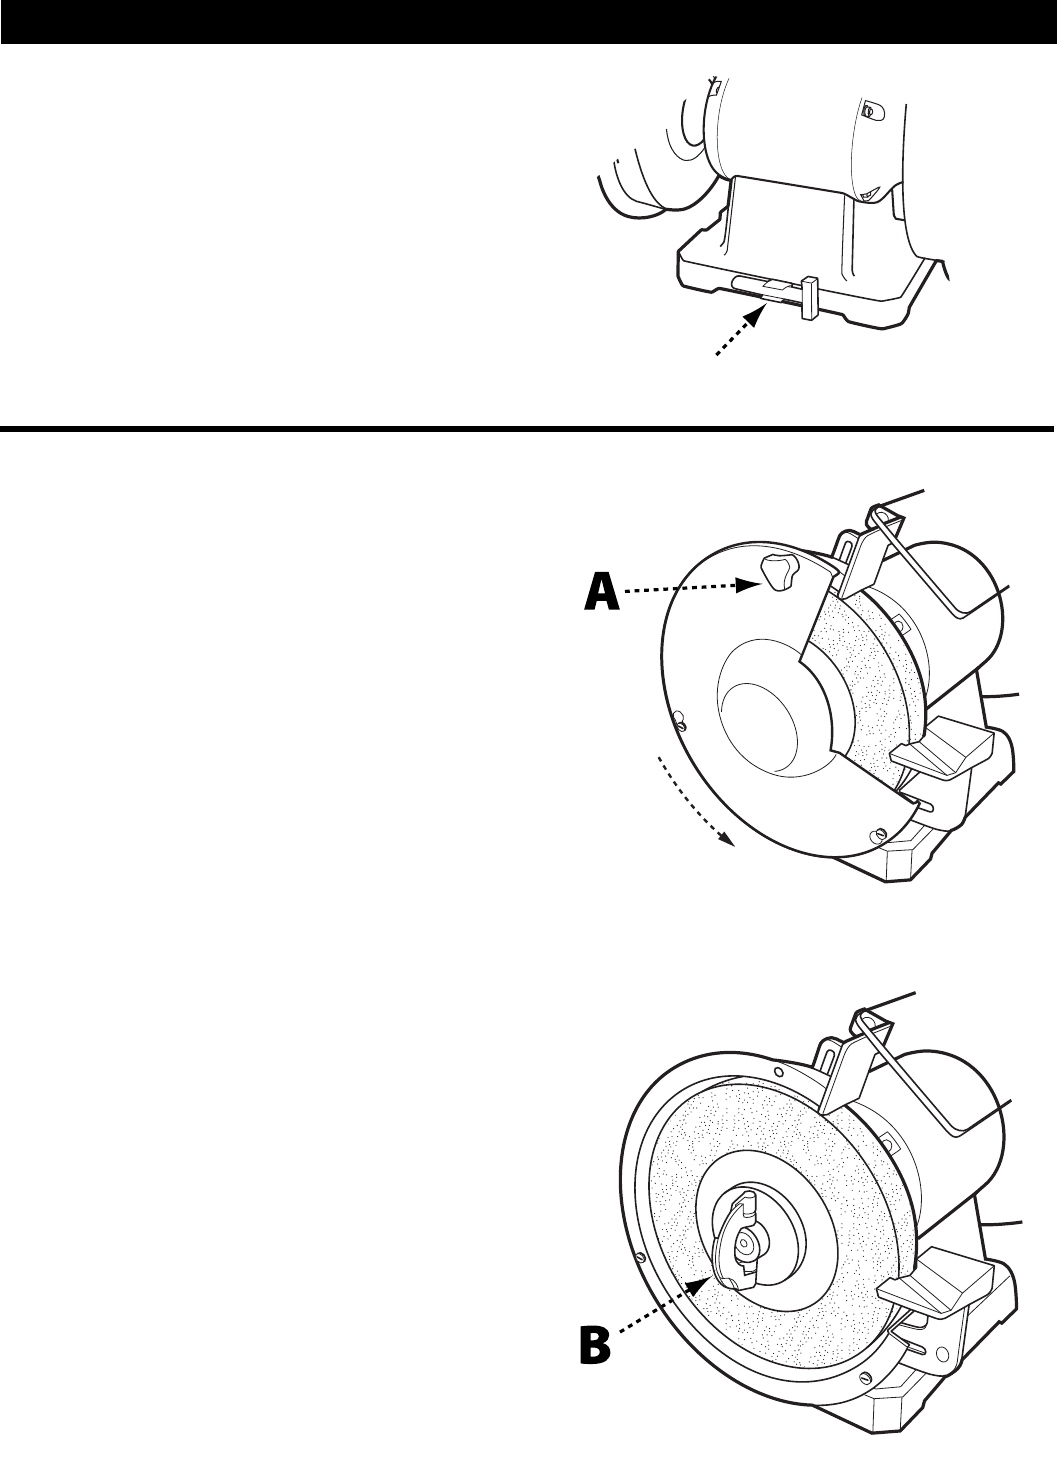
23-198 (6 in.) or 23-199 (8 in.) Grinder has
convenient on-board tool storage for the dressing tool
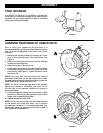
provided. The tool holder, shown in Figure 3, is located
on the rear of the grinder base.
Prior to using your grinder for the first time, it is
recommended that you check the tightness of the arbor
nuts. To check the tightness on the arbor nuts, do the
following:
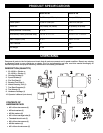
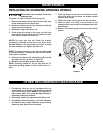
1. Remove the thumb screws (A) securing the outer
face of the wheel guard to the tool frame. See
Figure 4.
2. Rotate the wheel guard to free it from the retaining
screws and remove guard.
3. Raise both wings of the arbor nut.
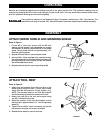
4. Firmly grasp the wings of the arbor nut (B) with one
hand while using the other hand to keep the wheel
from moving. See Figure 5. Tighten the arbor nut as
far as you can.
NOTE: You may also use the 13mm flat wrench
(provided) positioned on the flat of the arbor shaft,
(located between left side wheel and motor) to keep the
shaft steady as you tighten the arbor nut.
NOTE: The arbor nut on the right side of the machine
tightens by rotating it clockwise, the arbor nut on
the left side of the machine tightens by rotating it
counterclockwise.
5. Fold the wings of the arbor nut back to their original
position so that they lay flat against the thick outer
flange, then re-attach wheel guard.
6. Repeat process for other side.
NOTE: As you use your grinder, the force and direction
of the wheel will cause the arbor nut to tighten
automatically. However, it is recommended that your
periodically check the tightness of the nuts as part of
your regular tool maintenance.
ASSEMBLY
FIGURE 3
FIGURE 4
FIGURE 5


