10
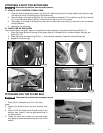
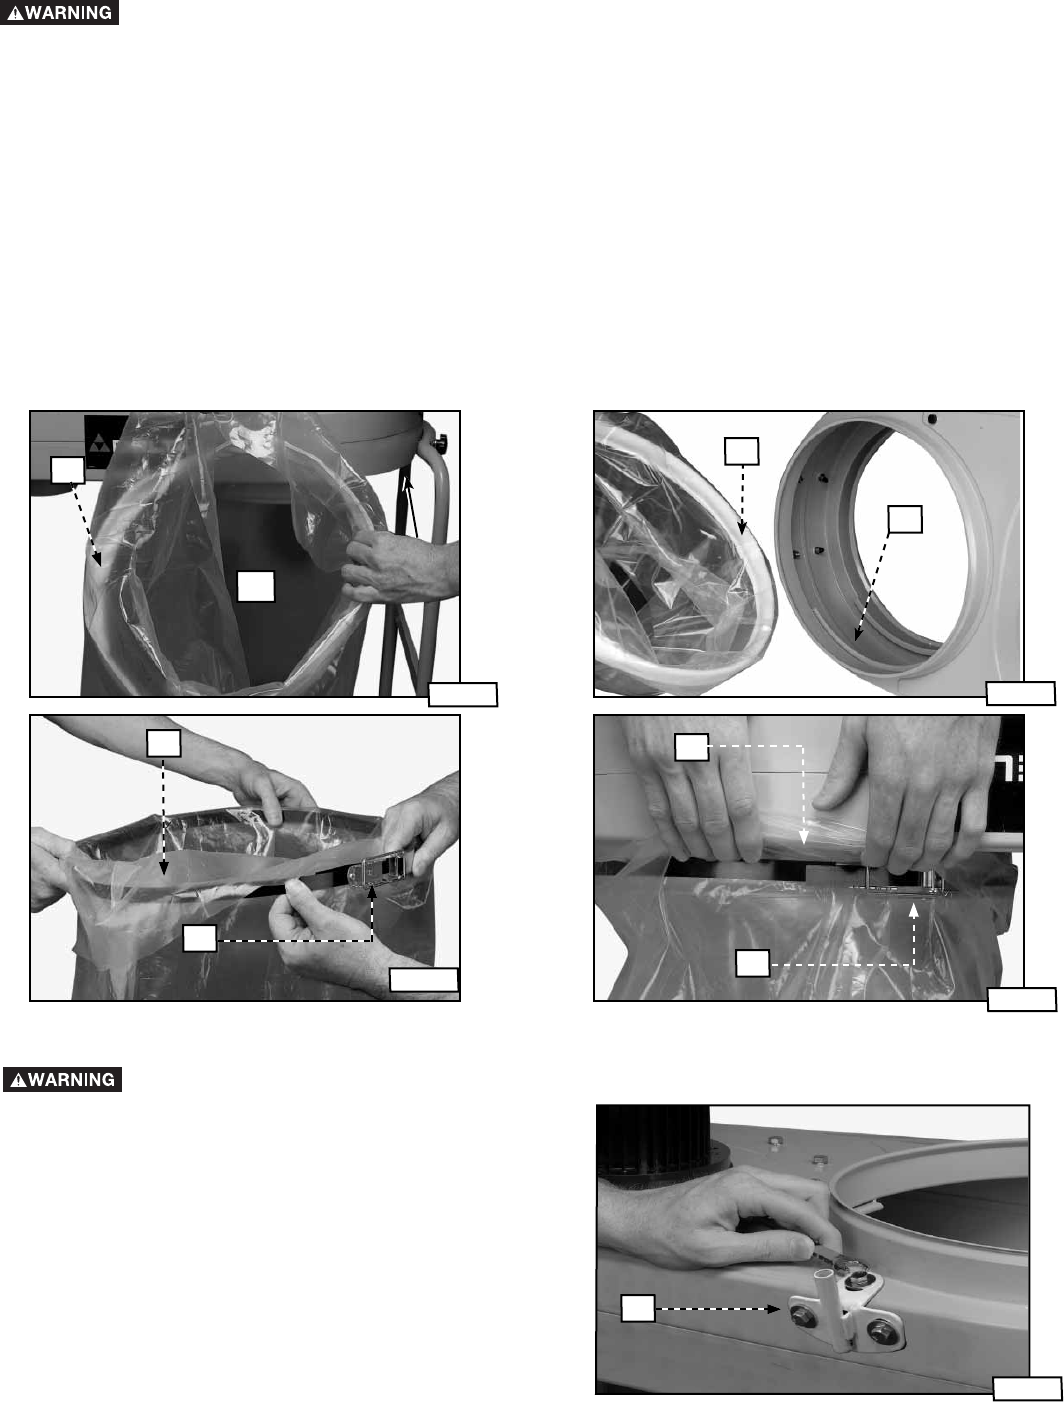
1. Place the cloth-covered bag retainer ring (A) Fig. 8 inside the opening of the clear plastic dust collection bag.
Fold about 6 inches of the bag around the retainer ring.
2. Place the bag in the large hole (B) Fig. 8 in the motor/blower assembly. Fit the retainer ring (A) Fig. 8 and (A)
Fig. 9 into the bottom groove (B) Fig. 9. Bend and fold the ring to fit it into place.
3. Tug slightly on the bag to eliminate any slack and to make sure that the bag is secure and will not detach
during collection.
4. Repeat for the other bag.
B. USING A METAL BAG CLAMP
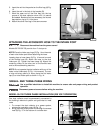
You can also attach the plastic bag to the outside of the dust collector using the included clamp (B) Fig. 10:
1. Place the clamp (B) around the top of the plastic bag (A). Fold about 4 to 6 inches of plastic bag over the
clamp (Fig. 10).
2. Place the clamp and plastic bag (A) Fig. 11 on the blower assembly. Fasten the clamp (B) securely.
3. Repeat for the other bag.
ATTACHING A DUST COLLECTION BAG
Disconnect the machine from the power source!
A. USING A CLOTH COVERED FLEXIBLE RING
A
B
A
B
A
B
B
A
ATTACHING THE TOP FILTER BAG
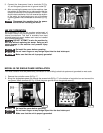
1. Place a 5/16” flatwasher on a 5/16" hex head
screw.
2. Position the bracket (A) on the dust collector (Fig.
12).
3. Insert a 5/16" hex head screw through a hole in the
bracket, then thread it into the appropriate hole in
the dust collector.
4. Thread the other two screws into the other holes
and tighten all three screws securely with the 12mm
wrench.
Fig. 8
Fig. 9
Fig. 10
Fig. 11
Fig. 12
Disconnect the machine from the power source!
A


