5
English
HAMMERDRILLING
MODE
CHIPPING
MODE
CHISEL BIT ADJUSTMENT MODE
CHISEL BIT ADJUSTMENT MODE
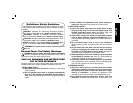
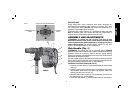
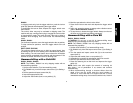
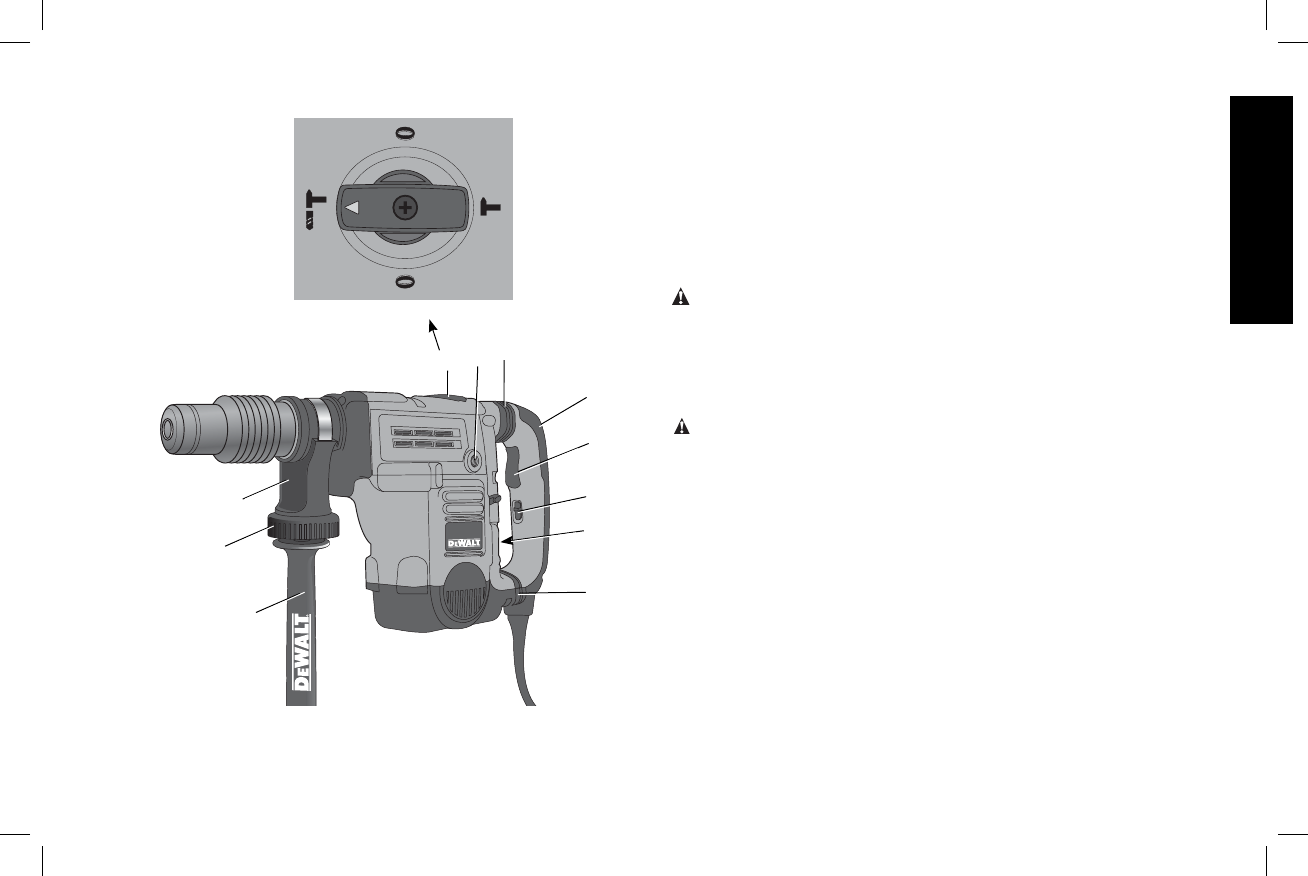
FIG. 1
F
E
A
I
G
B
E
C
H
D
D25602
J
INTENDED USE
These heavy-duty rotary hammers have been designed for
professional hammerdrilling, and chipping at various work sites
(i.e., construction sites). DO NOT use under wet conditions or in
presence of flammable liquids or gases.
This heavy-duty rotary hammer is a professional power tool. DO
NOT let children come into contact with the tool. Supervision is
required when inexperienced operators use this tool.
ASSEMBLY AND ADJUSTMENTS
WARNING: To reduce the risk of injury, turn unit off and
disconnect machine from power source before installing and
removing accessories, before adjusting or changing set-ups or
when making repairs. Be sure the trigger switch is in the OFF
position. An accidental start-up can cause injury.
Side Handle (Fig. 1)
WARNING: To reduce the risk of personal injury, ALWAYS
operate the tool with the side handle properly installed and securely
tightened. Failure to do so may result in the side handle slipping
during tool operation and subsequent loss of control. Hold tool with
both hands to maximize control.
The side handle clamps to the front barrel (collar) and may be rotated
360° to permit right or left-hand use. For operating convenience, the
side handle can be installed in front or rear positions.
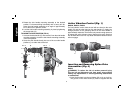
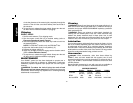
TO MOUNT IN FRONT POSITION (FIG. 2)
1. Unscrew the side handle (C) and disassemble the side handle
clamp (J).
2. Snap the steel ring (K) over the collar (L) behind the tool holder
(M). Squeeze both ends of the steel ring together. Mount the
bushing (N) and insert the pin (O).
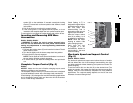
3. Slide the side handle clamp (J) over the bushing and screw on
the clamp knob (H) –do not tighten.
4. Screw the side handle (C) into the clamp knob (H) and tighten.


