English
7
V
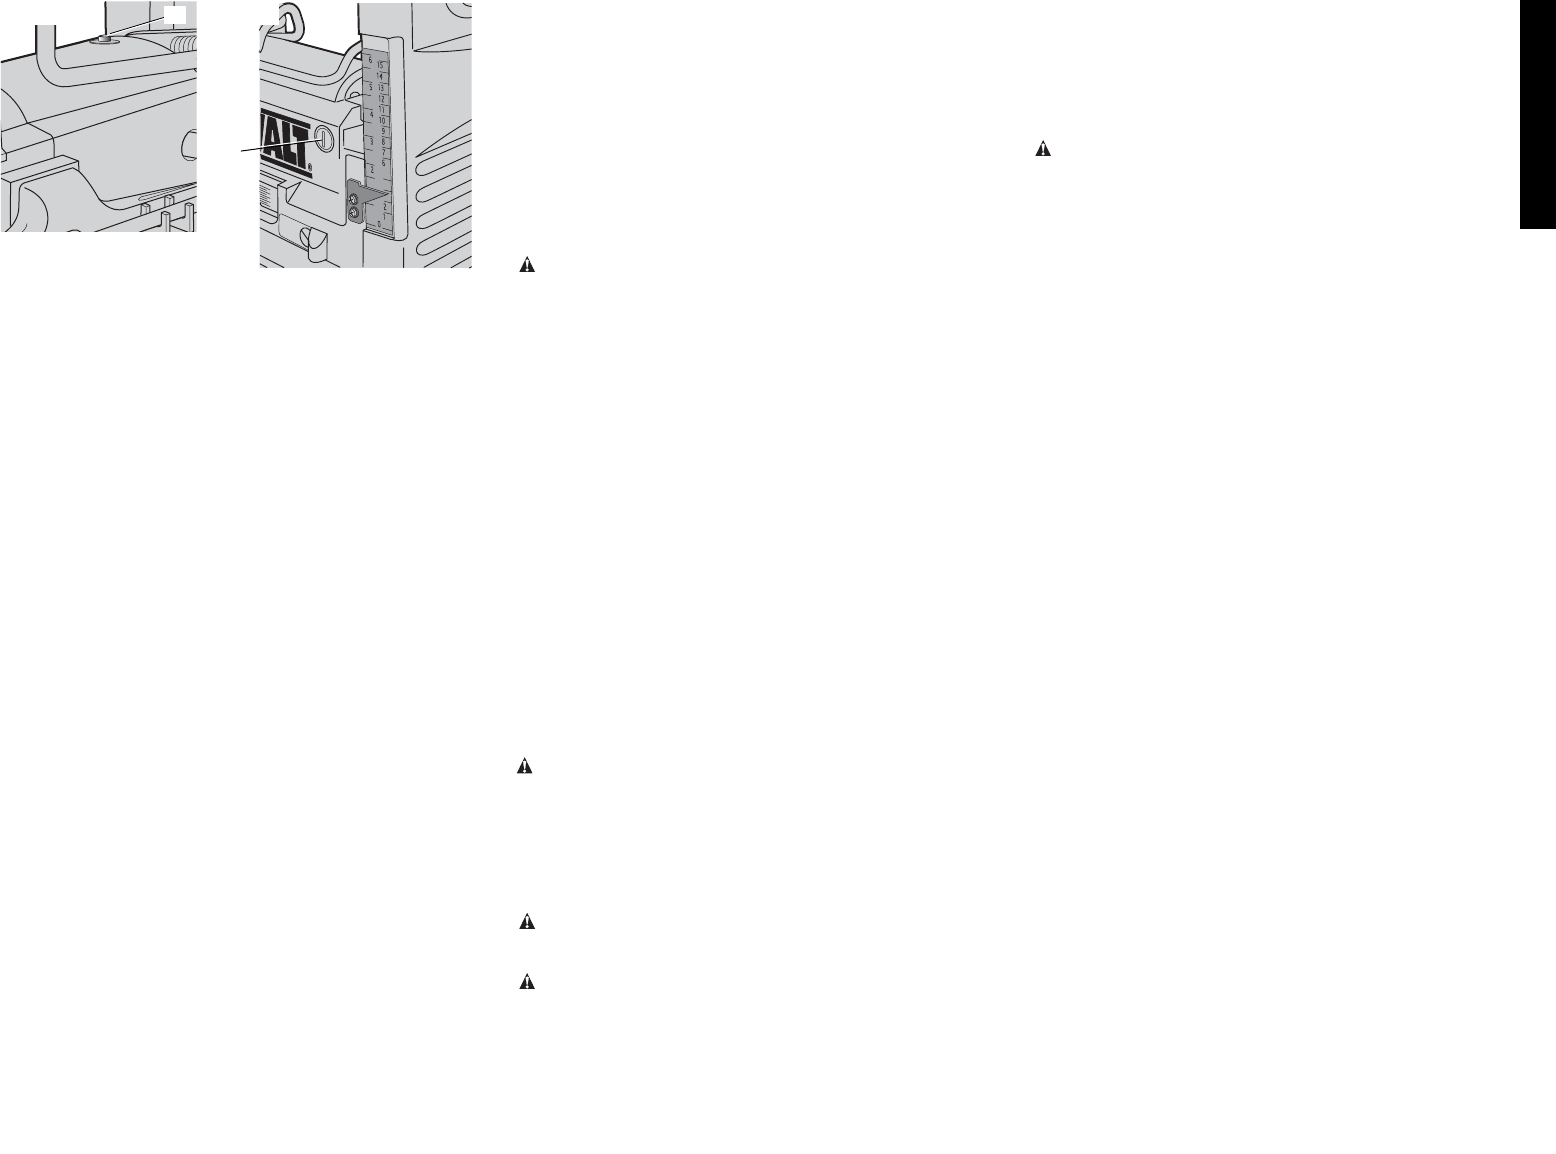
FIG. 28
FIG. 27
U
8. Continue pressure on the side of the belt and rotate
the large pulley while hopping the belt further onto the
pulleys, as shown in Figure 24.
9. All of the belt grooves should be engaged in the final
position and the pulleys should rotate smoothly.
10. Reinstall the side cover and the screws. Do not
overtighten the self-tapping screws.
Calibrating the Depth Adjustment
Scale
The depth adjustment scale on your planer is set at the
factory. However, with extended use, the depth adjustment
scale could show an incorrect measurement.
TO CHECK THE DEPTH ADJUSTMENT SCALE
1. Plane a piece of wood, noting the measurement on the
depth adjustment scale.
2. Measure the finished thickness of the workpiece.
3. If the thickness of the workpiece does not match the
reading on the depth adjustment scale, loosen the two
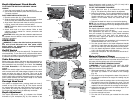
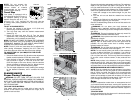
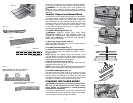
cross head screws (R) shown in Figure25.
4. Adjust the pointer up or down until its reading matches
the finished thickness of the workpiece. Securely
re-tighten the screws.
Leveling the Table Extensions
After extended use, the table extensions might become
slightly out of level. To ensure that the tables are level,
place a straight edge on the table extension. The straight
edge should contact the edge of the table extension and
the main table (Fig.7). When leveling, press the edge of the
table extensions down to remove any play. For best results,
use a level long enough to contact the edges of both table
extensions.
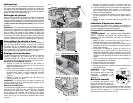
If the table extensions are not level, loosen the jam nuts (T)
and adjust the table extension support bolts (S) up or down
(Fig.26).
NOTE: The outside edges of the extension tables are level
with the base while the inside edges (closest to the cutter
head) are below the edge of the base. This is set at the
factory to reduce unnecessary friction between the material
and the table while providing adequate support at the two
points (those farthest from the cutter head) on the tables that
are integral to snipe prevention.
TABLE
Keep the table clean and free from oil, grease and pitch.
Treat the table with paste wax to help maintain its smooth
finish.
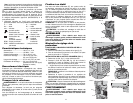
Circuit Breaker Reset Button (Fig. 27)
Your planer is equipped with an 18 amp circuit breaker. If
your planer becomes overloaded and stops operating, turn
off the planer, let the unit sit for 2 minutes and press the
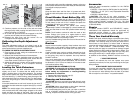
reset button (U) before you resume working.
WARNING: To prevent the planer from starting
unexpectedly if power is interrupted by a circuit breaker trip,
make sure the switch is in the OFF position before restoring
power.
NOTE: Circuit breaker overload is often the result of dull
knives. Change your knives on a regular basis to avoid
tripping your breaker. Check your knives before re-setting
the circuit breaker and continuing to plane.
See the Troubleshooting Guide at the end of this section for
more information.
Brushes
Inspect carbon brushes regularly. Keep brushes clean and
sliding freely in their guides. Always replace a used brush
in the same orientation in the holder as it was prior to its
removal.
Carbon brushes have varying symbols stamped into their
sides, and if the brushes are worn down to the line closest
to the spring, they must be replaced. Use only identical
D
EWALT brushes.
New brush assemblies are available at D
EWALT service
centers. After replacing brush assemblies, the tool should
be allowed to “run in” (run at no load) for 10 minutes to seat
new brushes before using.
TO REMOVE BRUSH ASSEMBLY (FIG. 28)
WARNING: To reduce the risk of serious personal injury,
turn tool off and disconnect tool from power source
before making any adjustments or removing/installing
attachments or accessories.
1. Remove the brush inspection cap (V).
2. Withdraw the brush assembly.
Cleaning and Lubrication
CAUTION: Never let any liquid get inside the tool; never
immerse any part of the tool into a liquid. Electric shock may
result.
CAUTION: Never use solvents or other harsh chemicals
for cleaning the non-metallic parts of the tool.
It is recommended that, once a year, you take or send the
tool to a D
EWALT certified service center for a thorough
cleaning, inspection and lubrication of the gear case.
Accessories
There are three accessories available for the DW734
thickness planer:
• DW7331 – Dust Hood for DW734 (also fits the DW733)
• DW7342 – 12-1/2" (317.5 mm) Disposable Reversible
Planer Knives
• DW7350 – Mobile Stand
CAUTION: The use of any other accessory not
recommended for use with this tool could be hazardous.
If you need any assistance in locating these accessories,
please contact D
EWALT Industrial Tool Co., 701 East
Joppa Road, Baltimore, MD 21286 or call 1-800-4-D
EWALT
(1-800-433-9258).
Repairs
To assure product SAFETY and RELIABILITY, repairs,
maintenance and adjustment should be performed by
authorized service centers or other qualified service
personnel. Always use identical replacement parts.
Three Year Limited Warranty
DEWALT will repair, without charge, any defects due to faulty
materials or workmanship for three years from the date of
purchase. This warranty does not cover part failure due to
normal wear or tool abuse. For further detail of warranty
coverage and warranty repair information, visit www.dewalt.
com or call 1-800-4-D
EWALT (1-800-433-9258). This
warranty does not apply to accessories or damage caused
where repairs have been made or attempted by others. This
warranty gives you specific legal rights and you may have
other rights which vary in certain states or provinces.
In addition to the warranty, D
EWALT tools are covered by
our:
1 YEAR FREE SERVICE
D
EWALT will maintain the tool and replace worn parts
caused by normal use, for free, any time during the first year
after purchase.
90 DAY MONEY BACK GUARANTEE
If you are not completely satisfied with the performance of
your DEWALT Power Tool, Laser, or Nailer for any reason,
you can return it within 90 days from the date of purchase
with a receipt for a full refund – no questions asked.


