18 Kapex KS120 Miter Saw
Miter Cuts
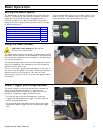
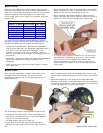
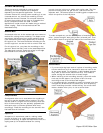
Miter cuts are used when a board needs to be cut at an
angle across its width. The most common application for a
miter cut is for joining two boards to form a corner without
endgrain showing. The miter angle is one-half of the
corner angle. So for a 90° corner, for example, the miter
angle is 45°.
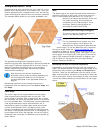
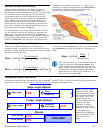
Miter Angles for Polygons
Number of sides Corner Angle
Miter Angle
3 – Triangle 120 60
4 – Square 90 45
5 – Pentagon 72 36
6 – Hexagon 60 30
7 – Heptagon 51.4 25.7
8 – Octagon 45 22.5
For even the most experienced woodworkers, cutting
accurate and tight fitting miters can be problematic. The
following are some tips for making accurate miters.
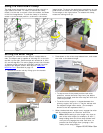
► Clamp the workpiece down. Because the sawblade is
cutting at an angle with the workpiece edge and fence, it
will tend to move the workpiece sideways, in the
direction of the cut, as the cut progresses. This can
result in a cut that is not straight, or the angle of the cut
may be off.
► Cut slowly. Cutting too rapidly can cause the sawblade to
deflect as it encounters varying densities in the
woodgrain.
► Use a chop-cut only for narrow miters. When in doubt,
use a push-cut.
► When marking the length of the workpiece, use a sharp
pencil to draw a thin line. The thicker the line, the more
difficult it will be to cut accurately on the line.
► When marking a workpiece length to match a wall or
other structure, use a utility knife to mark the cut with a
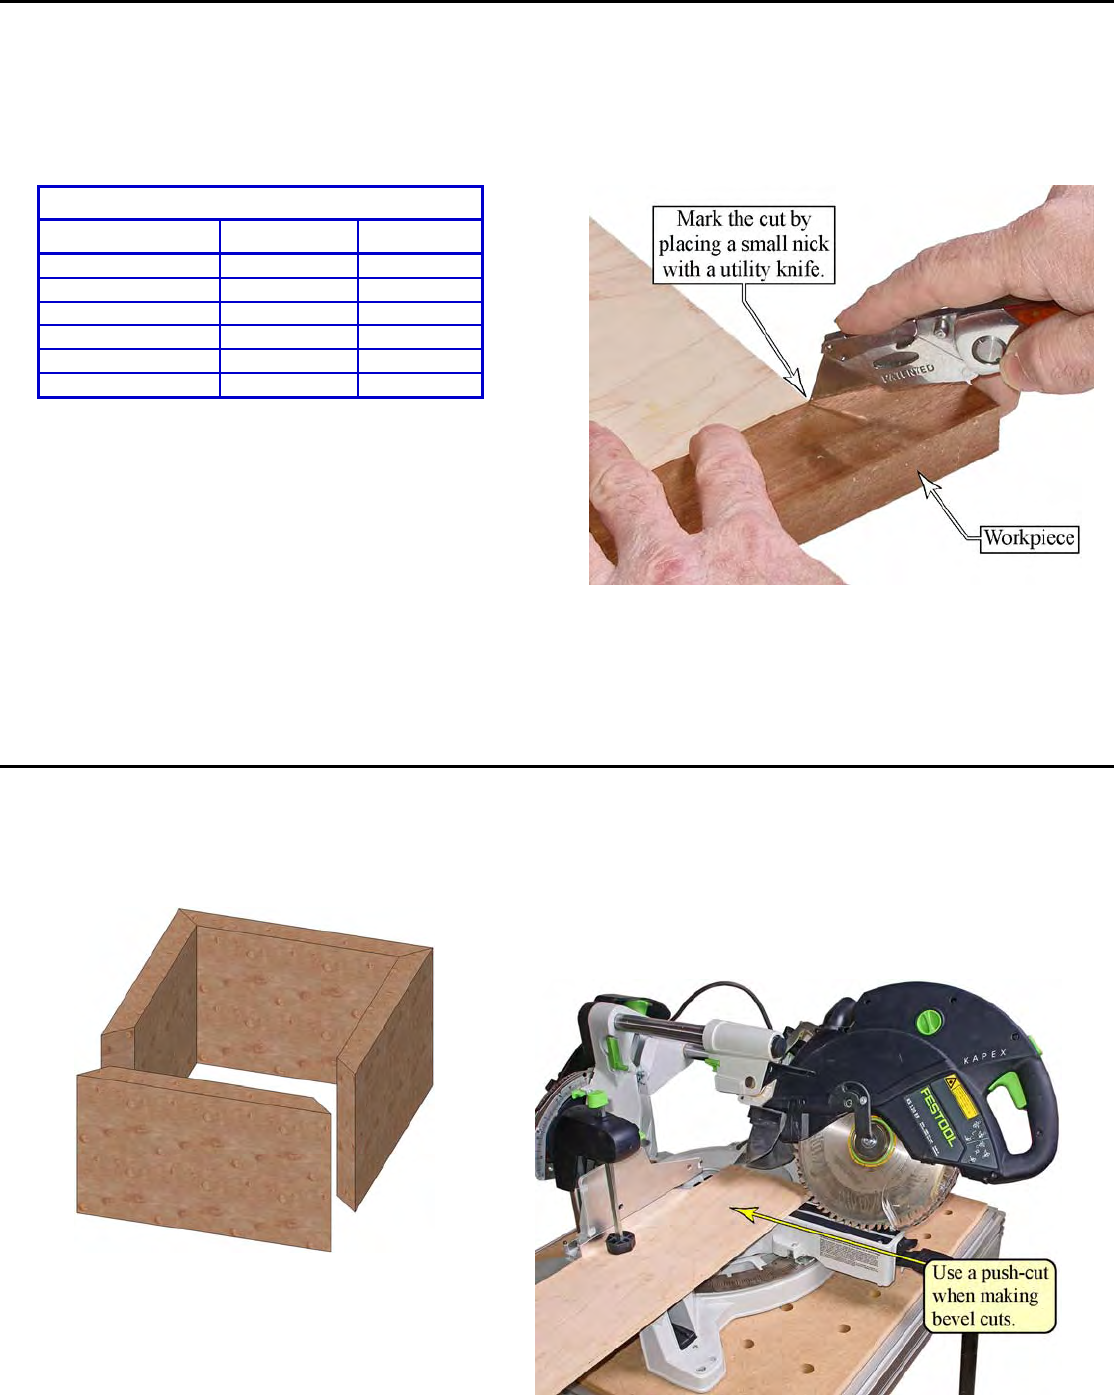
small nick. This is more accurate than a pencil line.
► If a utility knife is used to mark the cut, you can use a
method called “Sneaking up on the cut.” This is where
you make an initial cut longer than needed, and
continually make very small re-cuts until the cut line
splits through the center of the nick you made with the
utility knife.
Bevel Cuts
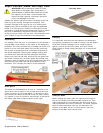
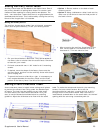
Bevel cuts are used when a board needs to be cut at
an angle across its thickness. The most common
application for a bevel cut is for constructing a box or
similar structure.
The following are tips for making accurate bevel cuts:
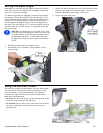
► Clamp the workpiece down. If the workpiece is not
held firmly, the blade will tend to pull the workpiece
into the cut and up the blade.
► For best results, use only a push-cut.
► Take care not to deflect the saw head sideways.
Because the saw head is tilted to the side, it can be
easy to inadvertently push the saw head down or pull it up
as you feed the saw into the cut. This will result in a crooked
cut.
► Place the workpiece on the saw with the best-side down.
Because of the angle of the blade teeth exiting the workpiece
on the top side of the cut, there will be slightly more tearout
on the top, especially on the sharper edge.


