


8
9.1
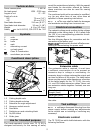
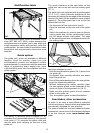
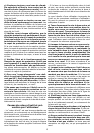
A Festool dust extractor with an extractor
hose diameter of 36 mm or 27 mm (36 mm
recommended due to the reduced risk of clogging)
can be connected to the rotating extractor
connector (9.1)
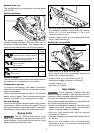
Mounting the splinterguard
10.1
10.2
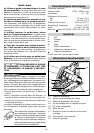
The splinterguard (accessories) significantly
improves the quality of the cutting edge of the
sawn workpiece on the upper side for 0° cuts.
- Attach splinterguard (10.1) onto the protective
cover,
- Place machine onto the workpiece or the guide
rail,
- Press splinterguard down until it sits on the
workpiece and tighten it with the rotary knob
(10.2).
- Saw splinterguard in (machine to maximum
cutting depth and speed range 1).
Use the splinterguard only for 0° cuts. Al-
ways remove the splinterguard for mitre
cuts. When making mitre cuts, the splinterguard
raises the portable circular saw from the work-
piece, which can lead to serious injuries.
Operation
Read and understand the safety
instructions before starting work!
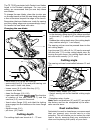
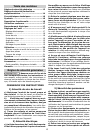
Switching the machine on and off
11.1
11.3
11.4
11.2
Keep the machine steady during
switching and during use by holding the handle
(11.2) and the additional handle (11.1) with both
hands.
To switch on, fi rst push the cut-in and release
block (11.4) forwards, and then press the „On“-
“Off“ switch (11.3). You can then press the
machines down for sawing, and release the cut-
in and release block.
To switch off, release the „On“-“Off“ switch.
After the machine has been switched
off, the saw blade will still rotate for a time.
Take care that parts of your body do not come
into contact with the saw blade while it is still
rotating!
As soon as you remove the machine from the
workpiece once sawing has been completed, the
machine automatically returns to its basic position
and the saw blade is again completely covered by
the protective covering.
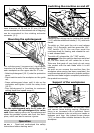
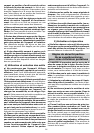
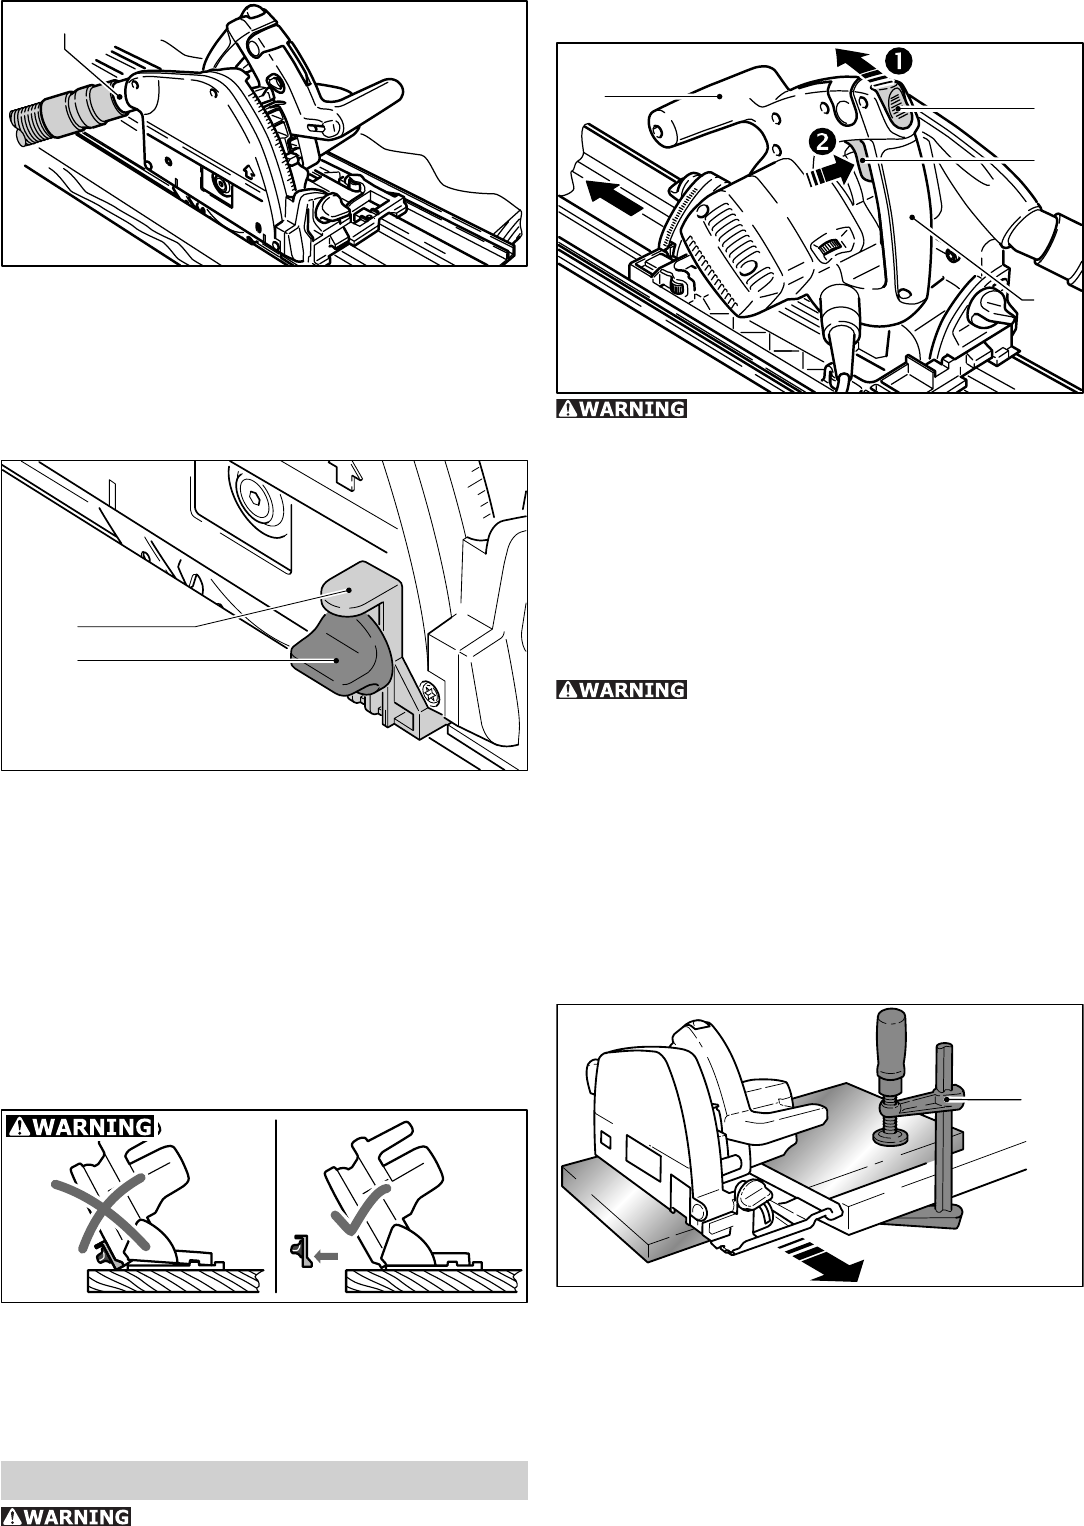
Support of the workpieces
12.1
Ensure that your workpieces are securely fi xed
and cannot move during sawing. Otherwise,
there is an increased risk of accident. Never
hold the workpiece to be cut with your hands or
between your legs. Use instead screw clamps
(12.1) or some other suitable devices to fi x your
workpiece.