


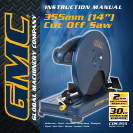
10
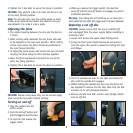
6. Clean any grinding dust from
the inner flange and, after
checking that it is in good
condition, mount a new disc
between two paper blotters.
The rear blotter should be
mounted onto the inner
flange and the front blotter
is the printed surface on the
front of the disc.
7. Replace the outer flange, washer and lock bolt. Tighten
the bolt in a clockwise direction.
8. Turn the new disc by hand, ensuring that it rotates fully
and does not wobble unduly.
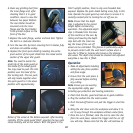
9. Replace the front spark shield by locating the centre
pivot section of the spark shield into the raised centre
section of the upper disc guard.
Note. You need to locate the
small tab of the spark guard on
the inside of the wheel guard.
You may need to push this into
position over the head of the
disc locking bolt. The two parts
will only locate together when
the spark guard is in the down
position with approximately
80mm of the wheel at the bottom exposed. After locating
centrally, lift the spark guard FULLY, ensuring the two parts
rotate correctly and do not detach. With the guard in the
FULLY upright position, there is only one threaded hole
exposed. Replace the spark shield locking screw fully in this
hole. Operate the spark guard up and down to ensure it is
correctly located prior to turning the cut off saw on.
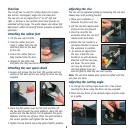
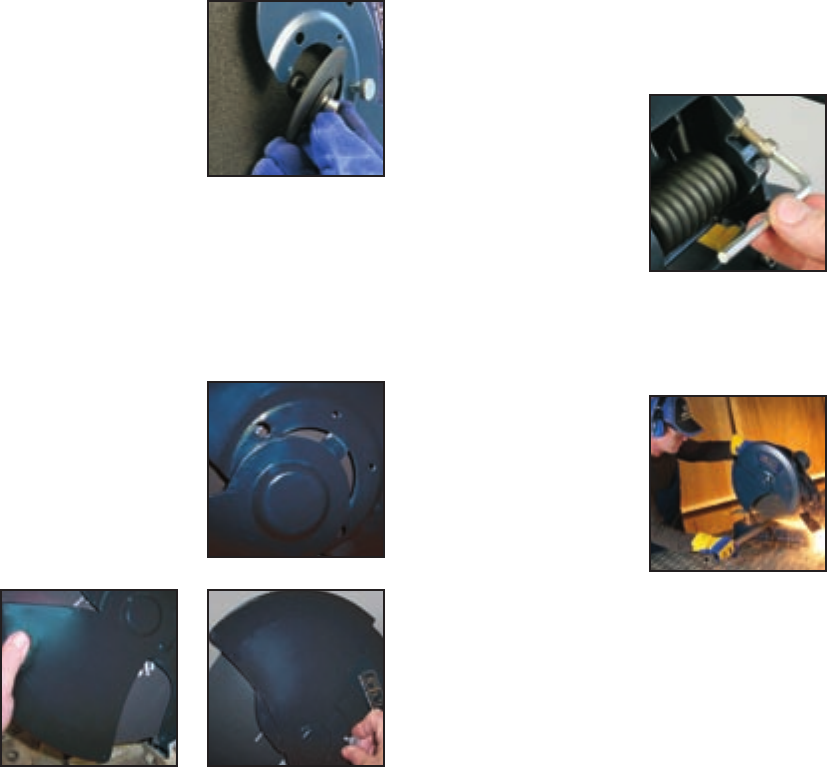
Note. Ensure that the depth
stop is adjusted to the correct
height before commencing
operation. The adjustable depth
stop is threaded into the base
of the machine at the rear. By
raising and lowering the depth
stop bolt with the 5mm hex
key the travel of the cut off
wheel can be controlled. This feature is particularly useful
to prevent contact with the work bench surface when a
new disc is fitted or increase disc travel as the abrasive
disc wears. The depth stop should be checked and adjusted
everytime a new disc is fitted.
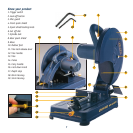
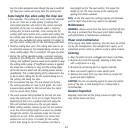
Operation
1. Make all adjustments including
setting the vice, fence position
and fence angle.
2. Ensure that the work piece is
fully secured before starting
any cutting.
Note. Ensure you are wearing
the appropriate safety gear
including eye protection and hearing protection.
3. Check that the disc, guard and tool are in good condition.
4. Plug the cordset into the mains socket.
5. Push the lock-off button and pull the trigger to start the
tool.
6. Bring the disc down onto the workpiece and allow it to
cut its way through the workpiece without undue force.
7. Once the cut is finished, raise the arm to clear the disc
from the work piece, release the trigger and the cut off
saw will stop. Please note that the disc will continue to