10
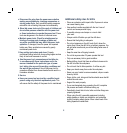
Gear selector
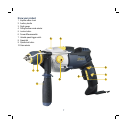
The gear selector (10) allows you to shift gears for greater
versatility of operation.
1. To select the low speed, high
torque setting (Position 1),
turn the tool off and let the
motor come to a complete
standstill. Turn the gear
selector to Position “1”.
2. To select the high speed, low
torque setting, (Position 2),
turn the tool off and let the
motor come to a complete
standstill. Turn the gear
selector to Position “2”.
NOTE. Do not change gears when the drill motor is turning.
If you are having trouble changing gears, make sure that
the gear selector is either completely in Position 1 or
completely in Position 2 as you rotate the chuck by hand.
Chuck replacement
Always wear eye protection.
Chuck removal
The chucks of reversible drills are always fixed by a screw
with left-hand thread. The screw, which is located in the
centre of the chuck, must be removed before the chuck can
be removed.
1. Tighten the chuck around the shorter end of a hex key
(not supplied) of 1/4” or greater size. Using a wooden
mallet or similar object, strike the longer end in the
clockwise direction. This will loosen the screw inside
the chuck.
2. Open chuck jaws fully.
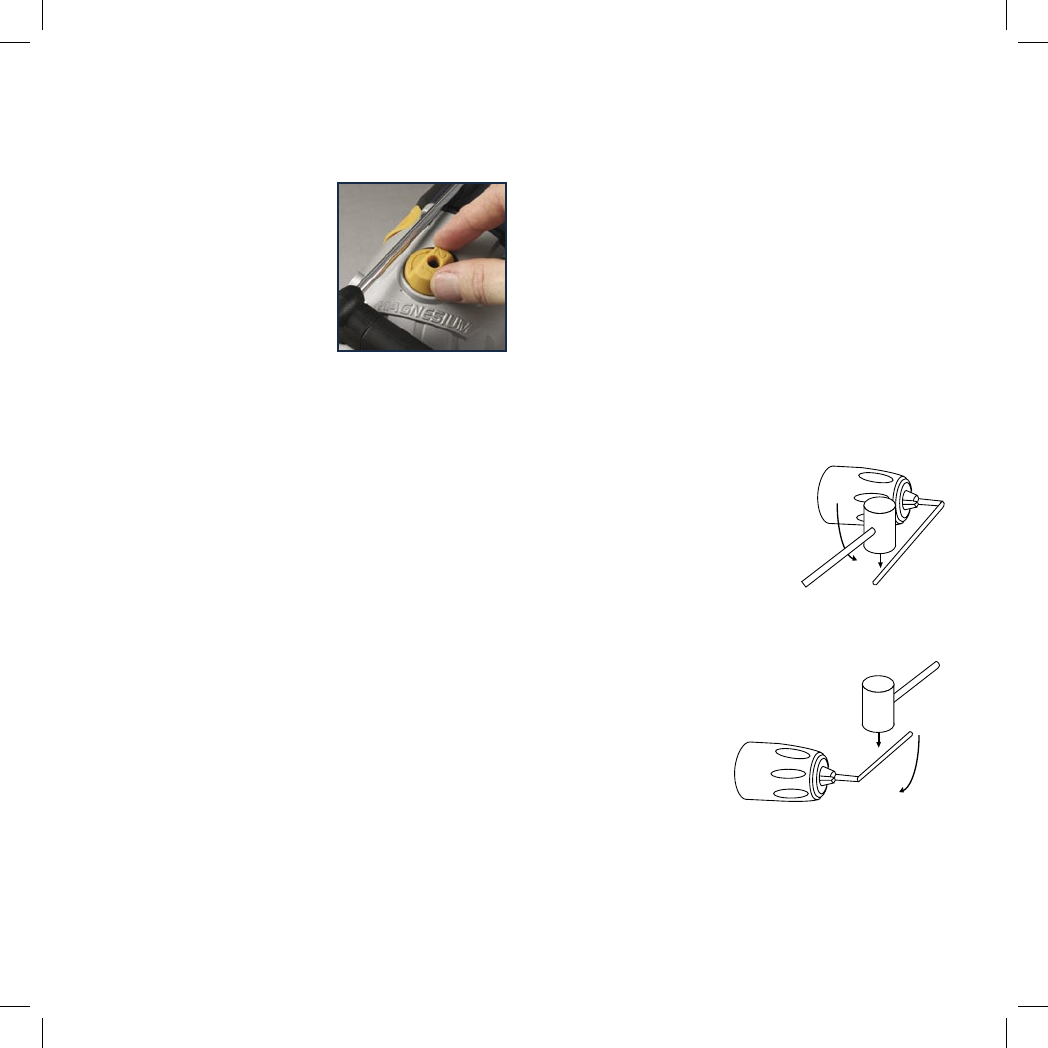
3. Insert a screwdriver into front of chuck between jaws to
engage screw head. Remove screw by turning clockwise.
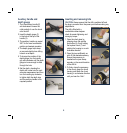
4. Place a hex key in chuck and
tighten. Using a wooden mallet or
similar object, strike key sharply
in the counterclockwise direction.
This will loosen the chuck so that it
can be unscrewed by hand.
Chuck installation
1. Screw the chuck on by hand as far as it will go and insert
screw (LH thread).
2. Tighten the chuck
around the shorter end
of a 1/4” or large hex
key (not supplied) strike
the longer end in the
clockwise direction with
a wooden mallet.
3. Remove the hex key and open the jaws fully. Tighten the
screw in the centre of the chuck firmly.


