


8
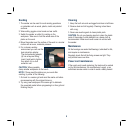
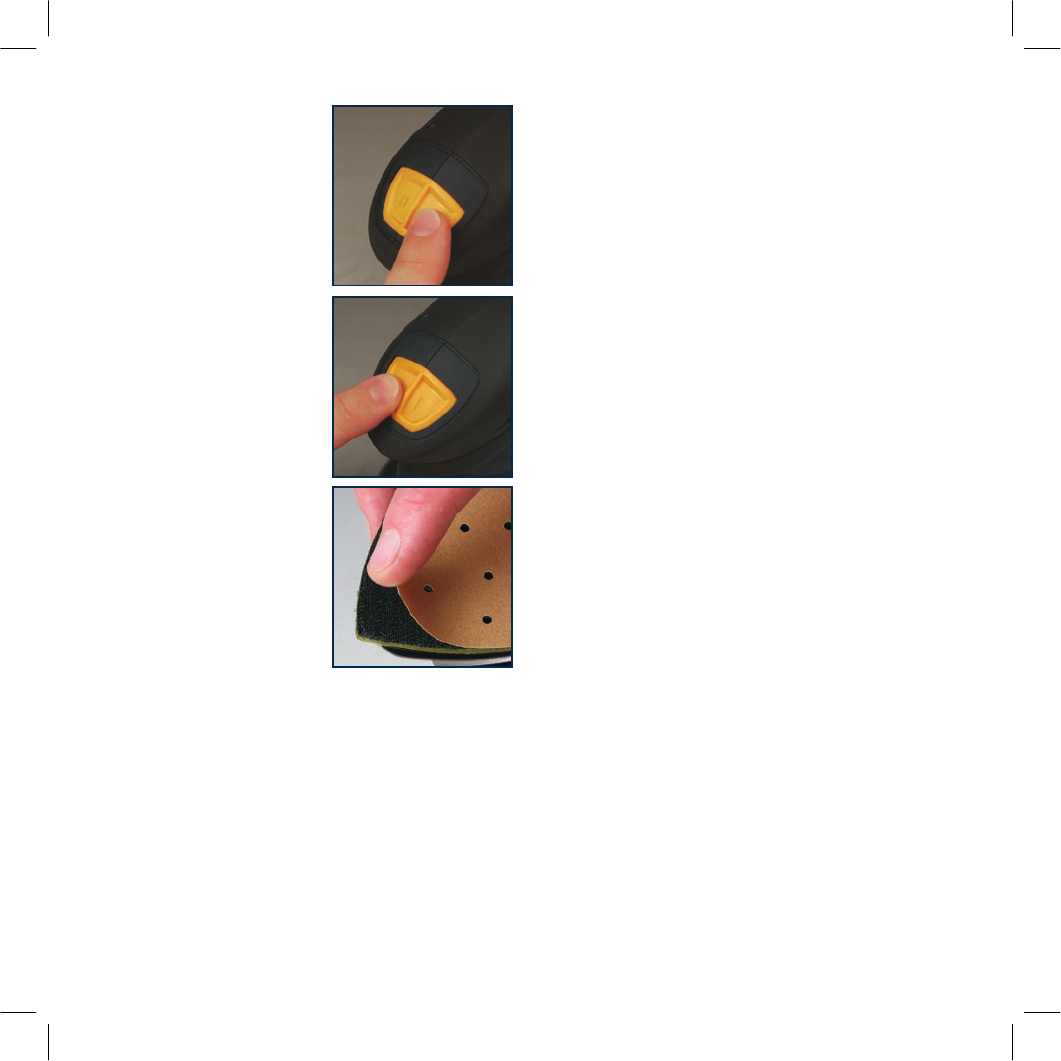
Switching on and off
1. With the cordset fitted to
a power point, switch the
sander on by pressing the
on/off switch (1) on the side
marked 1.
2. To turn off the sander, push
the on/off switch on the side
marked O.
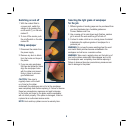
Fitting sandpaper
1. Disconnect the sander from
the power supply.
2. Remove any dust or debris
from the hooks and loops of
the platen.
3. If you are using sandpaper
that has dust extraction holes
align the sandpaper holes
with the platen and press it
firmly in place to ensure a
good attachment.
CAUTION. Take care to
regularly clean out the build
up of dust on the platen
underneath the sandpaper and not to let the sandpaper
wear completely down before replacing it. Failure to observe
these two precautionary measures can lead to damage
to the hooks and loops on the platen and the sandpaper
will not attach properly. If the platen is damaged, it can be
replaced at an authorised service centre.
NOTE. Hook and loop platens are not a warranty item.
Selecting the right grade of sandpaper
for the job
1. Different grades of sanding paper can be purchased from
your local hardware store. Available grades are:
Coarse, Medium and Fine.
2. Use a coarse grit to sand down rough finishes, medium
grit to smooth the work and fine grit to finish off.
3. It is best to make a trial run on a scrap piece of material
to determine the optimum grades of sandpaper for a
particular job.
WARNING. Do not use the same sanding sheet for wood
and metal. Metal particles become embedded in the
sandpaper and will scour a wooden surface.
WARNING. Take care to regularly clean out the build up of
dust on the platen underneath the sandpaper and not let
the sandpaper wear completely down before replacing it.
Failure to observe these two precautionary measures can
lead to damage to the platen.