3. Tighten the 2 hex screws.
4. Replace the plug and run the saw under no load to
check that it runs smoothly before using it to cut any
materials.
Using the LightSabre system
Warnings. Do not stare directly at the laser beam.
Never aim the beam at any person or an object other
than the work piece.
Do not deliberately aim the beam at personnel and ensure
that it is not directed towards the eye of a person for
longer than 0.25s.
Always ensure the laser beam is aimed at a sturdy work
piece without reflective surfaces i.e. wood or rough coated
surfaces are acceptable. Bright shiny reflective sheet steel
or the like is not suitable for laser use as the reflective
surface could direct the beam back at the operator.
Only turn laser beam on when tool is on work piece.
1. Mark the line of the cut on the work piece.
2. Adjust the angle of cut as required.
3. Plug in the machine and start the motor.
4. When the blade is at its maximum speed
(approximately 2 seconds), place the saw on the work
piece.
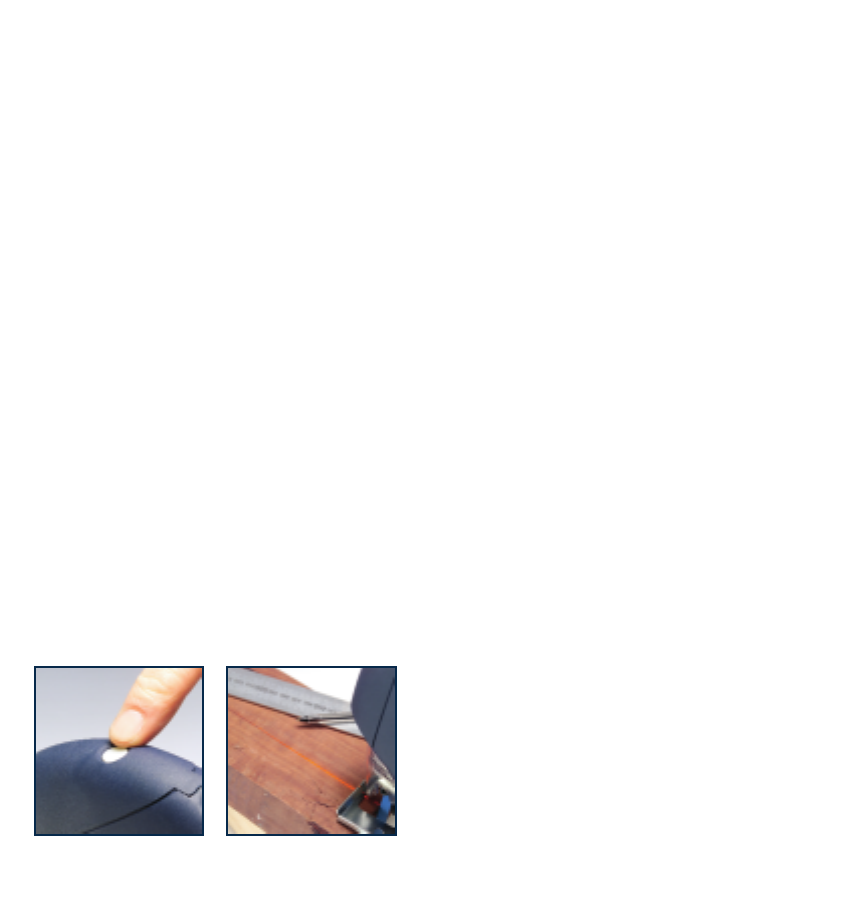
5. Switch on the laser beam using the switch (2).
6. Align the beam with the mark on the work piece and
slowly push the saw forward using both hands, keeping
the red light beam on the mark.
7. Switch off the laser beam on completion of the cut.
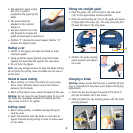
Changing the batteries
1. Hold the jigsaw with both hands and use your thumbs
to push the base of the laser light battery cover (3)
upwards. Steady it with your index fingers to prevent it
getting away from you.
2. Replace both AAA batteries, taking care to insert the
new batteries with the correct polarity
3. To replace the battery cover (3), locate the lugs on the
cover below those on the case and slide the cover
down until it snaps into position.
Caution. Remove the laser light batteries when the tool is
to be stored without use for a few days or more. If left in
position, the batteries might leak and damage the laser
light assembly. Damage due to leaking batteries is not
covered under warranty.
General inspection
Regularly check that all the fixing screws are tight. They
may vibrate loose over time.
Maintenance
1. Store the tool, instruction manual and accessories in a
secure place. In this way you will always have all the
information and parts ready to hand.
2. Keep the tool’s air vents unclogged and clean at all
times.
3. Remove dust and dirt regularly. Cleaning is best done
with compressed air or a rag.
4. Never use caustic agents to clean plastic parts.
5. Lubricate the guide roller from time to time with a
drop of oil. It will extend the life of the roller.
Caution. Do not use cleaning agents to clean the plastic
parts of the tool. A mild detergent on a damp cloth is
recommended. Water must never come into contact with
the tool.
10


