


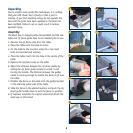

Changing the saw band
Warning. Ensure that the mains
plug is removed from the power
socket
The saw is supplied with a
general-purpose woodcutting
blade.
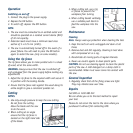
1. To change the blade, first
remove the rip fence scale.
2. Slacken the blade tension by
rotating anti-clockwise the
blade tensioning knob on the
top of the upper wheel
housing.
3. Open the doors to the upper
and lower wheel housings.
4. Remove the old blade and fit
the new blade. Tension the
blade lightly by rotating
clockwise the blade-tensioning
knob on the top of the upper
wheel housing.
5. Turn the upper wheel by hand
to check that the blade is
running in the centre of the
rubber-lined wheels.
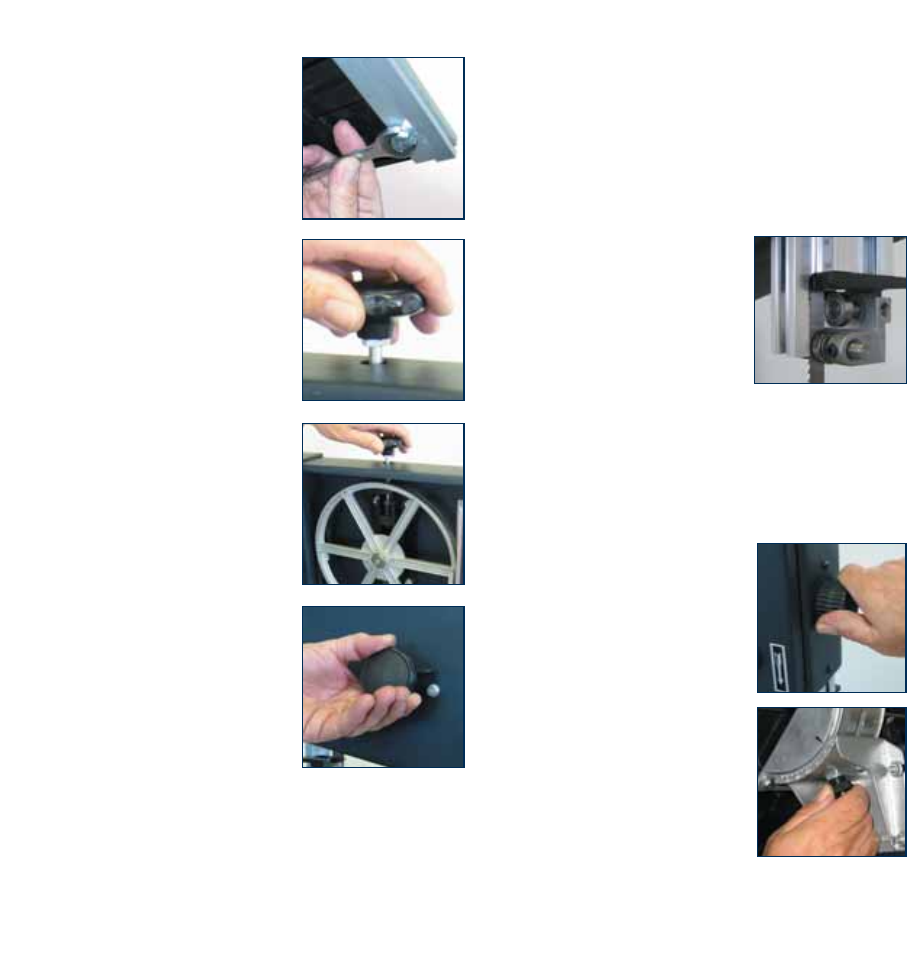
6. To adjust the tracking of the
saw band, turn the knob on
the rear of the upper wheel
housing whilst rotating the
upper wheel by hand. Tighten
the wingnut after adjusting
the knob.
7. Close and secure both doors.
8. Replace the rip fence scale.
NOTE. The saw band is tensioned correctly when it runs
quietly and without vibrating.
CAUTION. Always ensure that the saw is switched off and
unplugged from the power supply before making any
adjustments.
WARNING. Over tightening the band saw will cause
premature failure. Under tightening can cause the band to
disengage whilst it is in use.
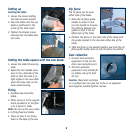
Adjusting the blade support head
1. Set the bearings of the upper
blade guide to within approx.
0.5 mm of the blade. The
bearing should turn freely and
turn when the saw is in use.
2. Set the rear bearing just clear
of the back of the blade.
Note. Do not set the bearing too
close, as the resulting friction will generate heat, which
can have an adverse affect on the bearings and the blade.
The bearing should run freely and turn when the saw is in
use.
Setting the cutting height
1. Always set the upper blade guide
as close as practical to the work.
2. To adjust the height, turn the
knob on the front of the upper
wheel housing.
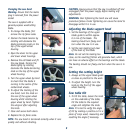
Saw table tilt
1. To tilt the table, loosen the knob
on the underside of the table,
tilt the table to the required
angle and retighten the knob.
Note. It is best to verify the angle
of tilt by making a practice cut in a
piece of scrap wood, measuring and
resetting the angle if necessary.
9