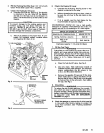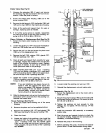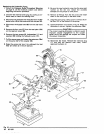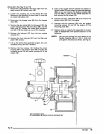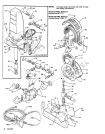
f. After the engine is warm, gradually open the
choke lever and close the
bypase valve.
See
Fig
8 and
9.
NOTE: In cold weather, run the engine
for
about
15
minutes with the bypass valve open before
starting the displacement pump
to
help
avoid
hydraulic motor stalling.
g. Follow the Pressure
Relief
Procedure
Warn-
Ing,
on page 8,
to
shut
off
the sprayer.
-------WARNING------
To
stop
the
engine
in
an
emergency,
depress
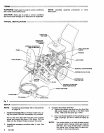
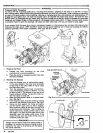
the engine STOP button. Close the bypass valve
if
possible. See Fig 8. Then relieve the fluid pressure
in the pump and hose
as
instructed in the Pres-
sure
Relief
Procedure
Warning,
on page
8.
3.
Prime
the
Pump
a.
Be
sure the gun safety latch
is
engaged.
b. Don't
install the spray tip yeti
c.
If
the engine has not been started, follow the
procedure in
Step
2,
page
8.
d. Disengage the gun safety latch.
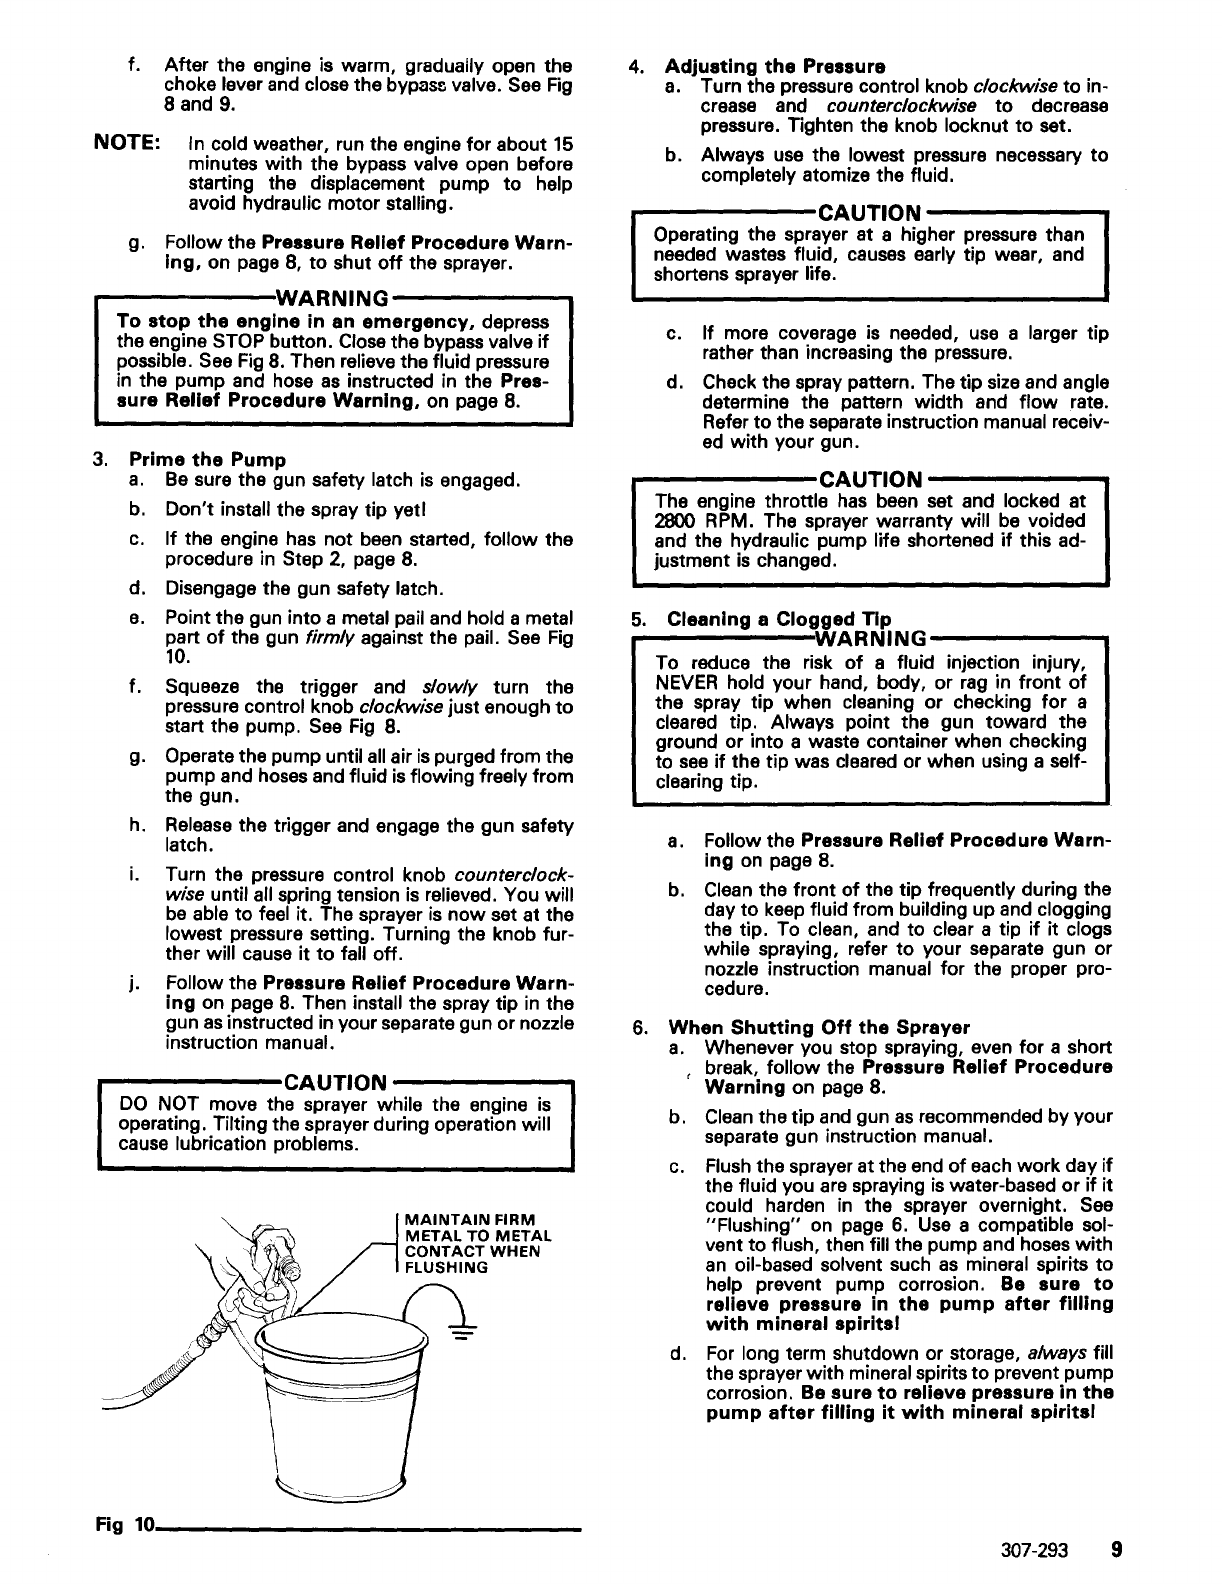
e.
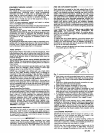
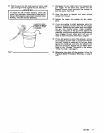
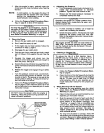
Point the gun into a metal pail and hold a metal
part
of
the gun firmly against the pail.
See
Fig
10.
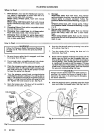
f. Squeeze the trigger and slowly turn the
pressure control knob
clockwise just enough
to
start the pump.
See
Fig
8.
g.
Operate the pump until all air
is
purged from the
pump and hoses and fluid is flowing freely from
the gun.
h. Release the trigger and engage the gun safety
latch.
L Turn the pressure control knob counterclock-
wise
until all spring tension
is
relieved. You will
be
able
to
feel it. The sprayer
is
now
set at the
lowest pressure setting. Turning the knob fur-
ther will cause it
to
fall off.
j.
Follow the Pressure
Relief
Procedure
Warn-
ing
on page
8.
Then install the spray tip in the
gun
as
instructed in your separate gun or nozzle
instruction
manual.
-------CAUTION
------
DO
NOT move the sprayer while the engine is
operating. Tilting the sprayer during operation will
cause lubrication problems.
MAINTAIN
FIRM
METAL
TO
METAL
CONTACT WHEN
FLUSHING
Fig
10
________________
_
4.
Adjusting
the
Pressure
a.
Turn the pressure control knob clockwise
to
in-
crease and
counterclockwise
to
decrease
pressure. Tighten the knob locknut
to
set.
b. Always use the lowest pressure necessary
to
completely atomize the fluid.
-------CAUTION
-----
.......
Operating the sprayer at a higher pressure than
needed wastes fluid, causes early tip wear, and
shortens sprayer life.
c.
If
more coverage is needed,
use
a larger tip
rather than increasing the pressure.
d. Check the spray pattern. The tip
size
and angle
determine the pattern width and
flow
rate.
Refer
to
the separate instruction manual receiv-
ed
with
your gun.
-------CAUTION
-----
....
The engine throttle
has
been set and locked at
2800 RPM. The sprayer warranty will
be
voided
and the
hydraulic pump life shortened
if
this ad-
justment
is
changed.
5.
Cleaning
a
Clogged
Tip
---~-.-..;WARNING------
To reduce the risk
of
a fluid injection injury,
NEVER
hold your hand, body, or rag in front
of
the spray tip when cleaning or checking
for
a
cleared tip. Always point the gun toward the
ground or into a waste container when checking
to
see
if
the tip was cleared or when using a self-
clearing tip.
a.
Follow the Pressure
Relief
Procedure
Warn-
ing
on page
8.
b. Clean the front
of
the tip frequently during the
day
to
keep fluid from building up and clogging
the tip. To clean, and
to
clear a tip
if
it clogs
while
spraying, refer
to
your separate gun or
nozzle instruction
manual for the proper pro-
cedure.
6.
When
Shutting
Off
the
Sprayer
a.
Whenever you stop spraying, even
for
a short
( break,
follow the Pressure
Relief
Procedure
Warning
on page 8.
b.
Clean the
tip
and gun
as
recommended
by
your
separate gun instruction
manual.
c. Flush the sprayer at the end
of
each work day
if
the fluid you are spraying
is
water-based
or
if
it
could harden in the sprayer overnight.
See
"Flushing"
on page
6.
Use a compatible sol-
vent
to
flush, then fill the pump and hoses with
an
oil-based solvent such
as
mineral spirits
to
help prevent pump corrosion. Be
sure
to
relieve
pressure
in
the
pump
after
filling
with
mineral
spiritsl
d.
For
long term shutdown or storage, always fill
the sprayer
with
mineral spirits
to
prevent pump
corrosion. Be
sure
to
relieve
pressure
in
the
pump
after
filling
it
with
mineral
spirits/
307-293 9


