Maintenance
311019L 5
Maintenance
Pressure Relief Procedure
Follow the Pressure Relief Procedure whenever
you see this symbol.
1. Engage trigger lock.
2. Close the bleed-type master air valve.
3. Disengage the trigger lock.
4. Hold a metal part of the gun firmly to a grounded metal
pail. Trigger the gun to relieve pressure.
5. Engage the trigger lock.
6. Open all fluid drain valves in the system, having a
waste container ready to catch drainage. Leave drain
valve(s) open until you are ready to spray again.
7. If you suspect the spray tip or hose is clogged or that
pressure has not been fully relieved:
a. VERY SLOWLY loosen tip guard retaining nut or
hose end coupling to relieve pressure gradually.
b. Loosen nut or coupling completely.
c. Clear hose or tip obstruction.
DAILY: Check engine oil level and fill as necessary.
DAILY: Check hose for wear and damage.
DAILY: Check gun safety for proper operation.
DAILY: Check pressure drain valve for proper operation.
DAILY: Check and fill the gas tank.
DAILY: Check level of TSL in displacement pump packing
nut. Fill nut, if necessary. Keep TSL in nut to help prevent
fluid buildup on piston rod and premature wear of packings
and pump corrosion.AFTER THE FIRST 20 HOURS OF
OPERATION:
Drain engine oil and refill with clean oil. Reference Honda
Engines Owner's Manual for correct oil viscosity.
WEEKLY: Remove engine air filter cover and clean ele-
ment. Replace element, if necessary. If operating in an
unusually dusty environment: check filter daily and replace,
if necessary.
Replacement elements can be purchased from your local
HONDA dealer.
AFTER EACH 100 HOURS OF OPERATION:
Change engine oil. Reference Honda Engines Owner's
Manual for correct oil viscosity.
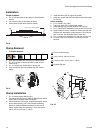
SPARK PLUG: Use only BPR6ES (NGK) or W20EPR-U
(NIPPONDENSO) plug. Gap plug to 0.028 to 0.031 in. (0.7
to 0.8 mm). Use spark plug wrench when installing and
removing plug.
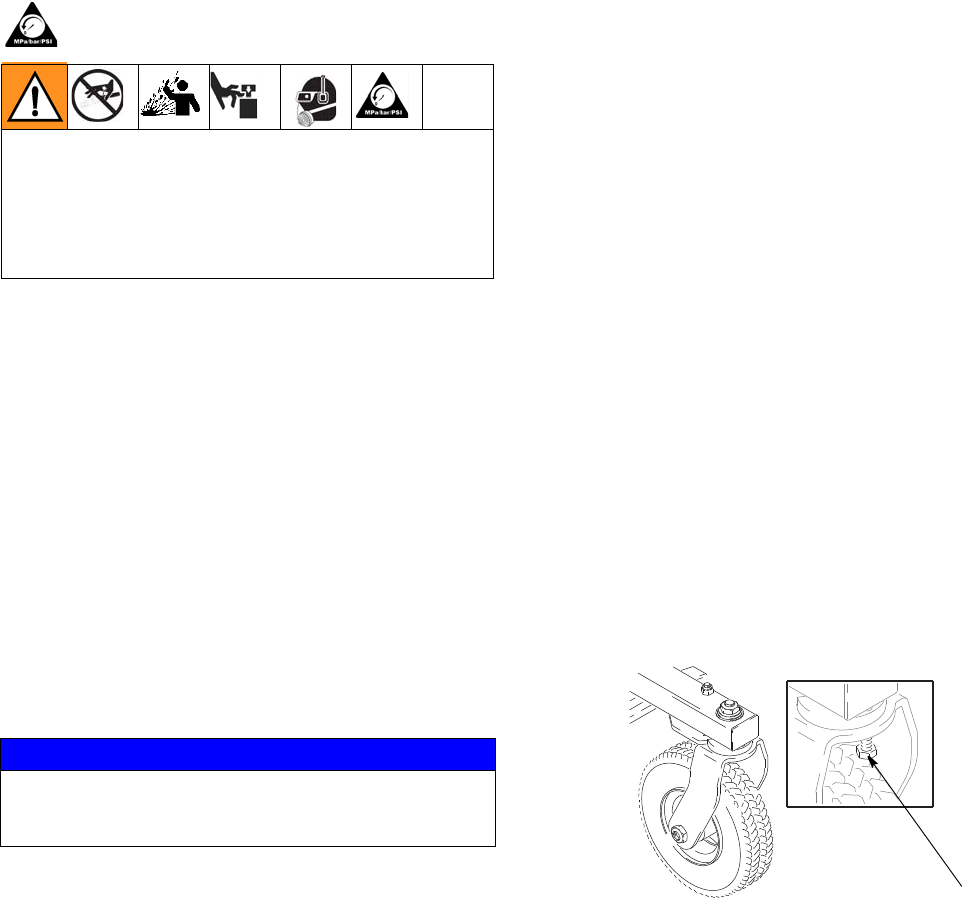
Front Wheel Alignment:
Align front wheel as follows:
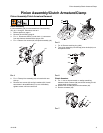
1. Fig. Loosen cap screw (90).
FIG. 1
2. Position front wheel left or right, as necessary, to
straighten alignment.
3. Tighten cap screw (90). Push striper and let striper roll
with hands off of striper. Note: If striper rolls straight or
veers right or left. Repeat steps 1 and 2 until striper
rolls straight.
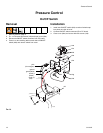
This equipment stays pressurized until pressure is
manually relieved. To help prevent serious injury from
pressurized fluid, such as skin injection, splashing
fluid and moving parts, follow the Pressure Relief Pro-
cedure when you stop spraying and before cleaning,
checking, or servicing the equipment.
NOTICE
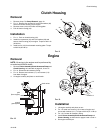
For detailed engine maintenance and specifications,
refer to separate Honda Engines Owner's Manual,
supplied.
ti6392a
90


