


Warnings
311937G 5
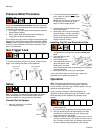
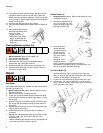
Clearing a Clog
1. Relieve pressure. Lock trigger (1a).
2. Rotate tip (33) 180°. Unlock trigger (1a). Trigger gun into
pail or onto ground to remove clog.
3. Lock trigger (1a). Rotate tip (33) 180° back to spray
position.
Spraying
Refer to your Sprayer Instruction manual. The following
instructions are for guns used with Graco’s FinishPro
Sprayers.
Air-Assisted Spraying
1. Set sprayer function selection switch to AIRLESS spray-
ing.
2. Open gun air pressure regulator all the way.
3. Prime pump following priming instructions provided in
sprayer operation manual 311905.
4. Turn sprayer fluid pressure control to highest setting.
5. Unlock trigger (1a). While triggering gun, turn down
sprayer fluid pressure until you notice tails forming in
spray pattern.
6. Stop triggering gun.
7. Set sprayer toggle switch to AA (Air Assisted) spraying.
8. Trigger gun. While spraying increase gun air pressure
regulator until tails disappear.
9. Use gun air regulator to fine tune spray pattern.
Airless Spraying
1. Set sprayer function selection switch to AIRLESS spray-
ing.
2. Prime pump following priming instructions provided in
sprayer operation manual 311905.
3. Start with sprayer pressure turned to lowest setting.
4. Spray a test pattern. Gradually increase sprayer pressure
until you achieve a consistent spray pattern, without
heavy edges. Use a smaller tip if pressure adjustment
alone does not eliminate edges.
Note: If you are getting an irregular spray
pattern, clean air holes with solvent and
a soft brush or toothpick. Do not use
metal tools to clean the air cap holes as
this may scratch them. Scratches can
distort the spray pattern.
Maintenance
Before performing any maintenance on gun, read all warnings
on front cover of this manual and relieve pressure, page 4.
Daily Maintenance
Flush gun after each work shift and store in a dry location.
Do not immerse the gun or any parts in water or cleaning
solvents.
• Do not point gun up while cleaning it.
• Do not wipe gun with cloth soaked in solvent; wring out
excess.
• Solvent left in gun air passages could result in a poor
quality paint finish. Do not use any cleaning method that
may allow solvent into gun air passages.
Flushing and Cleaning
• Flush gun before changing colors, before storing and before
repairing gun.
• Flush at lowest possible pressure. Check connectors for
leaks and tighten as necessary.
• Flush with fluid that is compatible with fluid being dispensed
and equipment’s wetted parts.
1. Relieve pressure, page 4. Unplug sprayer from outlet.
2. Remove tip (33) and guard (6).
3. Disconnect black air supply hose from gun.
4. Remove sprayer siphon tube set from paint and place in
flushing fluid. See Cleanup instructions in sprayer
operation manual 311905.
5. Plug sprayer in outlet. Set sprayer function selection
switch to AIRLESS.
6. Increase pressure slowly. Point gun down into a grounded
metal container. Pull gun trigger and flush gun with
solvent until all traces of fluid are removed from gun
passages.
7. Turn sprayer function selection switch to OFF.
8. Relieve pressure, page 4.
9. Disconnect fluid supply hose from gun.
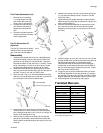
10. If it is necessary to remove diffuser (5) to clean, trigger
gun while you remove the diffuser with the gun tool (30).
11. Dip the soft end of a soft-bristle brush into a compatible
solvent. Do not continuously soak the brush’s bristles
with solvent and do not use a wire brush.
12. With gun pointed down, clean front of the gun with the
soft-bristle brush and solvent.
13. Scrub the tip (33) and guard (6) with soft-bristle brush. To
clean out air cap holes, use a soft tool such as a
toothpick, to avoid damaging critical surfaces. Blow air
through the spray tip to ensure the orifice is clean.
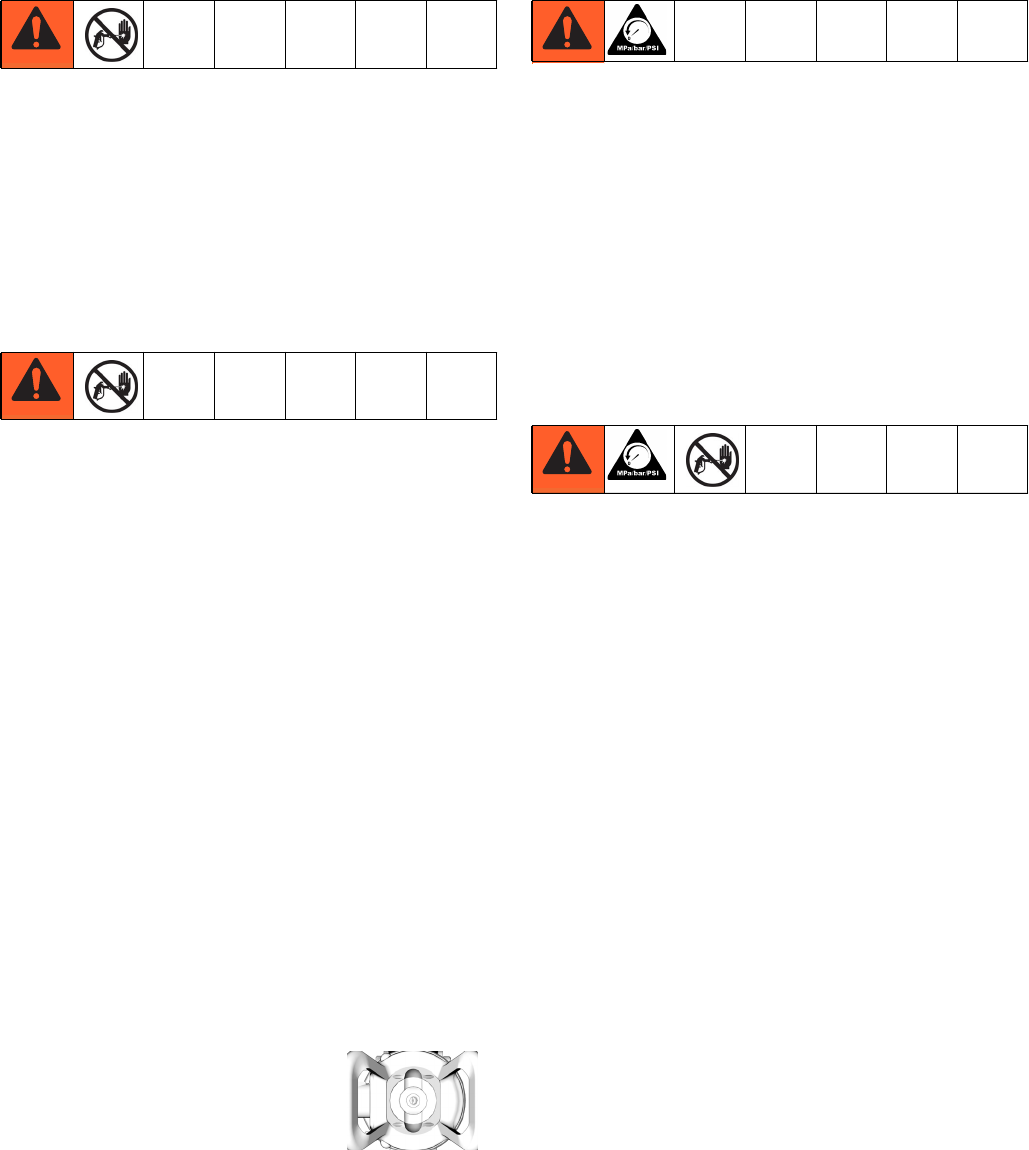
TI8792a