


-20- G7209/10 14'' Table Saw
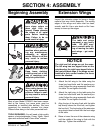
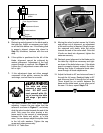
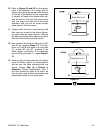
Figure 22. Adjusting blade to miter slot after
rotating blade 180° and sliding square down
miter slot.
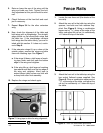
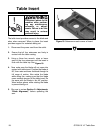
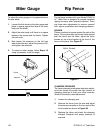
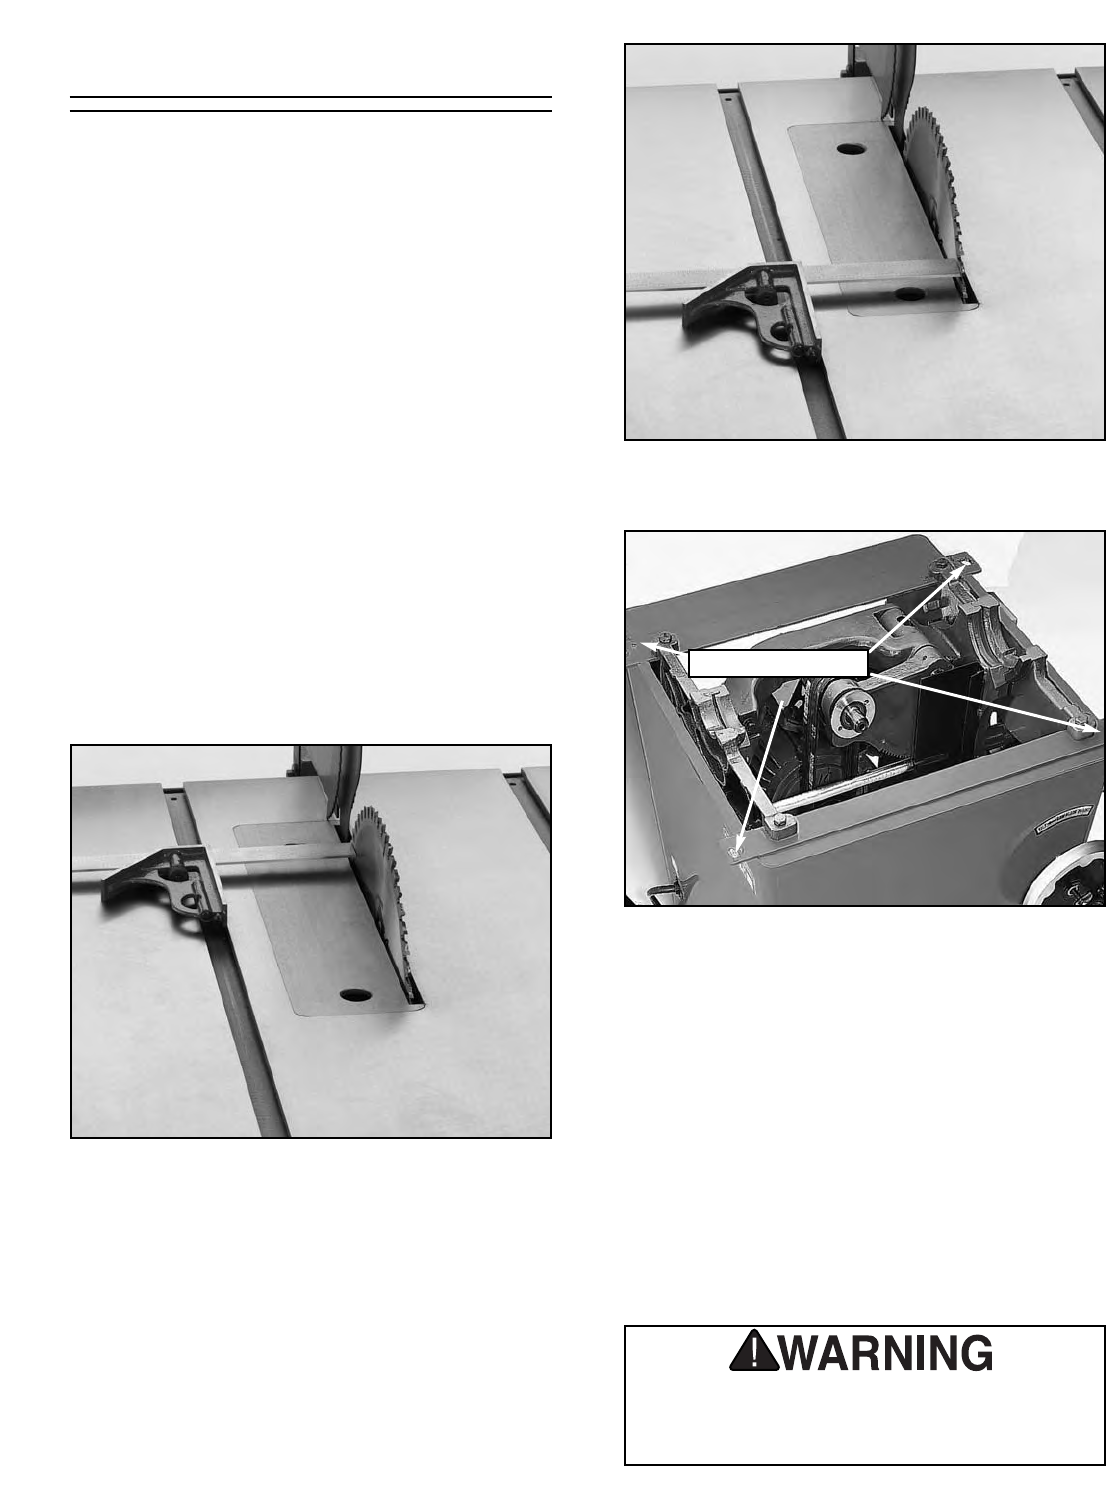
Figure 23. Table mounting bolt holes.
Table Mount Holes
5. The difference between the two measure-
ments must be equal to or less than
1
⁄64".
6. If the difference is greater than
1
⁄64", loosen
the four (4) table mounting bolts as seen in
Figure 23 and adjust the table slightly.
Repeat Steps 1-5 until satisfactory. Do not
forget to tighten the table mounting bolts
when finished.
7. Now check to see if the blade remains paral-
lel to the miter slot when tilted to 45°.
8. Tilt the blade to 45° and repeat Steps 1-5. If
the blade is still parallel to the miter slot, con-
tinue on to the “Miter Gauge” instructions.
Otherwise, continue with the next step.
9. If the blade was parallel to the miter slot at
90° but not at 45°, the table will need to be
shimmed with metal shim stock. The shims
are placed under the table over each of the
four table mounting bolts as shown in Figure
23.
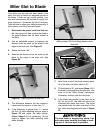
Miter Slot to Blade
Your table saw will give the best results if the
miter slot and rip fence are adjusted parallel to
the blade. If they are not exactly parallel, your
cuts and finished work will be lower in quality, but
more important, it increases the risk of kickback.
Take the time to adjust your table saw properly. A
few minutes now will be time well spent.
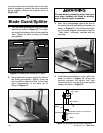
1. Disconnect the power cord from the out-
let. Use a piece of tape to mark the blade in
the gullet between two (2) teeth closest to
the table.
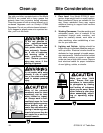
2. Use an adjustable square to measure the
distance from the mark on the blade to the
edge of the miter slot. See Figure 21.
3. Rotate the blade 180°.
4. Measure the distance from the mark on the
blade to the edge of the miter slot. See
Figure 22.
Figure 21. Adjusting blade to miter slot.
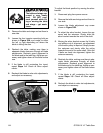
The saw blade is dangerously sharp. Use
extra care when handling the blade or work-
ing near it. Serious injury is possible.