Service
311209J 11
Service
1. If fluid continues to flow after trigger is released:
• gun valve may need adjustment,
• gun valve may be obstructed or damaged,
• or needle assembly (4) or seat (6) may be worn
or damaged.
Replace needle assembly (4) or seat (6) as
instructed on page 12.
2. Use Repair Kit 253553 for Manual Hot-Melt Guns
249512, 249513, 249514, 249515, 297273, and
297274.
Install New Heater Cartridge(s),
RTD Sensor, or Switch
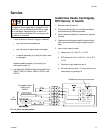
1. Remove covers (9 and 16).
2. Pull terminal block (36) out of handle and discon-
nect lead wires of failed components.
3. Gently slide new heater(s) or sensor into appropri-
ate hole.
4. Feed new wires through conduit to terminal block
(36) and connect after cutting to length and strip-
ping.
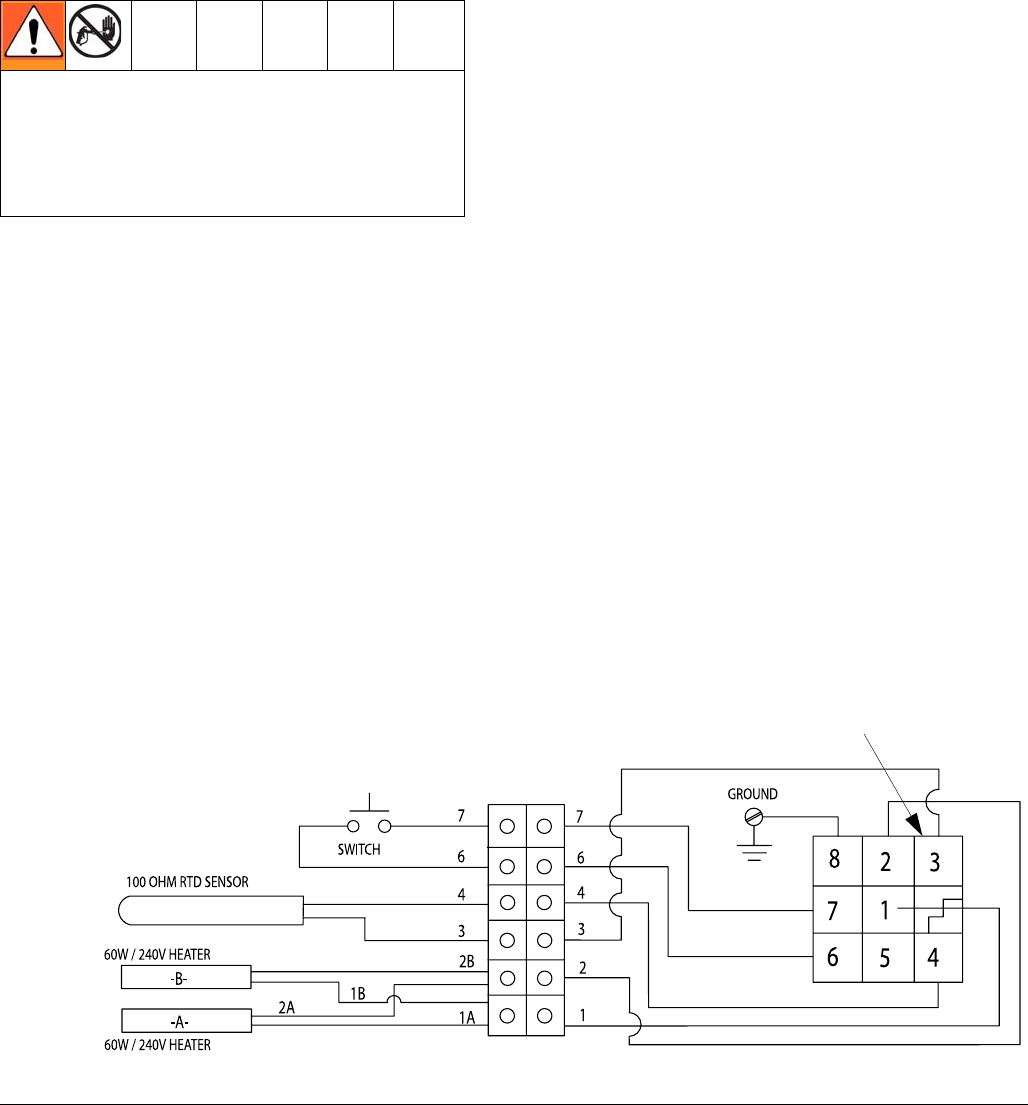
5. Use an ohm meter to check:
a. Heater pins 1 to 2, 445 +/- 35 .
b. RTD sensor pin 3 to 4, 108 +/-1 at 70°F
(21°C).
c. Continuity to gun body from pin 8.
d. No continuity from pins 1-7 to gun body or con-
nector shell, or ground pin 8.
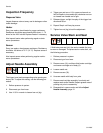
After adjusting or servicing gun, ensure that fluid will
not trigger on when trigger lock is engaged. If fluid
does flow, gun is not assembled correctly or trigger
lock is damaged. Reassemble gun or return it to
your nearest Graco distributor. Do not use gun until
the problem is corrected.
ΩΩ
ΩΩ
FIG. 12: 8 Pin, 240 Volt Shown
All
Models
{
{
All models except
249514 and
249515
Viewed from wire end of connector


