


Page 10SKU 40070 For technical questions, please call 1-800-444-3353.
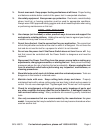
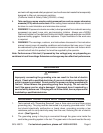
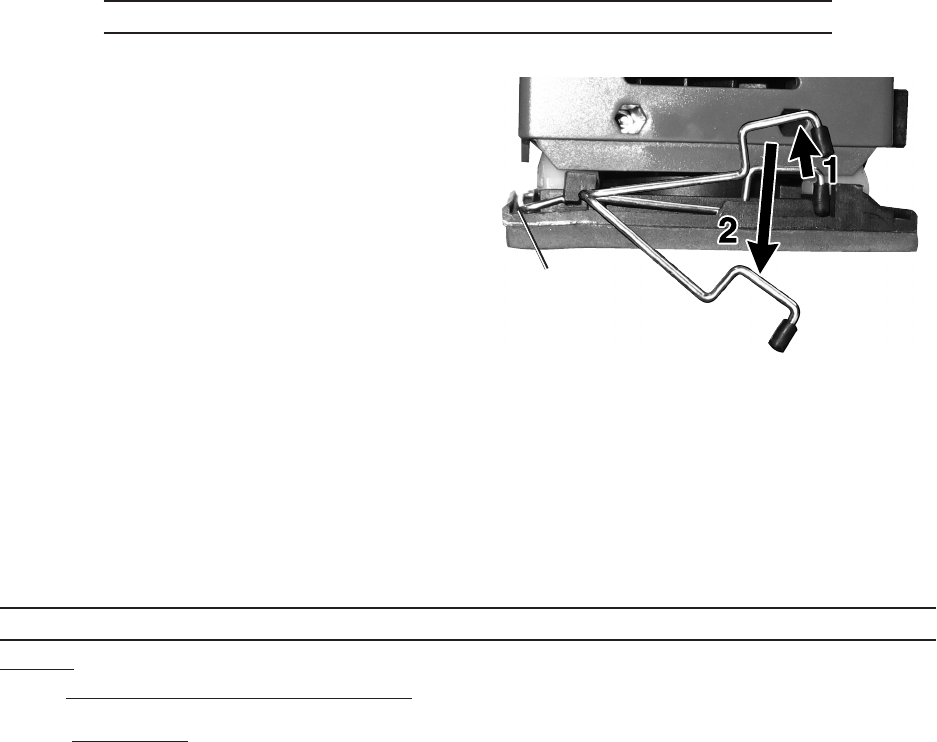
ATTACHING SANDPAPER TO THE BACKING PAD (28)
1. Press the tab on the Clamps (6) inward
on both sides of the unit and swing the
clamps on both sides up, out, and
down. See 1 & 2, right.
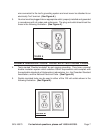
2. Cut the sandpaper to fit the 4” W x 4
1
/
2
”
L Pad (28), with a little extra to overlap
and fit under the Clamps (6). Do not
use torn or frayed sandpaper.
3. After wrapping the overlapped edges
of sandpaper under the Clamps (6),
snap the Clamps (6) back into place.
Sandpaper
goes under
here
OPERATING INSTRUCTIONS
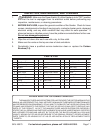
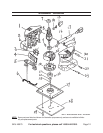
NOTE: For additional information regarding the parts listed in the following pages, refer
to the Assembly Diagram on page 12.
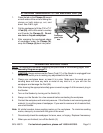
1. CAUTION: Always make sure the Power Cord (17) of the Sander is unplugged from
its electrical outlet
prior
to making any adjustments to the tool.
2. Clamp your workpiece down, or insert it in a vise. Make sure the wood you are
sanding does not have any nails or metal of any kind in it, or you will ruin the
sandpaper and damage the Pad (28).
3. After donning the appropriate safety gear covered on page 2 of this manual, plug in
the Sander.
4. Turn on the Sander by turning on the Switch (3).
5. Always run the Sander for a few seconds before contacting the workpiece.
6. Contact the workpiece with minimal pressure. If the Sander is not removing enough
material, try a grittier piece of sandpaper. If you want to remove a lot of material fast,
use a belt sander.
Note: All orbital sanders leave sanding marks on the workpiece. To minimize sanding
marks, always try to sand with the grain of the wood.
7. Occasionally check the sandpaper for tears, wear, or fraying. Replace if necessary.
8. When you are finished, turn off the Switch (3).