SKU 90045 For technical questions, please call 1-800-444-3353. Page 11
3. Plug the Power Cord (14) into the nearest 120 volt, grounded, electrical outlet.
CAUTION: The machined parts near the Tension Adjuster (29) may be
sharp. Wear work gloves when adjusting the tension.
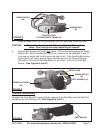
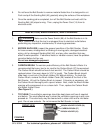
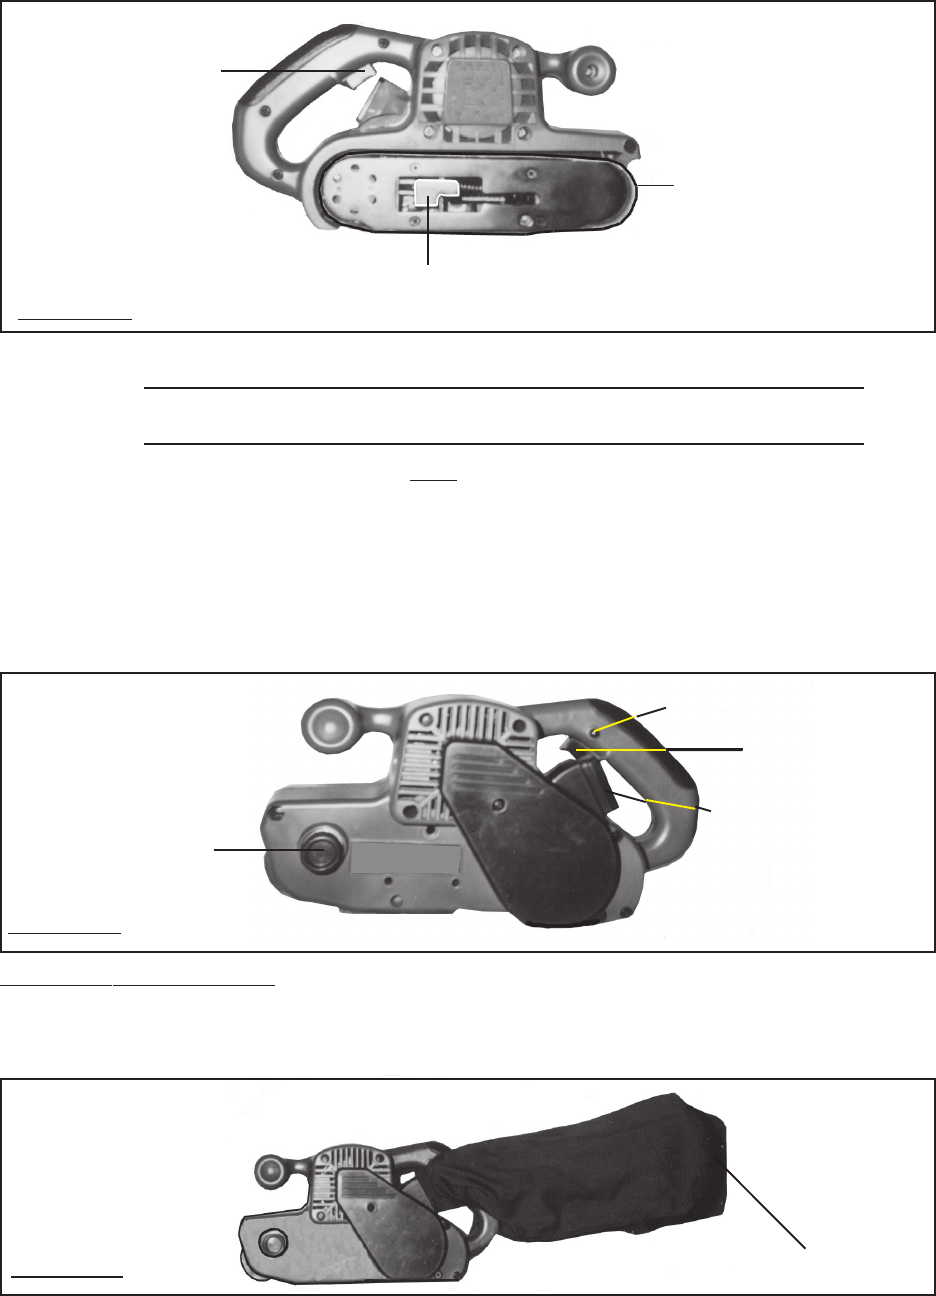
4. Grip the Belt Sander firmly with both hands. Lift the tool and squeeze the Power
Switch (66). As the Sanding Belt (46) turns, observe the Sanding Belt to see if it
is turning on-center and not moving to the right or left. If the Sanding Belt moves
to the right or left, while wearing heavy work gloves, turn the Tension Adjuster
(29) right or left until the Sanding Belt turns on-center. Then, turn off the Belt
Sander. (See Figures D, and E.)
To Attach The Dust Bag:
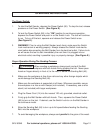
To attach the Dust Bag (69), simply clip the opening of the Dust Bag onto the Dust Port
located on the Left Housing (18). (See Figures E, and F.)
DUST BAG (69)
FIGURE F
FIGURE E
TENSION ADJUSTER
(29)
POWER SWITCH
(66)
SWITCH LOCK
LEFT HOUSING (18)
FIGURE D
TENSION LEVER
OF FRONT WHEEL FRAME (53)
SANDING BELT
(46)
POWER SWITCH
(66)
REV 10/04


