


Page 4
SKU 91002
NOTE:Performance of the compressor (if powered by line voltage) may vary
depending on variations in local line voltage. Extension cord usage may
also affect tool performance.
WARNING: The warnings, cautions, and instructions discussed in this instruction
manual cannot cover all possible conditions and situations that may occur.
It must be understood by the operator that common sense and caution are
factors which cannot be built into this product, but must be supplied by
the operator.
Unpacking
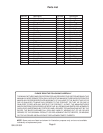
When unpacking, check to make sure the parts listed on page 6 are included. If any
parts are missing or broken, please call Harbor Freight Tools at the number on the cover of
this manual as soon as possible.
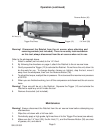
Operation
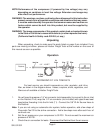
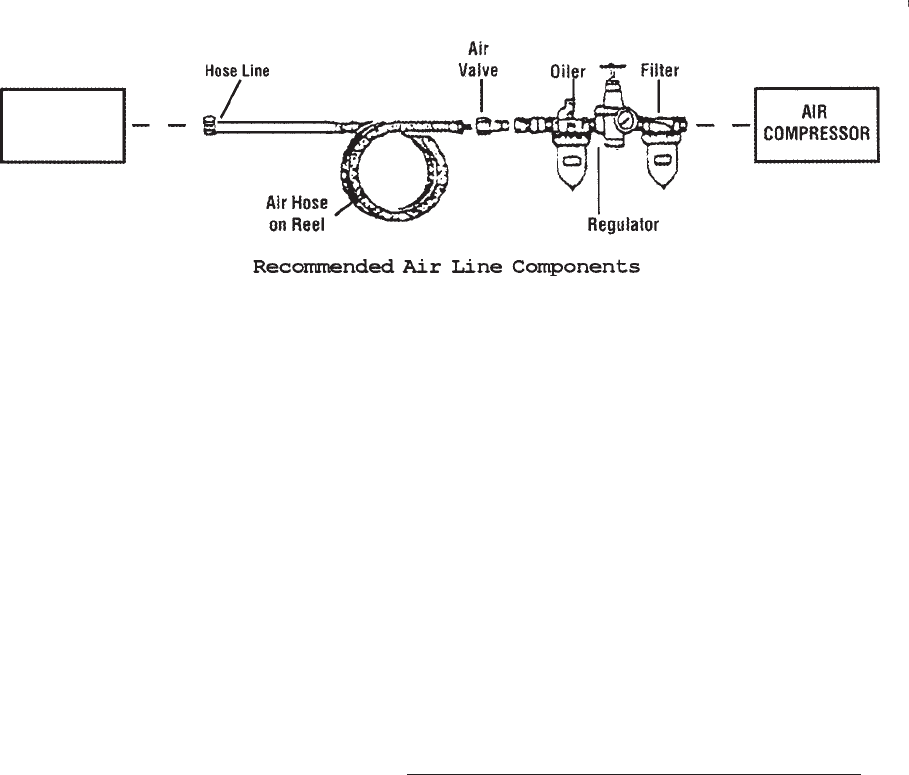
For best service you should incorporate an oiler, regulator, and inline
filter, as shown in the diagram above. Hoses, couplers, oilers, regulators, and
filters are all available at Harbor Freight Tools.
1. You will need to prepare a 1/4” air connector (sold separately) to connect to the air inlet
on the Ratchet. First, wrap the 1/4” air connector (not included) with pipe thread seal
tape before threading it into the Air Inlet (11). Connect the 3/8” ID Air Source Hose to
the Ratchet.
Note: If you are not using an automatic oiler system, before operation, add a few drops of
Pneumatic Tool Oil to the airline connection. Add a few drops more after each hour of
continual use.
2. Set the air pressure on your compressor to 90 PSI. Do not exceed the maximum air
pressure of 90 PSI.
3. Check the air connection for leaks. Disconnect the Ratchet from the air source.
Ratchet
1/4” - 18 NPT
WARNING: The brass components of this product contain lead, a chemical known
to the State of California to cause birth defects (or other reproductive harm).
(California Health & Safety code 25249.5, et seq.)