For technical questions, please call 1-800-444-3353;
Troubleshooting section at end of manual.
SKU 93312 Page 9
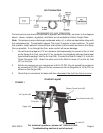
3. Open the Fluid Outlet (39)and Fluid Flow Knob (11). Turn the Fluid Control Knob (59)
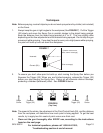
clockwise until it is fully closed. See FIGURE 1 on page 6.
4. After setting up a piece of scrap material, squeeze the Trigger (52) in short bursts while
turning the Fluid Control Knob (59) counterclockwise and observe the spray patterns
until you see the pattern you want. Also, look at the pattern for consistency. Too much
air may cause the spray to come out too fine. Reduce the air pressure or allow more
material to come out by opening the Fluid Control Knob (59). If the spray appears too
thick (you see globs of paint), close down the Fluid Control Knob (59) slowly, checking
the mixture after each adjustment.
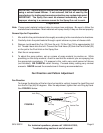
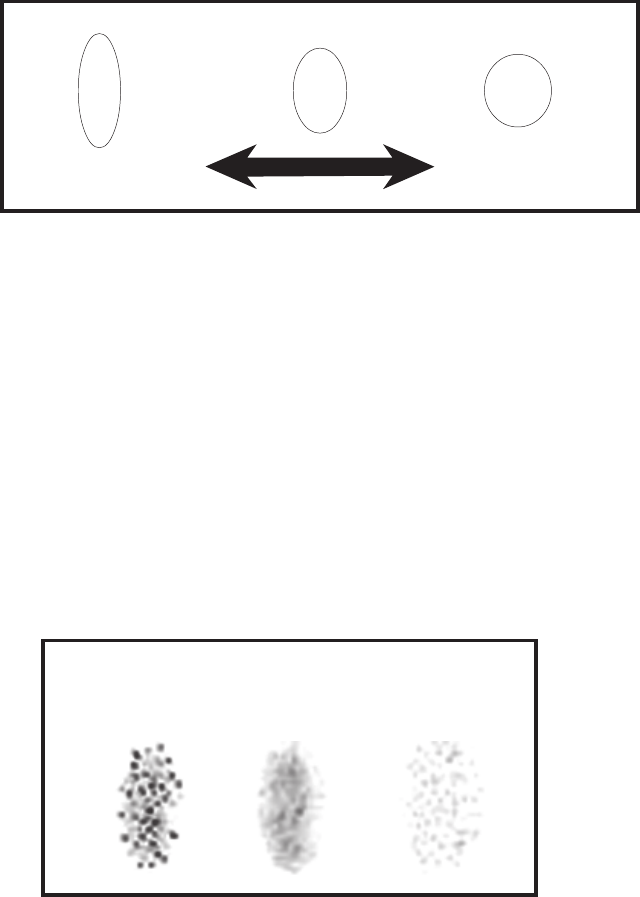
See FIGURE 6 below.
FIGURE 6
Too Fine
(Loosen)
Too Coarse
(Tighten)
Correct
Pattern Adjustment
Warning!! Never exceed the Maximum Inlet PSI of 70 PSI.
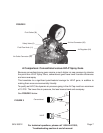
1. Remember that the air pressure feeding the gun should be set to 10-30 PSI, using the
Air Regulator (24).
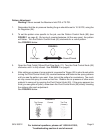
2. To set the pattern size specific to the job, use the Pattern Control Knob (65) (see
FIGURE 1 on page 6). By turning it counterclockwise (all the way open), the pattern
will flatten. Turn the Pattern Control Knob (65) clockwise for a round pattern.
See FIGURE 5 below.
FIGURE 5
Flat/Open Round/Closed


