


18
en
6. Before use
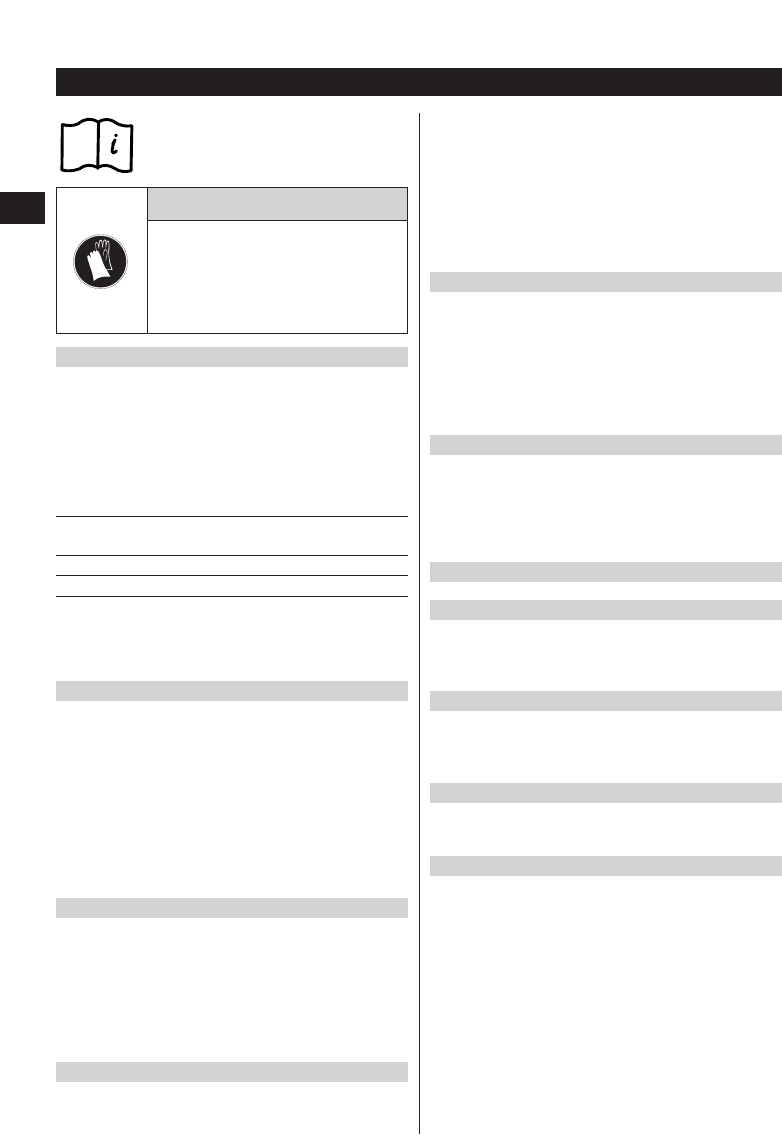
-CAUTION-
● The cutting edges of the saw blade
are sharp.
● The cutting edges may present a risk
of injury.
● Wear protective gloves.
6.1 Extension cords
If extension cords are used: Use only extension cords
of a type approved for the intended purpose and of ade-
quate cross section. Failure to observe this point may
result in reduced performance and may cause the cord
to overheat. Replace damaged extension cords. Use only
correspondingly marked and approved extension cords
for working outdoors. Recommended minimum cross
sections and max. cord lengths:
Mains voltage Conductor cross section
1.5 mm
2
2.5 mm
2
110 V 20 m 30 m
230 V 50 m 100 m
Extension cords for outdoor use
For outdoor work use only extension cords approved and
correspondingly marked as suitable for outdoor use.
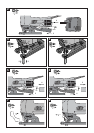
6.2 Fitting the saw blade Ẇ
1. Unplug the supply cord from the electric socket.
2. Press the saw blade release lever and hold it in this
position.
3. Push the saw blade into the blade holder (teeth fac-
ing cutting direction) until it engages.
4. Hold the blade against the resistance felt and then
allow the blade release lever to return to its original
position.
5. Check that the blade is held securely by gripping and
pulling it.
6.3 Changing the saw blade ẇ
-NOTE-
When changing the saw blade, hold the tool in such a
way that persons or animals cannot be injured by the
saw blade as it is ejected.
1. Unplug the supply cord from the electric socket.
2. Press the saw blade release lever to the side as far as
it will go. The saw blade is then released and ejected.
6.4 Dust removal using an external dust removal system
-NOTE-
Use of a dust removal system reduces exposure to dust,
increases safety at the workplace by ensuring better vis-
ibility of the cutting line and helps to keep the workplace
tidy by greatly reducing the amount of dust and wood
chips in the working area.
Connect the external dust removal system before work-
ing with the tool for long periods when cutting wood or
other materials that may cause considerable dust.
The dust removal hood must be fitted when the tool is
being used with a dust removal system.
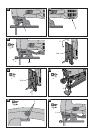
6.4.1 Connecting the system Ẉ
1. Unplug the supply cord from the electric socket.
2. Fit the dust removal adaptor into the opening on the
tool.
3. Push the dust removal adaptor toward the tool from
below until it engages.
4. Connect the vacuum cleaner hose to the dust removal
adaptor.
6.4.2 Disconnecting the system ẉ
1. Unplug the supply cord from the electric socket.
2. Disconnect the vacuum cleaner hose from the dust
removal adaptor.
3. Push the dust removal adaptor downwards and pull
it out of the tool.
6.5 Dust removal hood
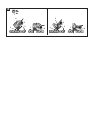
6.5.1 Fitting the dust removal hood Ẋ
1. Unplug the supply cord from the electric socket.
2. Push the dust removal hood onto the tool from the
front until it engages.
6.5.2 Removing the dust removal hood ẋ
1. Unplug the supply cord from the electric socket.
2. Tilt the dust removal hood slightly and pull it away
from the tool toward the front.
6.6 Sawdust blower
The blower keeps the cutting line free of dust and chips
by directing a jet of air toward the saw blade.
6.7 Adjusting the orbital action Ẍ
The four orbital action settings permit cutting perfor-
mance and quality of cut to be adjusted to suit the mate-
rial being cut.
Orbital action adjustment lever is used to set the tool to
one of the four orbital action settings.
Please observe the following recommendations:
The lower the orbital action setting, the finer and clean-
er the cut.
The optimum setting can be determined by making test
cuts.
Setting 0: No orbital action
Setting I: Low orbital action
Setting II: Medium orbital action
SettingIII: High orbital action