9309411
Bearing Housing and Connecting Rod
Removal
1.
Relieve pressure; page 6.
2. Stop sprayer at bottom of stroke to get crank (E) in
lowest position. To lower crank manually, remove
spark plug and carefully rotate crank by pulling
starter rope.
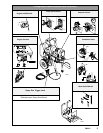
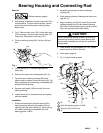
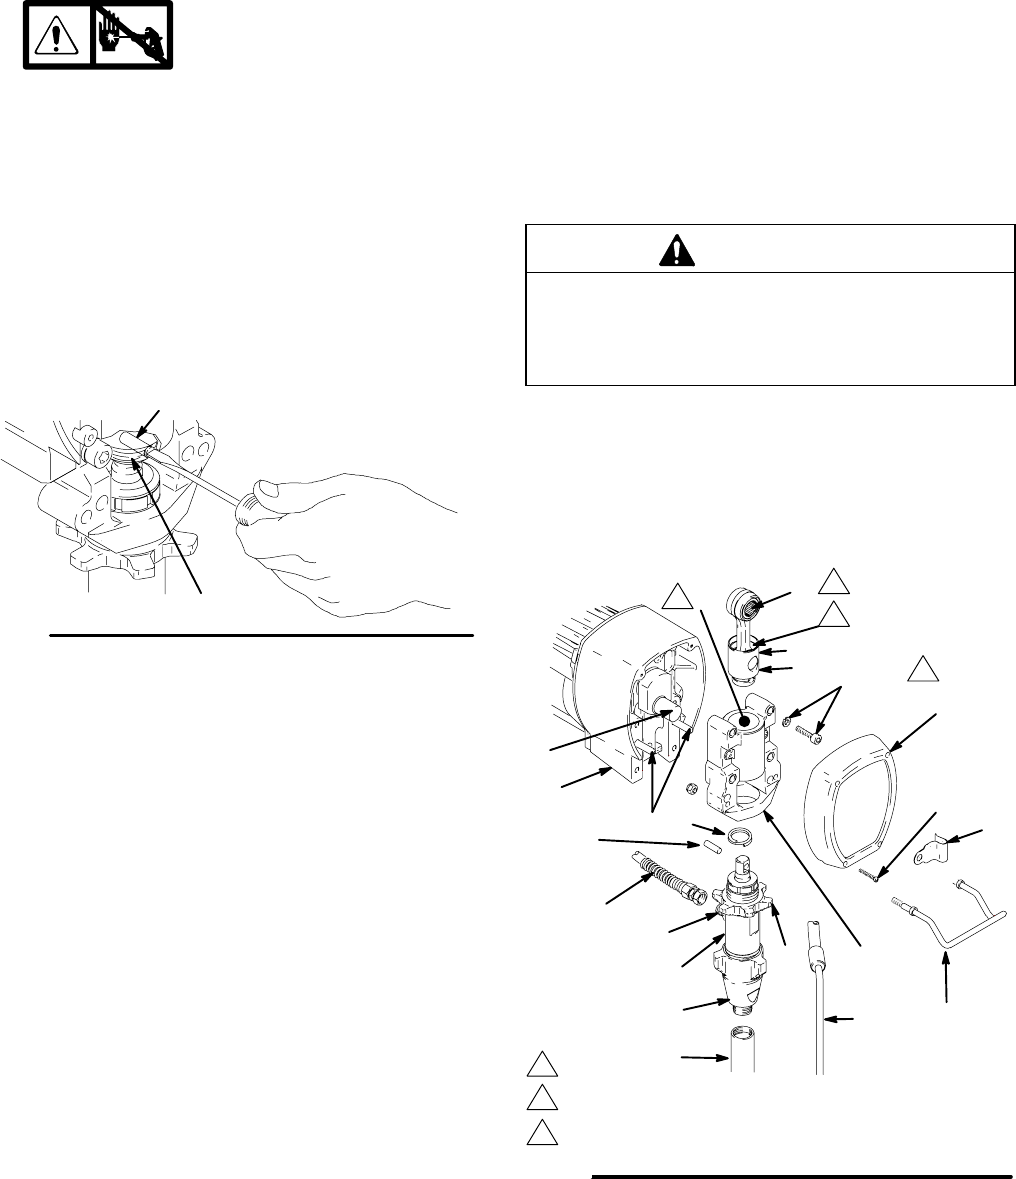
3. Fig. 2. Remove front cover (38). Unclip drain hose
(74) from pump. Unscrew pump suction tube (73)
from pump. Disconnect pump hose (167).
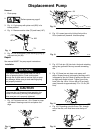
4. Push up retaining spring (59). Push pin (58) out
rear.
Fig. 1
7675B
58
59
5. Loosen locknut (57). Unscrew displacement
pump (48).
6. Remove four screws and lockwashers (20, 19).
7. Tap lower rear of bearing housing (60) with a
plastic mallet to loosen from drive housing (3). Pull
bearing housing and connecting rod assembly (40)
straight off drive housing.
8. Remove pail hanger (105) and install it on new
bearing housing.
9. Inspect crank (E) for excessive wear and replace
parts as needed.
Installation
1. Evenly lubricate inside of bronze bearing (B) in
bearing housing (60) with high-quality motor oil.
Liberally pack top roller bearing (C), lower bearing
(D) inside connecting rod assembly (40) with
bearing grease 114819.
2. Assemble connecting rod (40) and bearing
housing (60).
3. Clean mating surfaces of bearing and drive hous-
ings (60, 3).
4. Align connecting rod (C) with crank (E) and drive
housing locating pins (3b) with bearing housing
(60) holes. Push bearing housing onto drive hous-
ing or tap into place with plastic mallet.
CAUTION
Do not use bearing housing screws (19) to align or
seat bearing housing; this may cause bearing and
drive housing misalignment and result in premature
bearing wear.
5. Install screws and lockwashers (20, 19). Tighten
screws evenly to 25 ft-lb (34 Nm).
6. Install pump; page 16.
7. Fig. 2. Install remaining parts.
Fig. 2
8697B
60
20, 19
107
59
58
48
E
167
57
40
B
C
62
Pack with bearing grease 114819
Oil
74
A
3b
73
72
3
2
1
1
2
3
38
3
D
2
Torque to 25 ft-lb (34 Nm)
105


